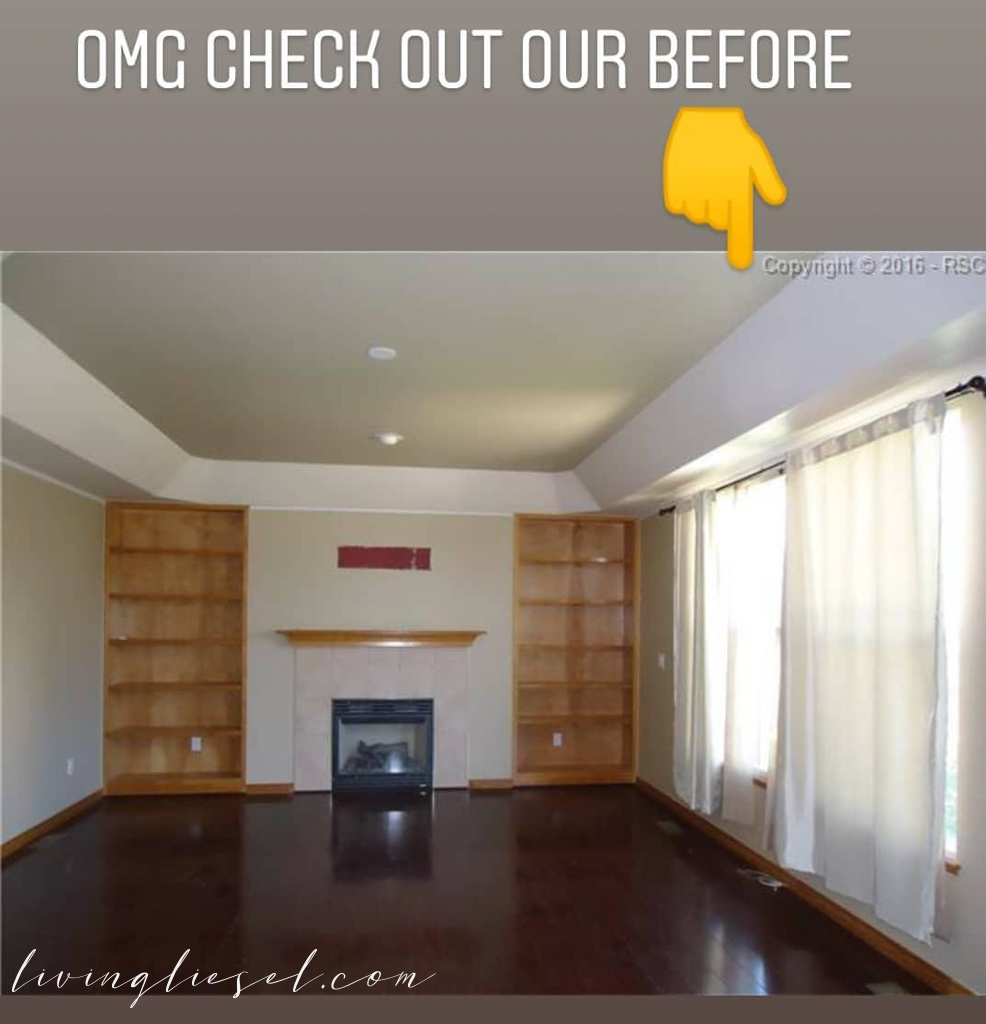
I cannot stand the bland, slapped to a wall, tiled fireplace. It seems like all of the houses in Colorado built from the late 80’s and on have these. Until recently this was the norm in all newly built houses. A plain, 12×12 tiled fireplace. Here is our original before – when we purchased the house:
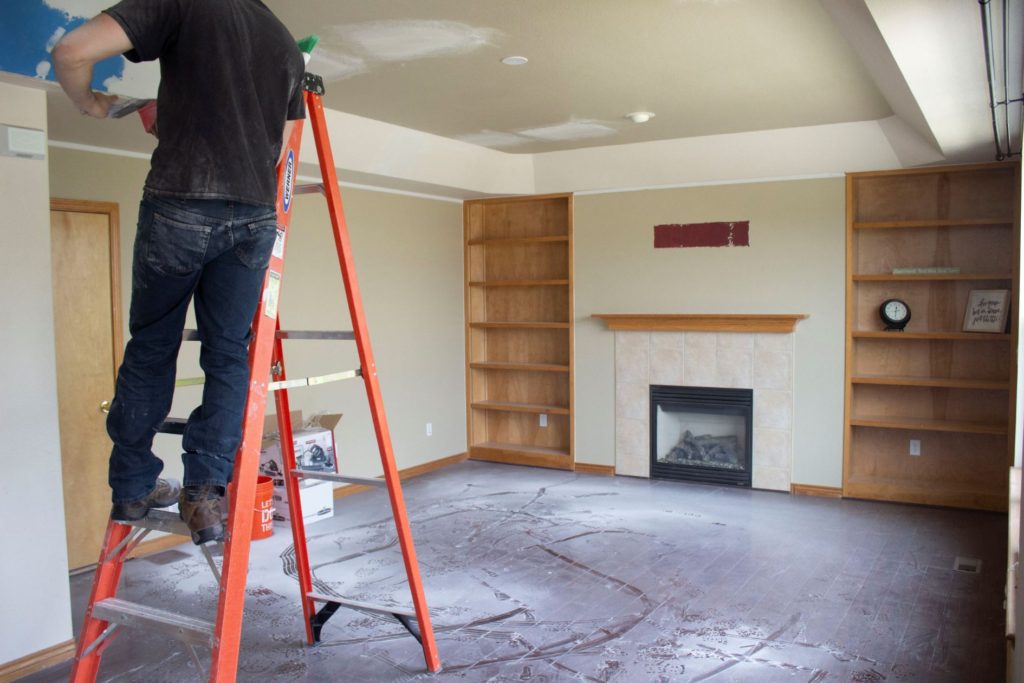
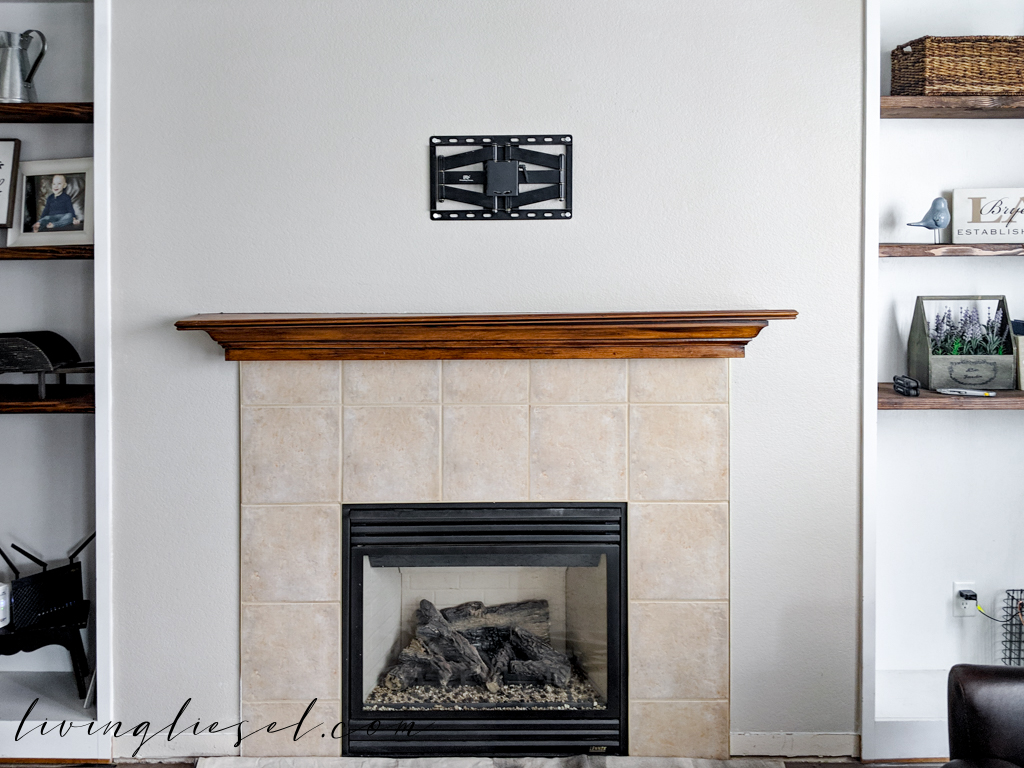
Below is our fireplace after we painted the whole house, including the built ins. The picture below is still pre-remodeled.
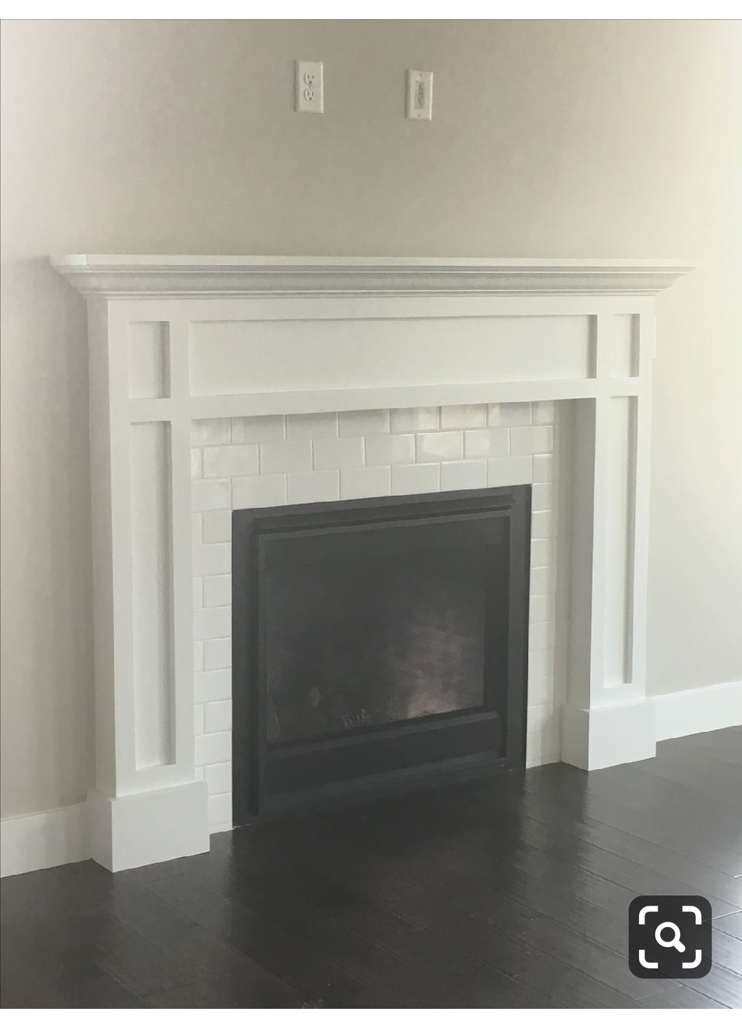
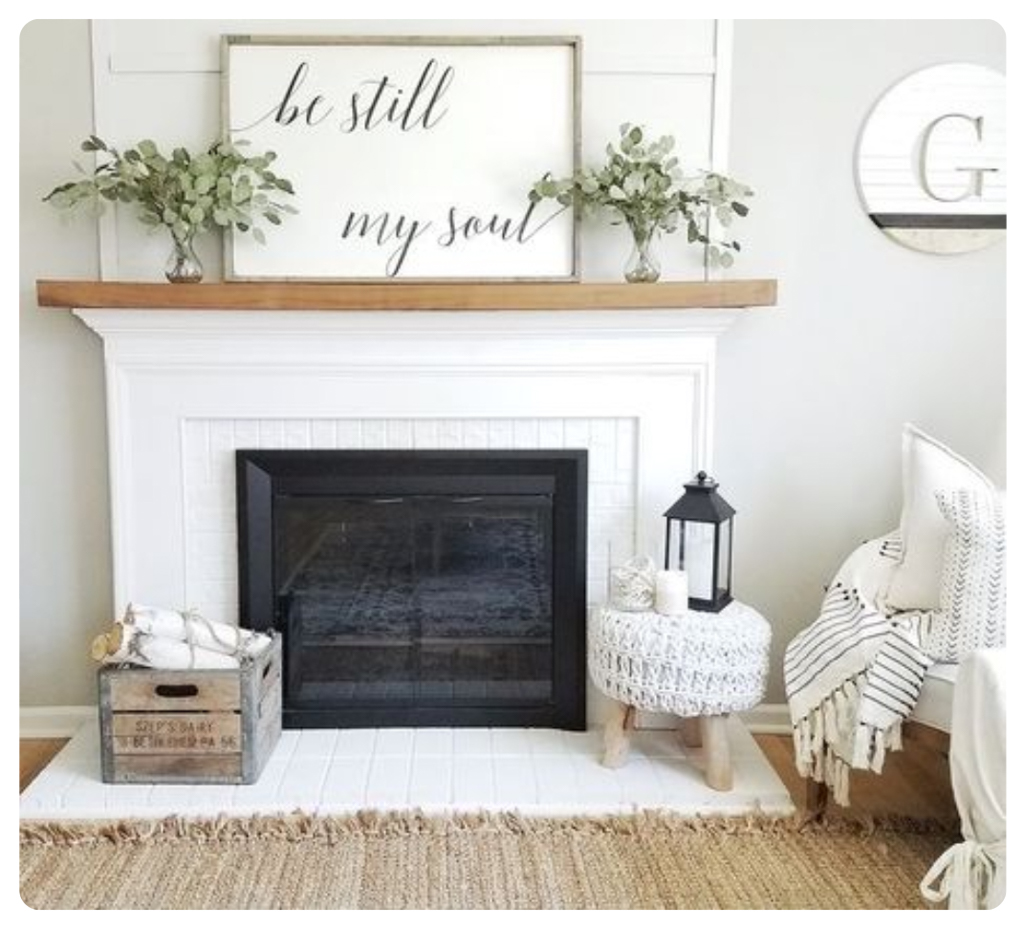
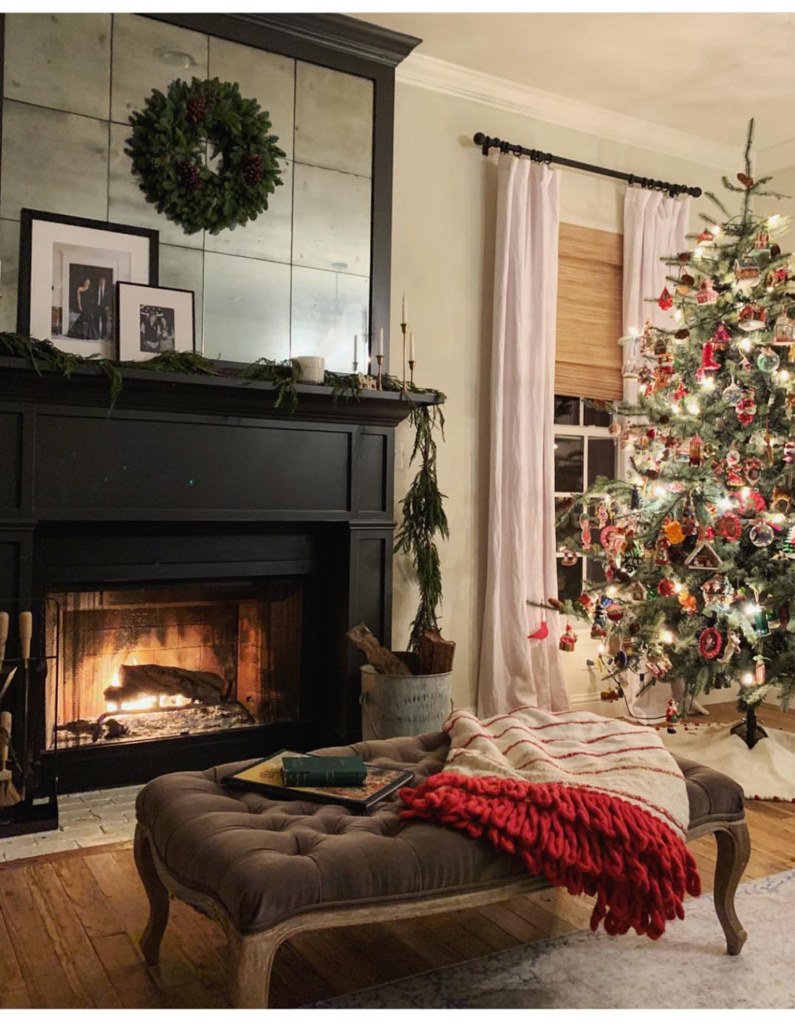
My original inspiration was this gorgeous black fireplace that was chunky and bold with a craftsman flair.

Then we started on our kitchen which was an open flow. It looked right into our living room. We did subway tile backsplash in the kitchen so I thought it was best we did subway tile on the fireplace as well.
That resulted in a combination of these fireplaces:
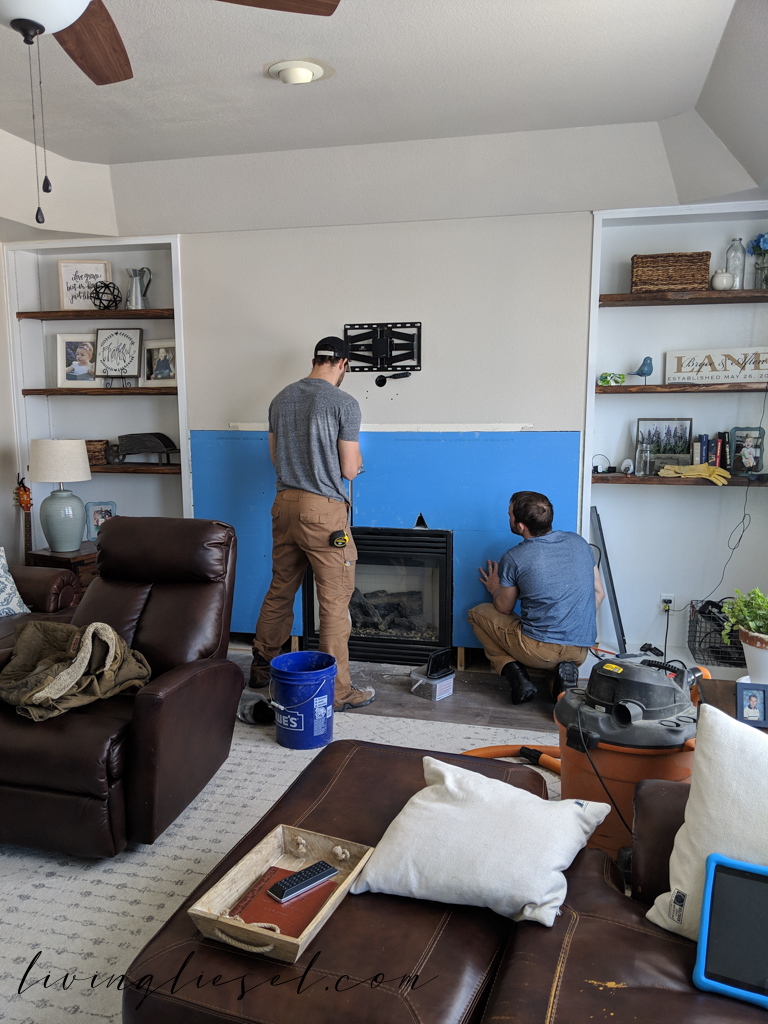
Time to demo the old fireplace
Demo-ing always sounds fun but it is seriously one of my least favorite things. I’m a clean person and like to create and build. I hate having to clean up dirt and dust! But unfortunately we have to demo.
Start by removing your mantle. We weren’t planning on keeping ours originally. I am glad we didn’t destroy it though because we ended up keeping, painting, and using it!
Next begin removing all the old tile. Chisel and hammer away prying and peeling up the ugly tile and put it in a tub or trash bin beside you to keep your work space as clean as possible. Some tile fireplaces are encase by a metal frame so use your chisel and pop that off and then move to the tile.
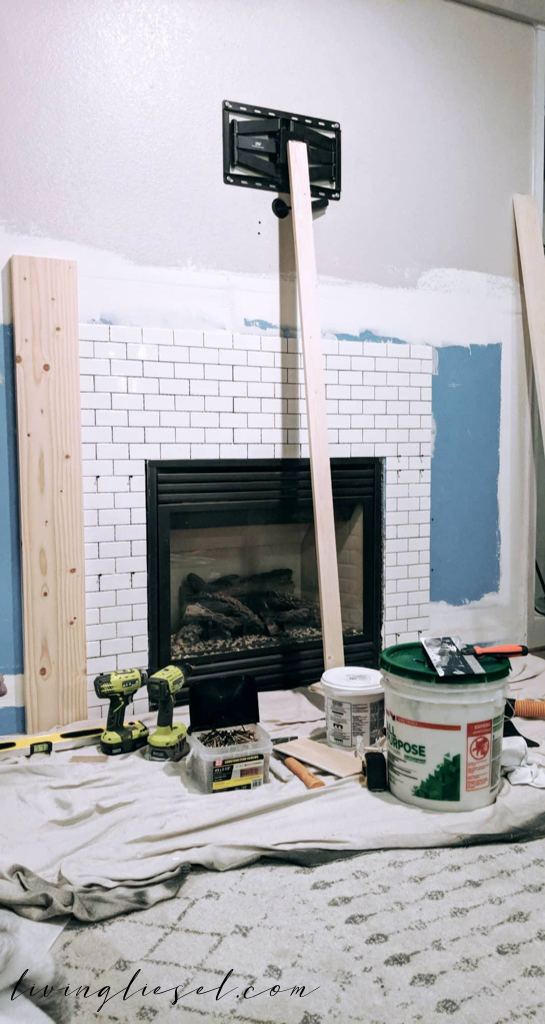
You will likely have to repair/replace sheetrock – why not add a cordless TV insert?
When you pull old tile, it may very likely destroy the sheetrock behind it, Ours got so destroyed that we just cut out the whole main pieces to make it easier to replace. If you have straight cuts, they’re easier to replace.
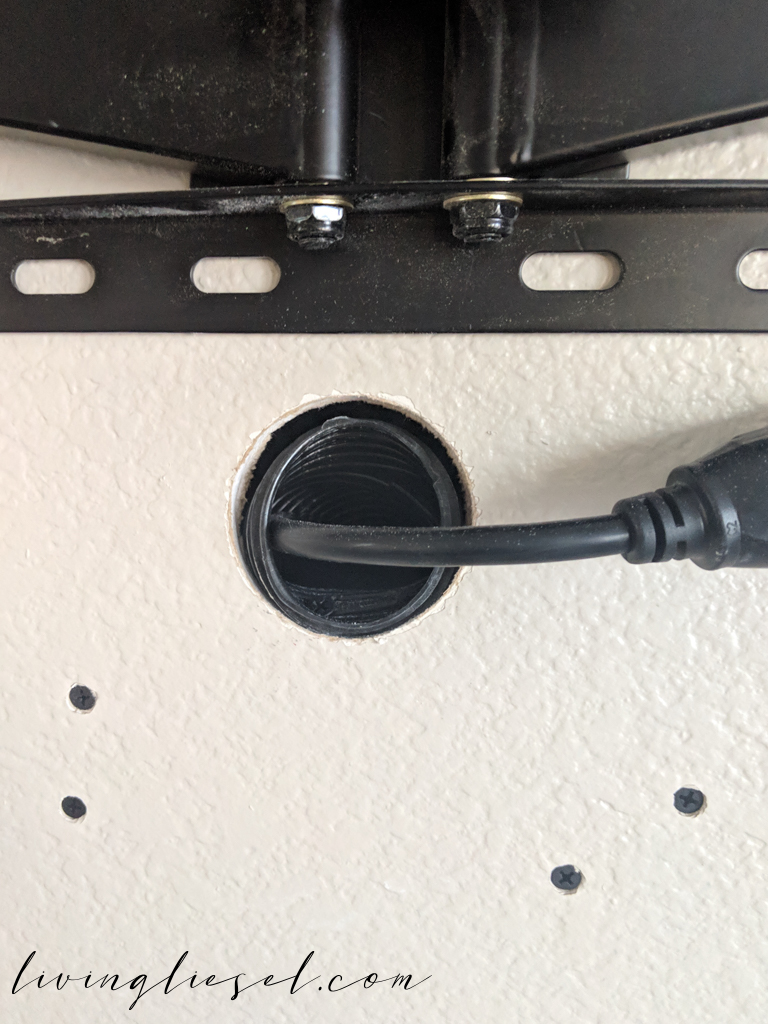
While you’ve got the sheetrock out, cut your hole for mounting your TV and hiding the cords behind the wall. This kit is easy to use and makes hiding your cords a breeze. There are a lot of videos on that page giving you tutorials on how to do this part. Take a peek!
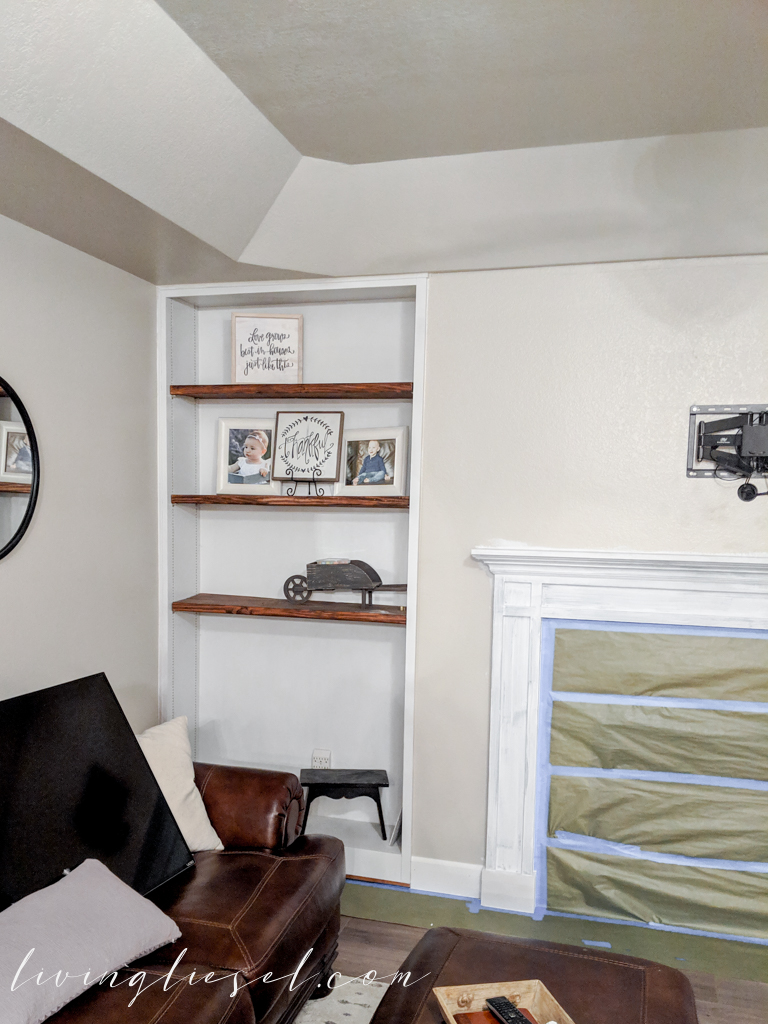
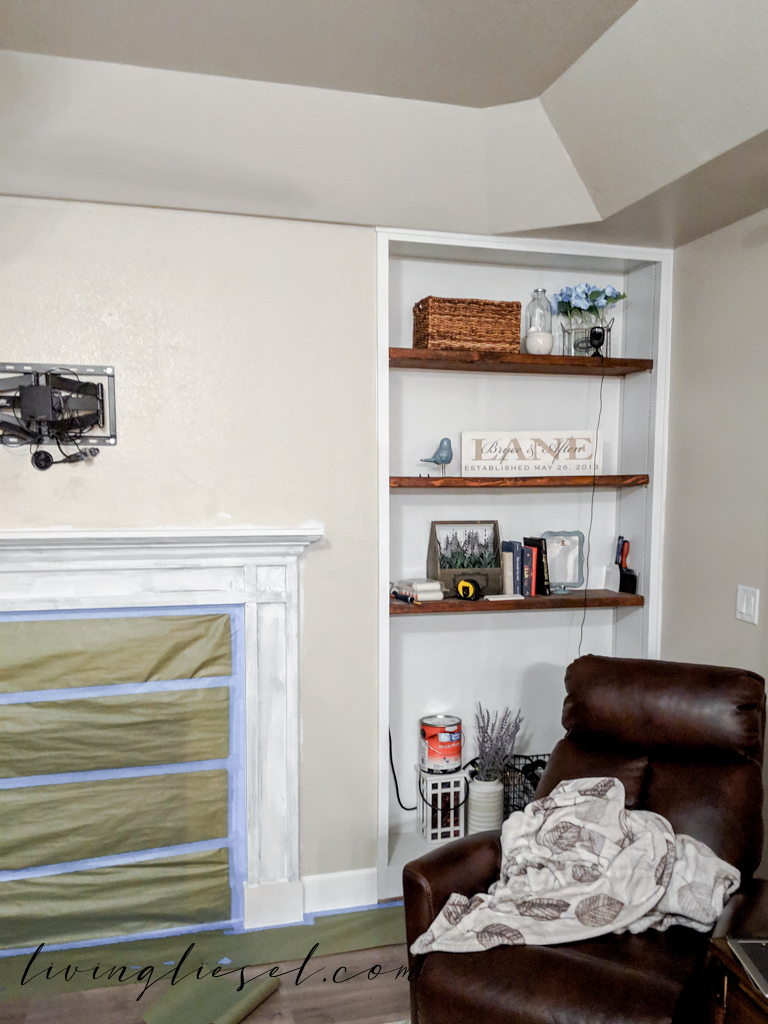
Tape and texture the area around the fireplace
You won’t need to texture everywhere because you will be laying tile over the sheetrock on the fireplace area but in the areas where the wall will be exposed, it’ll need to be textured. We save painting for last so don’t worry about that yet. Texture and sand it down. Leave it until you’re finished.
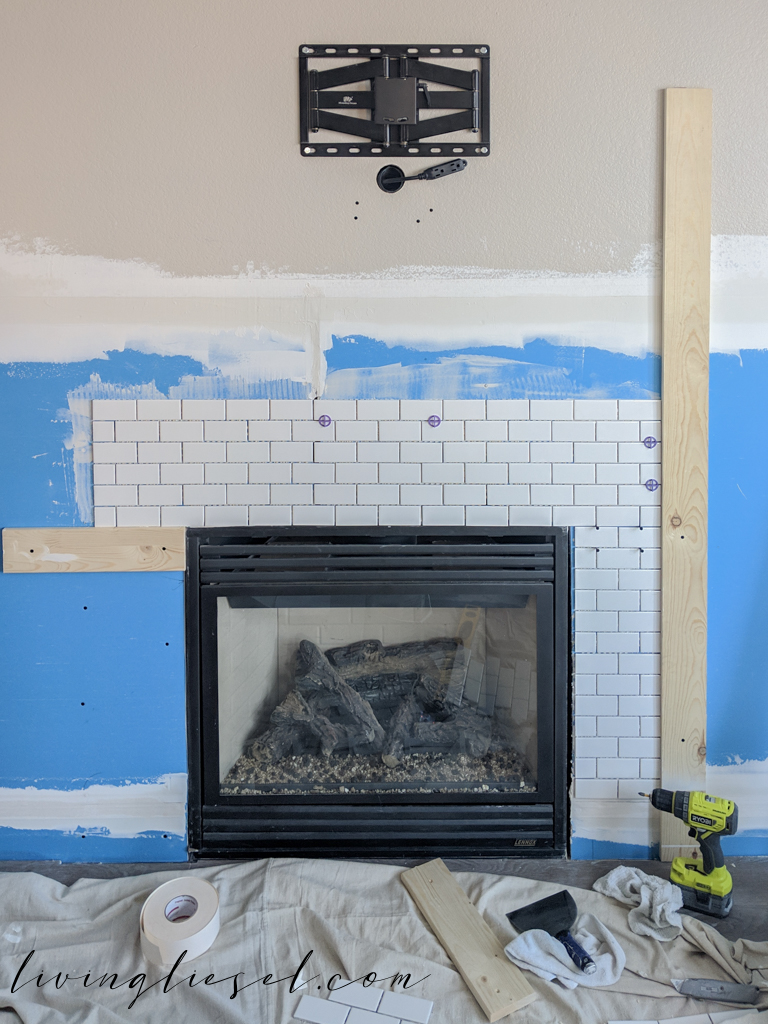
Tile first, build frame second
Instead of building a frame and then tiling within, determine your sizes first, tile, and then build the frame around your tile.
We eyeballed everything in regards to height and width. A fancier person would call it custom. Let’s be real though, we eyeballed it and did a lot of:
“Here?”
“No, move it left…”
“Here?”
“Uhhhh, up a little…”
You get the idea.
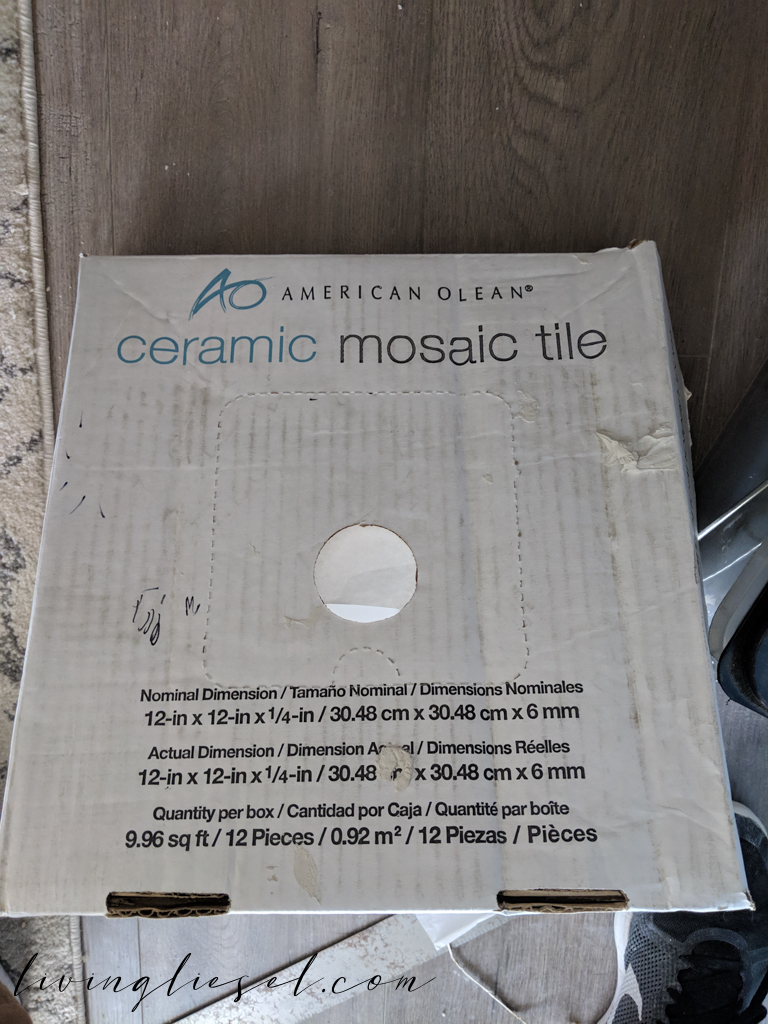
Backsplash tile made it easier for us
We bought tile that was a mosaic and came in little sheets. It made tiling go very fast. Any pieces that didn’t line up (because the sheets are not squares), we cut with a box cutter.
Screw boards to the wall temporarily to ensure a straight tiling job.
The last thing you want is a crooked fireplace. Boards will give you a straight edge:
After you are finished tiling, grout.
We did a white grout for a subtle look.
Trim out your fireplace
We used pine to trim out the fireplace. Going craftsman style, we simply tried to mimic a look we liked with straight edges. Craftsman style is also very easy to do compared to other more intricate designs. Keep it simple and I am happy.
To apply the trim, we use wood glue and a nailer. I didn’t get a SINGLE picture of the fireplace trimmed out. Huge bummer. We got so excited we went straight to painting. But you’re in luck…
I screw up sometimes, too.
Let me elaborate. Remember wayyyy back at the beginning when I said I LOVED that chunky black fireplace? See that gorgeous thing below:
Well, I got a wild hair and thought, “You know what? No one has done it before, but maybe I can combine subway tile AND a black fireplace.”
The result was awful.
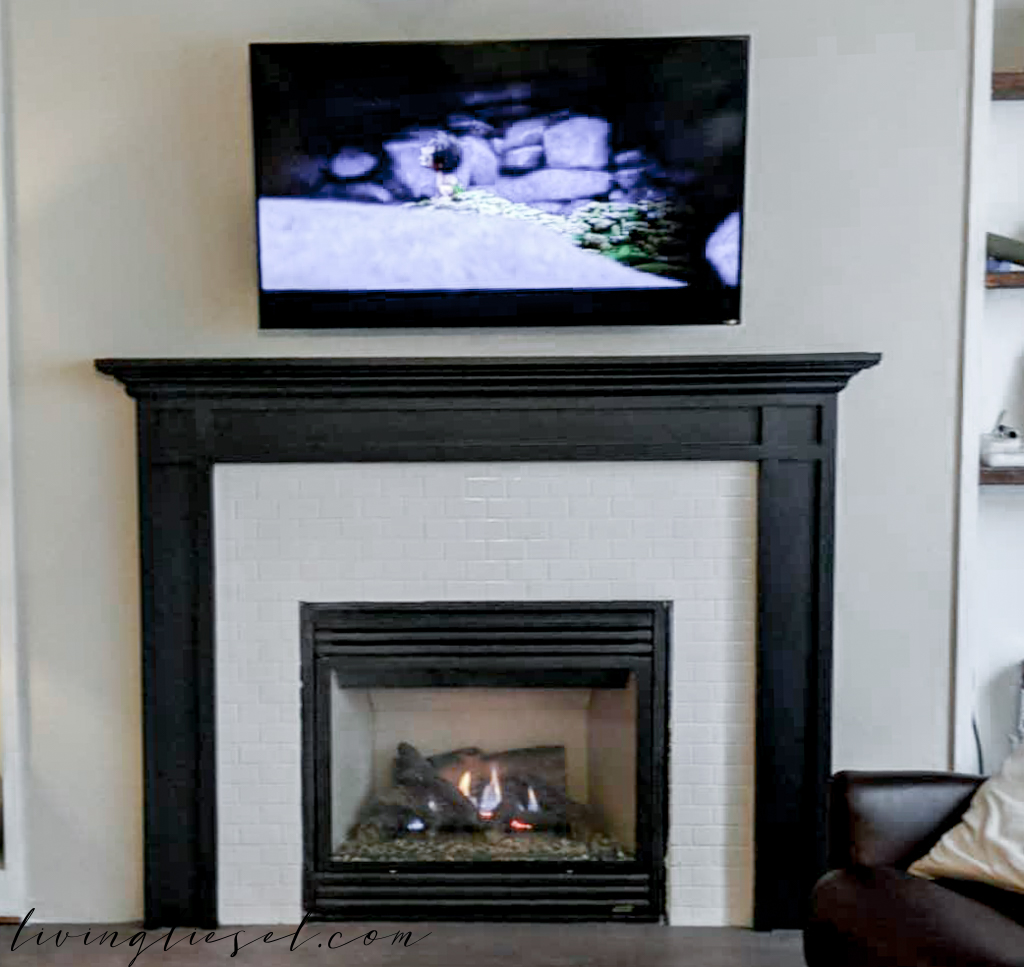
Absolutely awful. Even the picture quality was bad.
It stayed that way for 3 weeks – THREE WHOLE WEEKS
Three weeks was 21 days too long for me to see that wretched black fireplace in my living every single day.
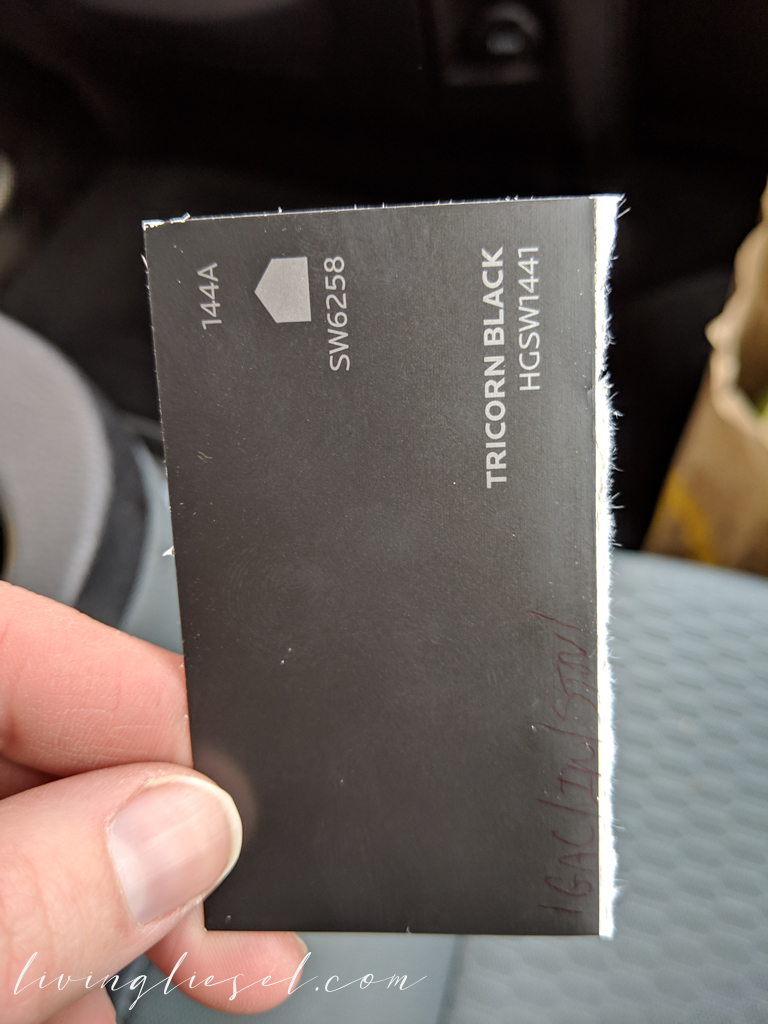
I did love the actual black paint color but not for our fireplace. We ended up using the black on our doors inside the house instead. Sherwin Williams Tricorn Black SW6258. I swear by this black for interior. It’s got a nice charcoal undertone and doesn’t pull any purples or blues.
The day finally came where we were ready to tackle the rest by painting again.
Because the fireplace was a dark black, we had to prime it first and then do our other coats.
We use this sprayer. It requires a bit of prep and clean up but the paint coats are flawless and give you a smooth easy finish.
By this point, we had already painted the surrounding walls and attached the baseboards.
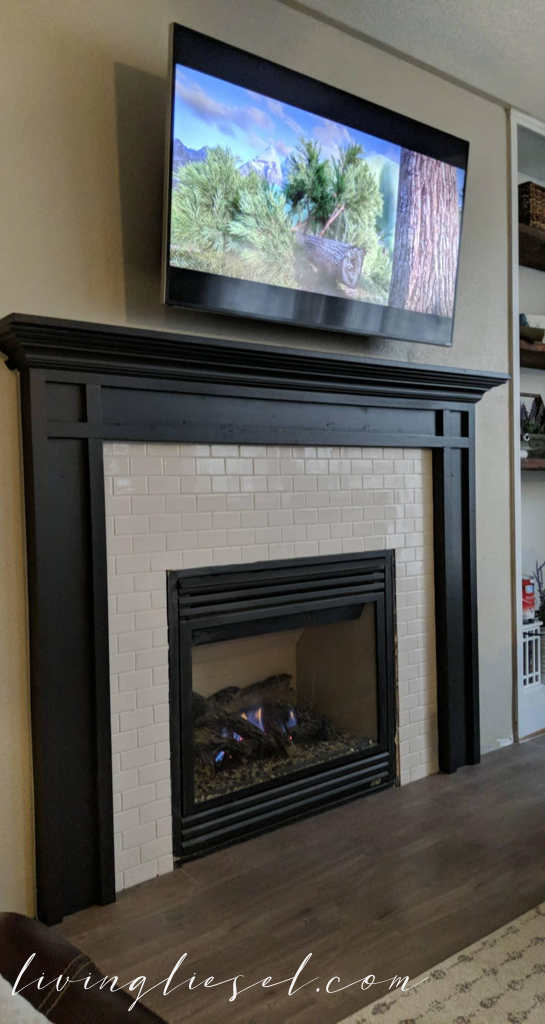
The white we have used on all of our trim and this fireplace is Sherwin Williams Pure White SW7005.
White-white fireplace and subway tile revealed:
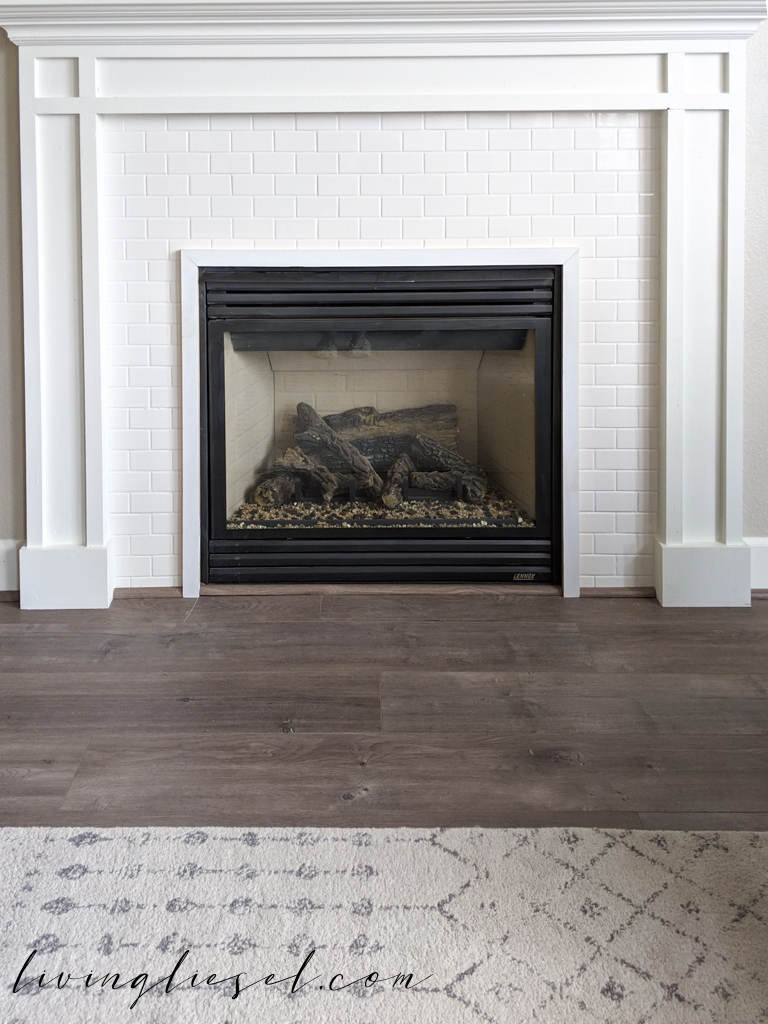
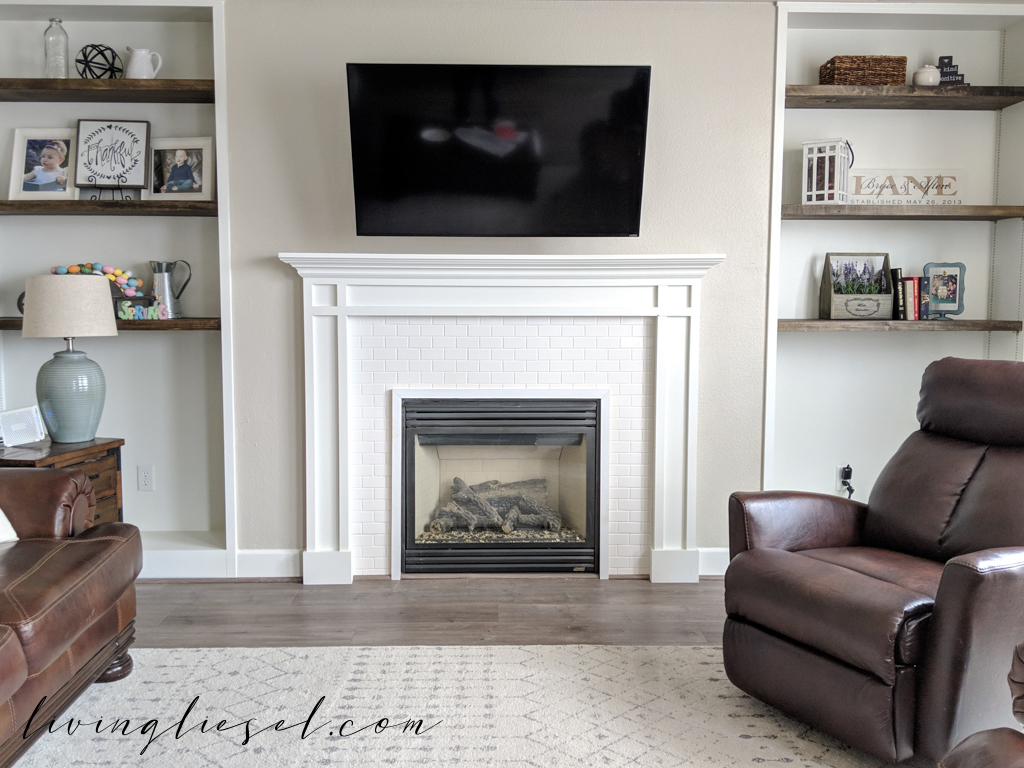
The transformation in this room was INSANE. Look at it!
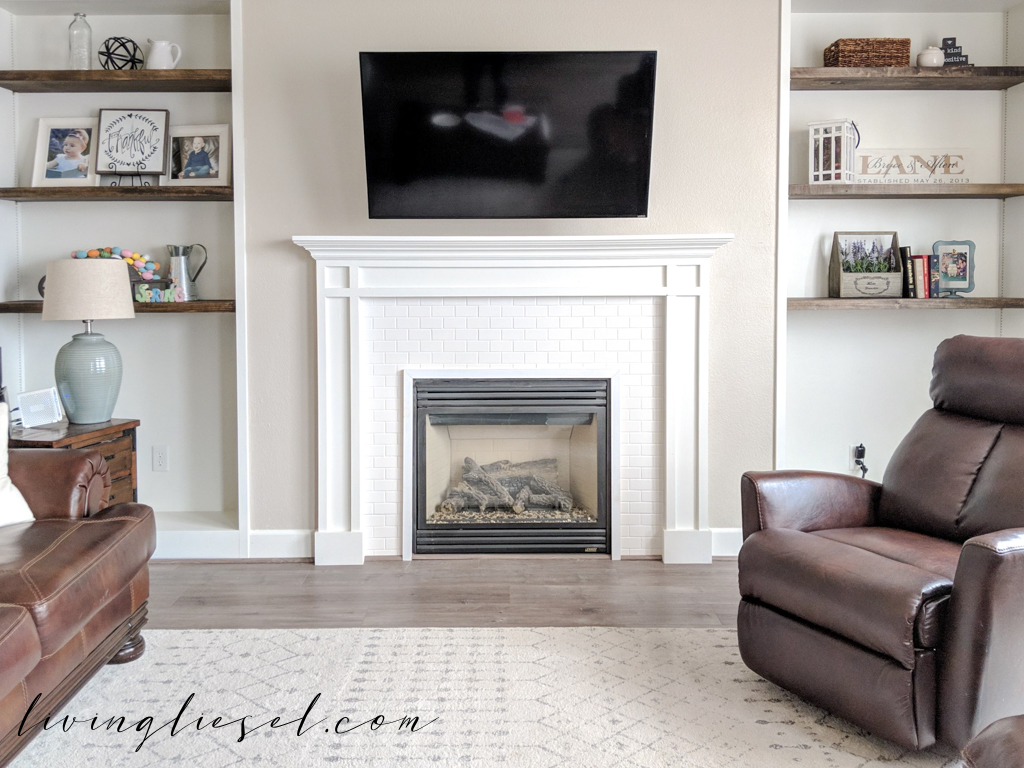
Woah. I’m still shocked.
Anywho, thank you for reading. Follow along for more DIY’s that anyone can do!


It’s really pretty! Great job!
Thank you so much!! It updated the area SO much making the living room actually look custom!