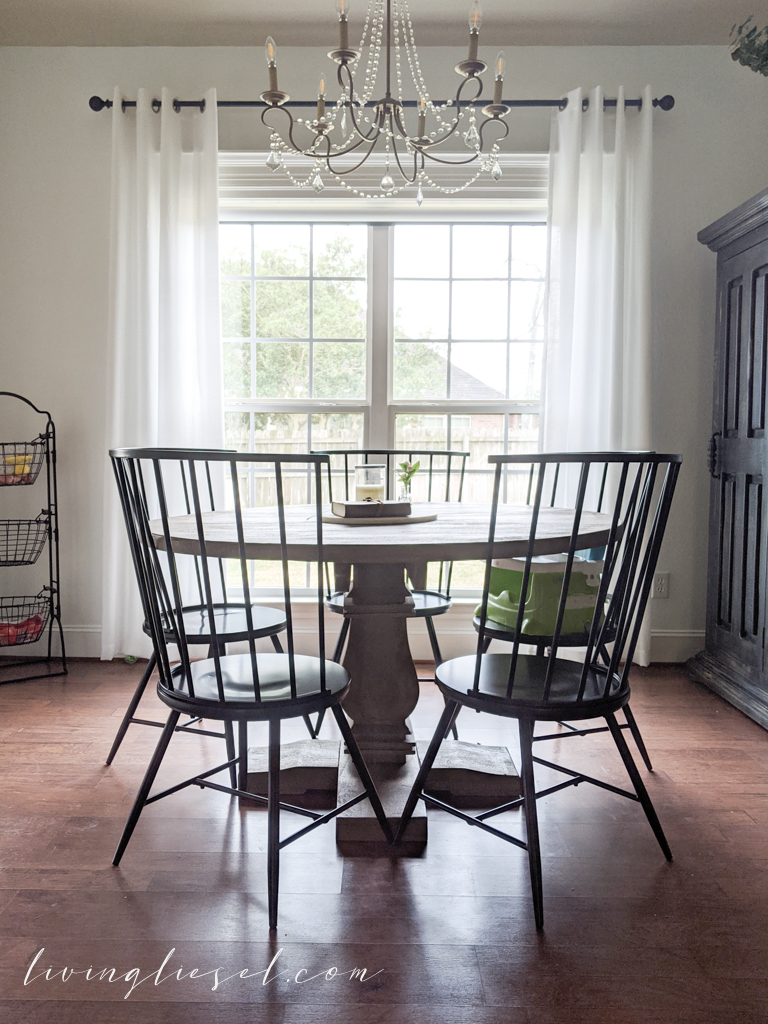
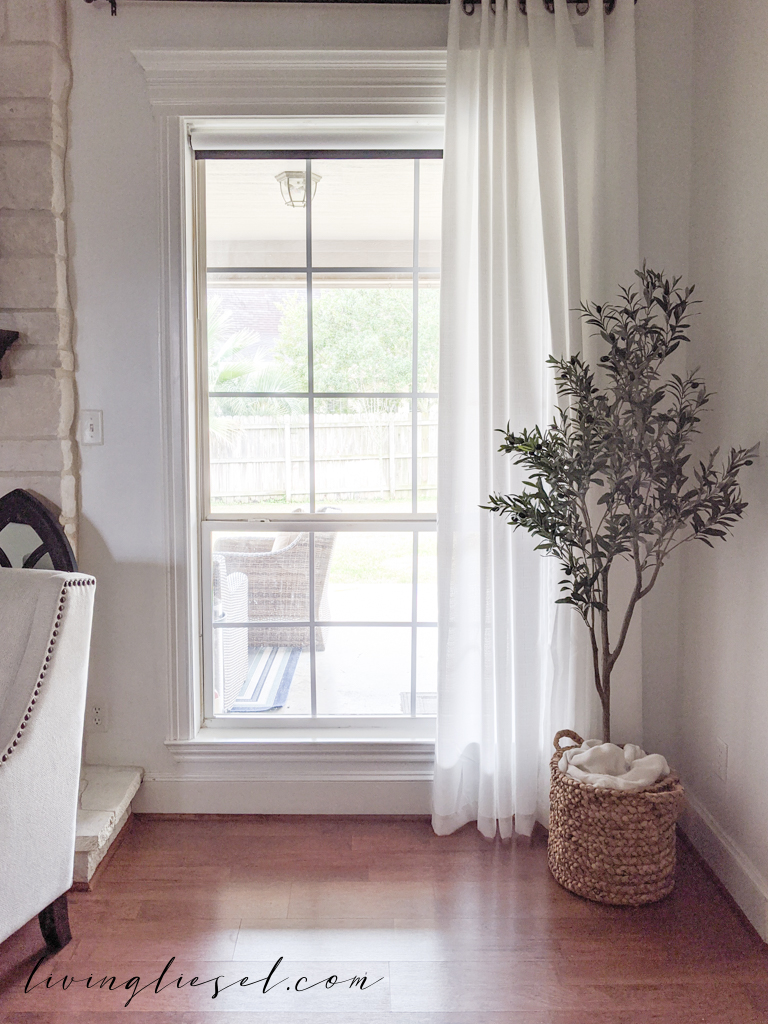
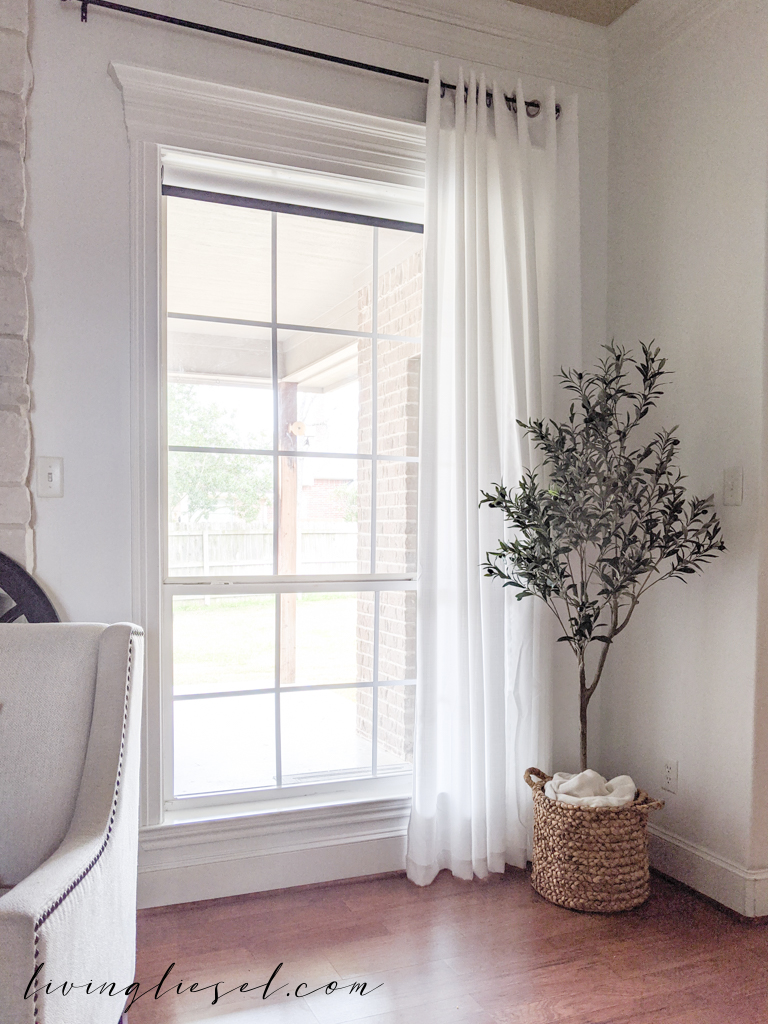
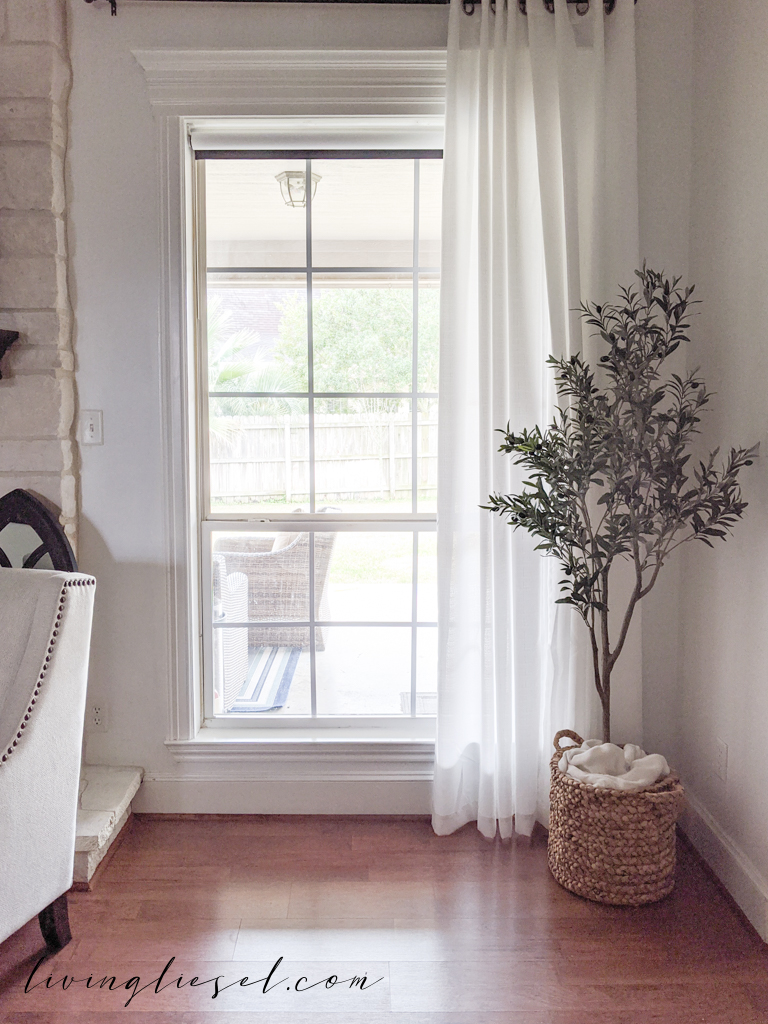
I have always loved the farmhouse style windows that have the little grids in them. They have a warm and cozy feel to their presence. Some call it craftsman, some call it farmhouse.
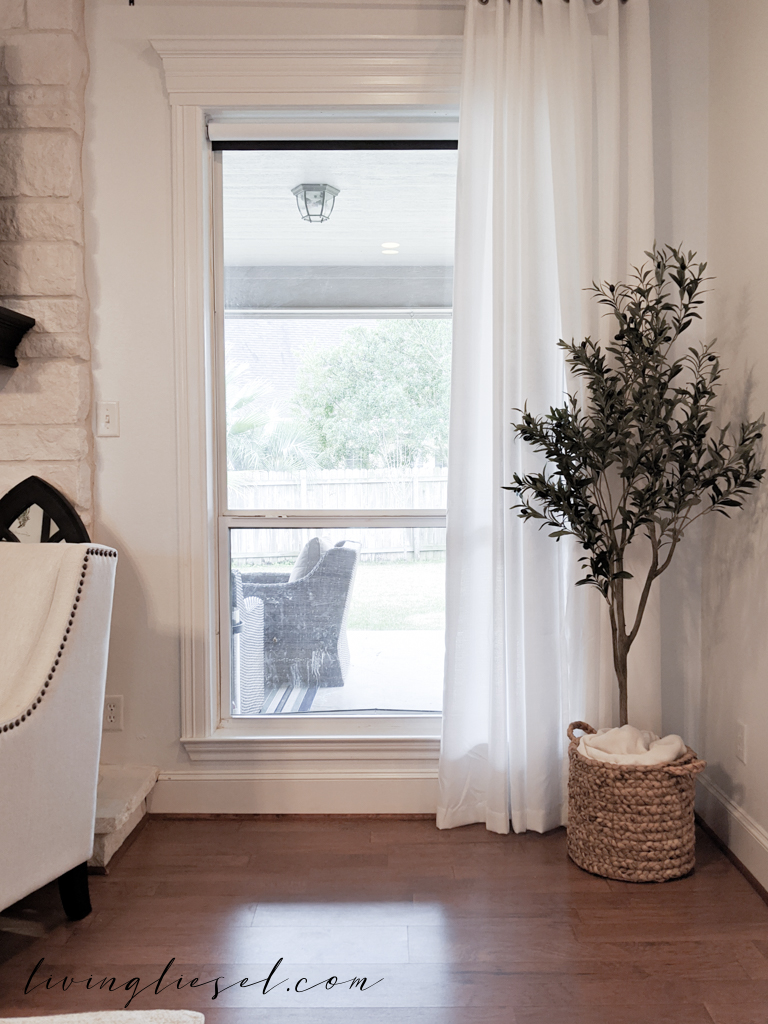
When we moved into our Ravenstone house, I noticed only our front windows had them though. We have a very open concept style home and standing in the living room, I could clearly see the two different styles of windows.
WHO DOES THAT?
My mom mentioned that maybe those windows had been replaced at some point since the house is 15+ years old. I’m not so convinced considering the ENTIRE back side of our house is that way. I think the builder was looking to save a dime.
I had to do something about it. I didn’t want to buy all new windows, though. Those get expensive fast. And I didn’t want to paint the grids on (yes, that thought actually crossed my mind being the DIYer that I am!).
That’s when I found New Panes Creations.
*cue the light ascending from heaven*
I collaborated with them to give my windows a complete makeover and I am so glad I did.
Y’all.
I cannot believe the transformation.
Lemme give you the run down on how to do this. It’s incredibly easy.
You will need a tape measure, a pencil, and scissors. Everything else was provided by New Panes.
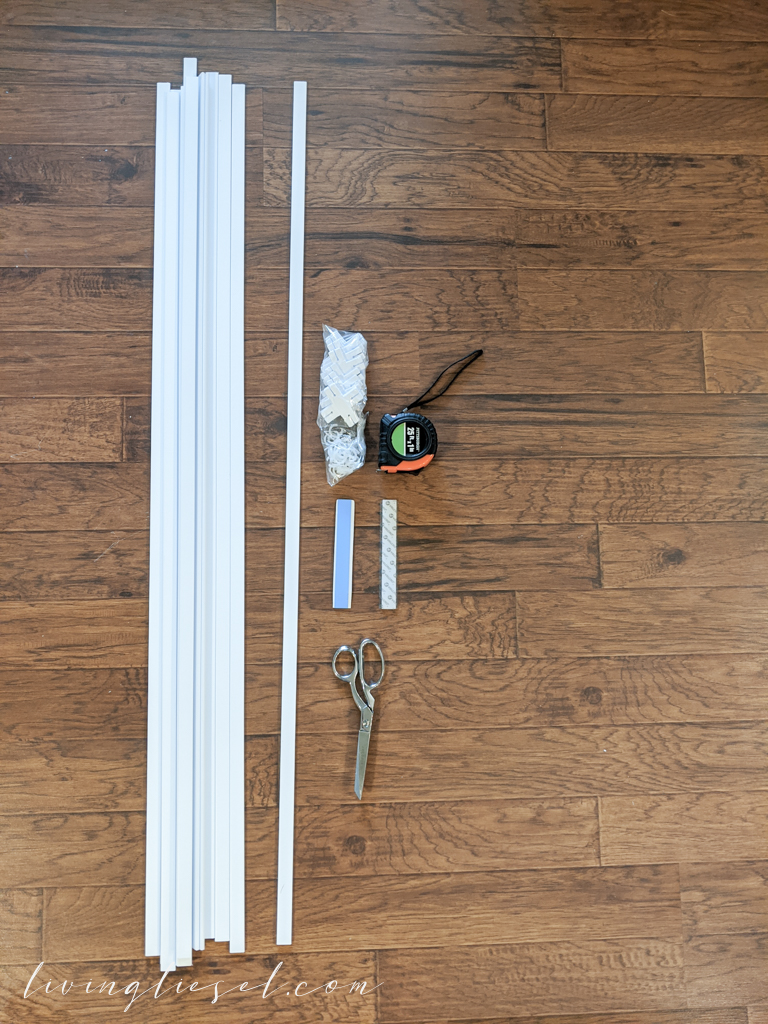
- Sketch what you want your window to look like.
- Measure top to bottom on the window.
- Subtract an inch for each connector you will be using.
- Divide that number by the amount of vertical panes you will have.
- Use this calculator to determine the exact measurement you will be cutting
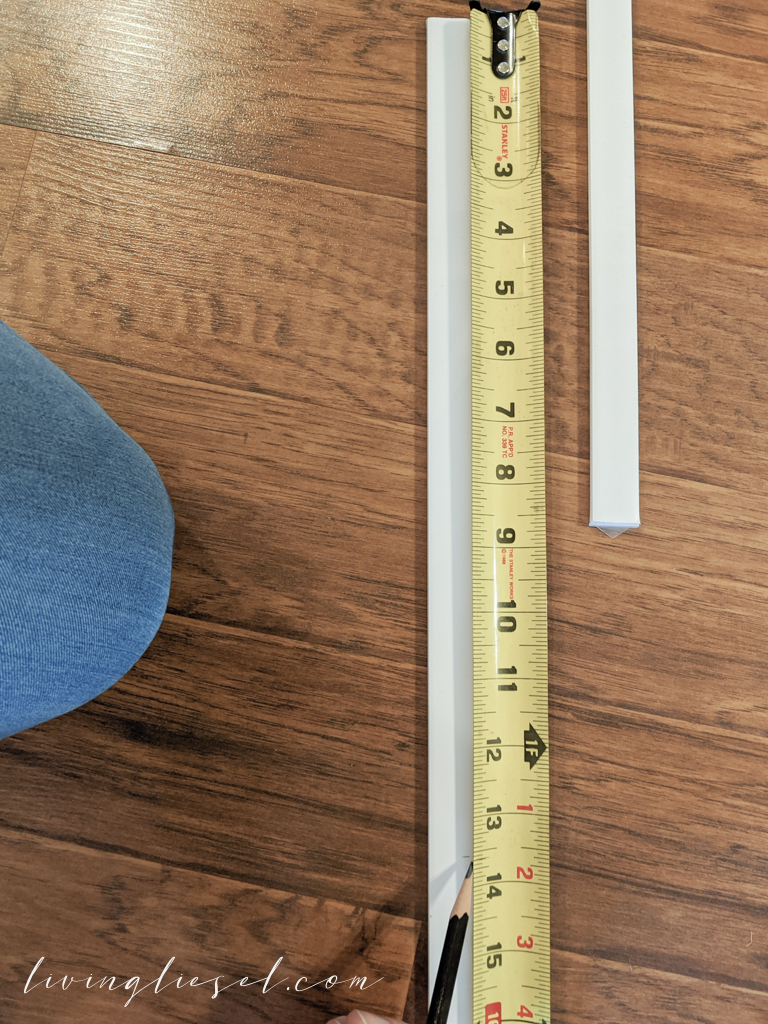
Example: My vertical window measurement on the glass was 42 ¼. I subtracted 2 inches because I was going to be using two connectors to get 40 ¼. I then used the calculator and divided 40 ¼ by 3 (since I was going to have 3 window panes vertically) and that gave me my measurement to cut PVC – which was 13 5/12 (I rounded up to give myself some extra room.
- Do this for the horizontal measurement too but be sure you modify the measurements and divide accordingly for the number of panes.
- Connect the PVC pieces to the connector and add the little edge blades to the PVC that will slide under the window border.

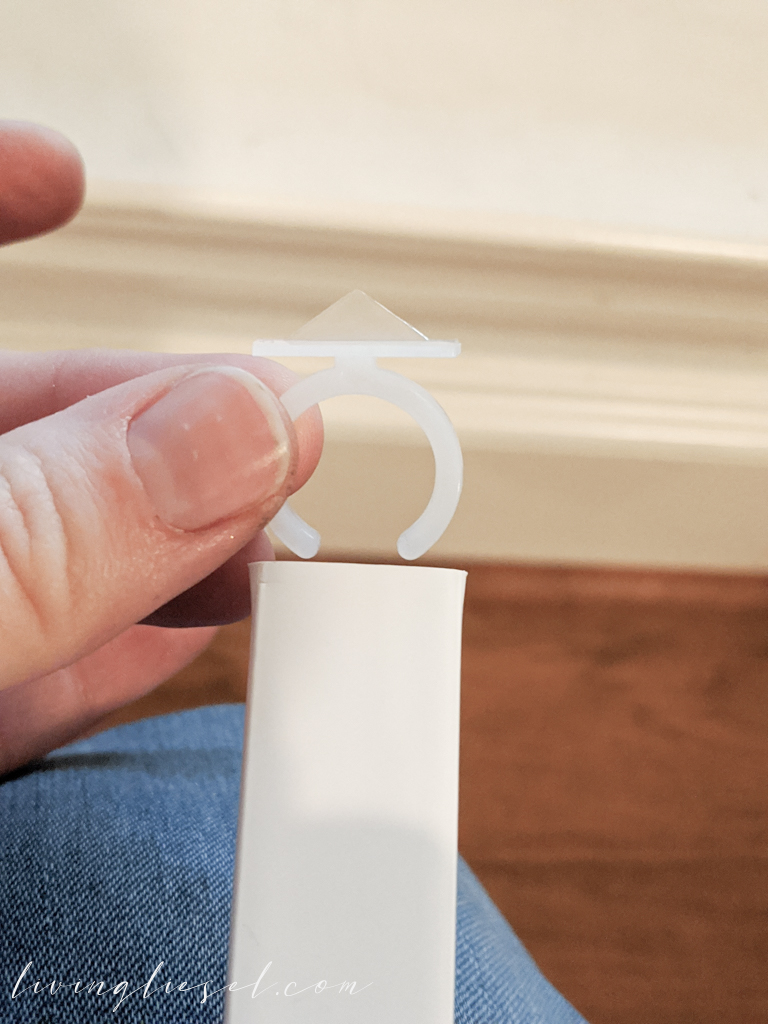
- Once you have them all cut and connected, you can then clean your window and add the Velcro so they don’t slip.
That’s it! It took me no time at all to do 4 windows and transform my living room and dining room. They are easily removable so you can clean the windows too!
ISN’T THIS GENIUS?
It was something I didn’t even know was possible. And it was ridiculously easy and extremely affordable!!
It completely changed the look of my living room and dining room. I can’t get over it.
New Panes Creations FOR THE WIN!
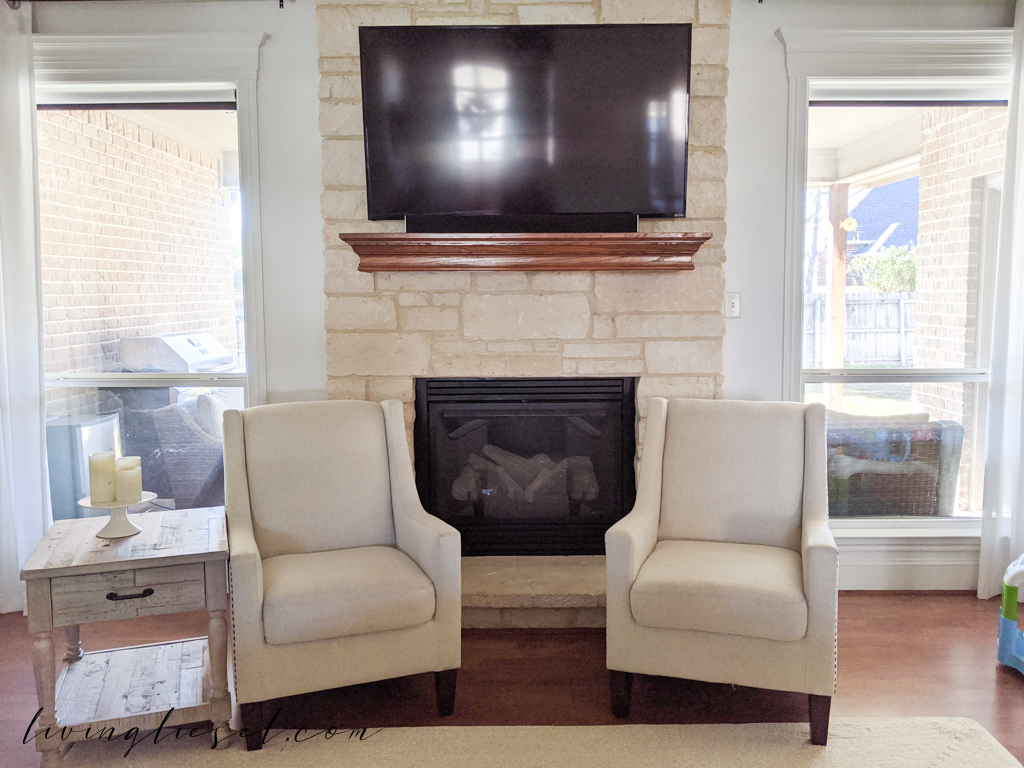
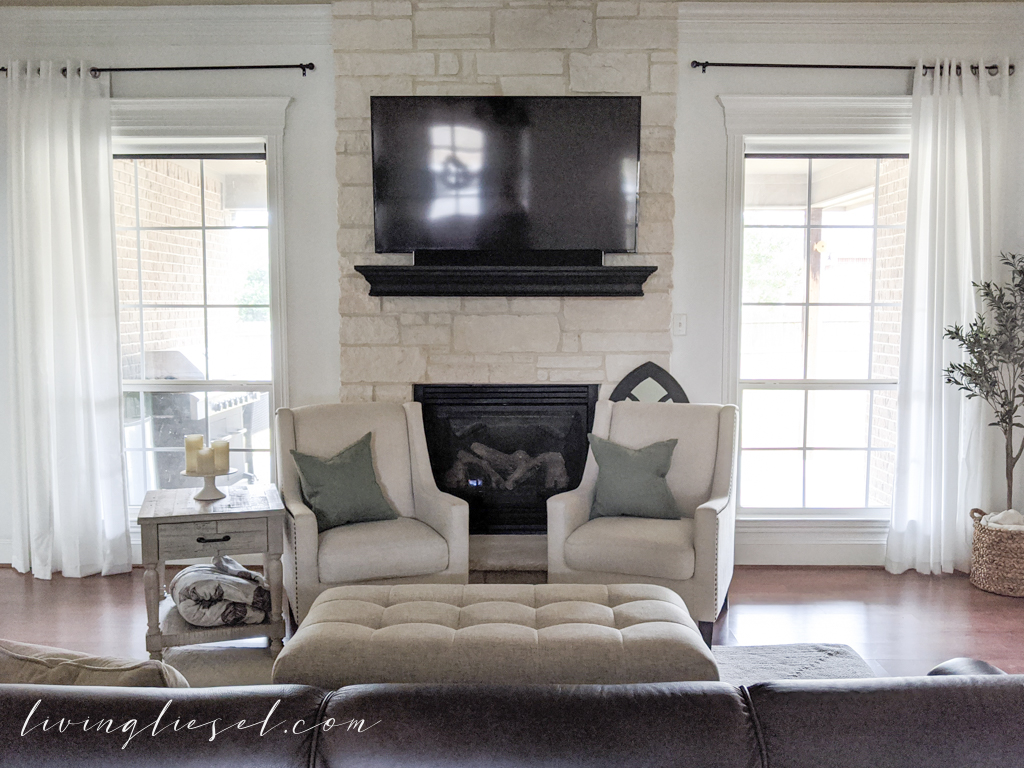
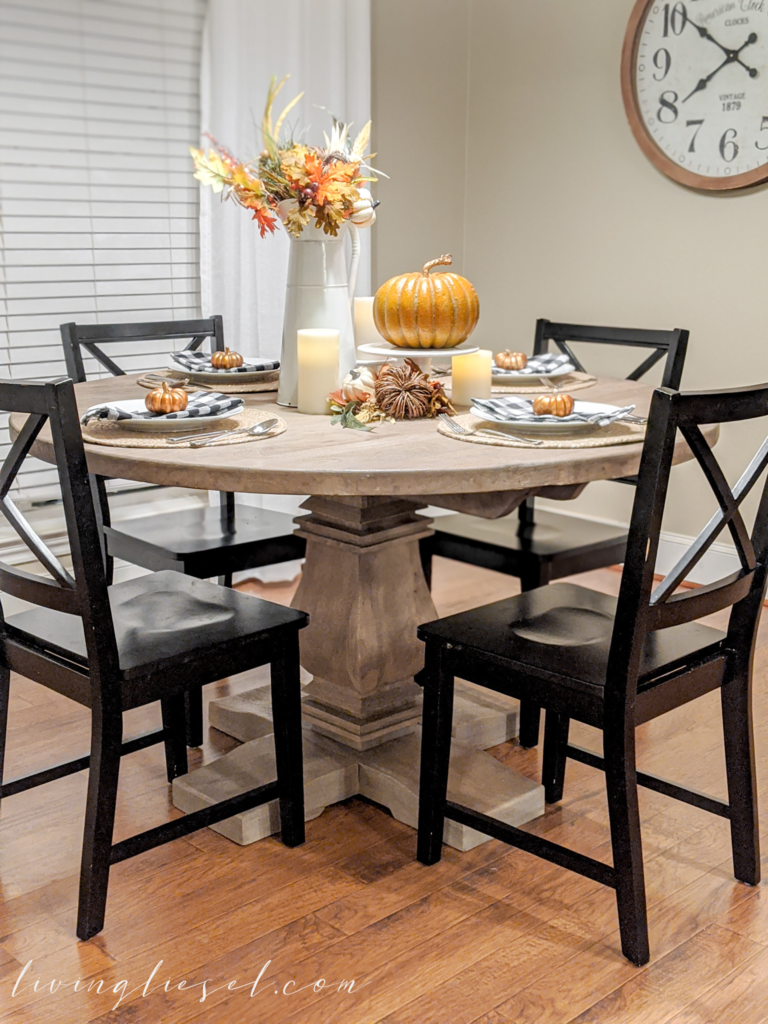
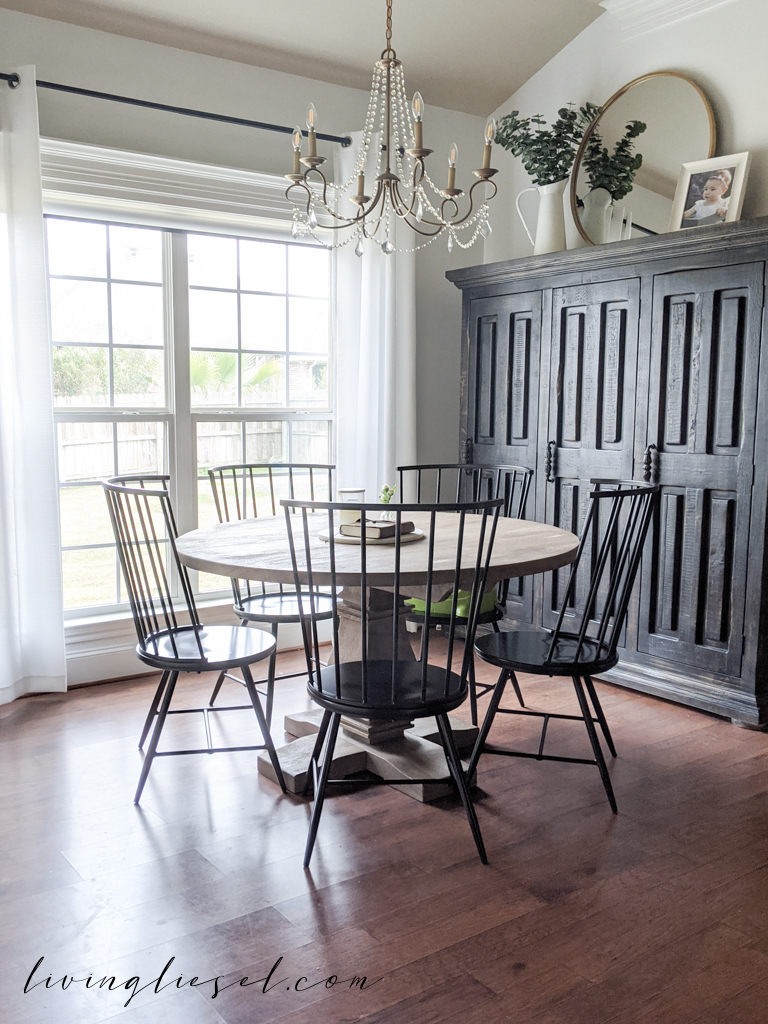
OH!!
THEY ARE PAINTABLE.
I am toying with the idea of painting them black to make them even more farmhouse looking. Y’all know I love black accents.
If (let’s be real… when) I decide to paint these, I’ll write another how-to so you can see even MORE before and after photos!
SHOP THIS POST
