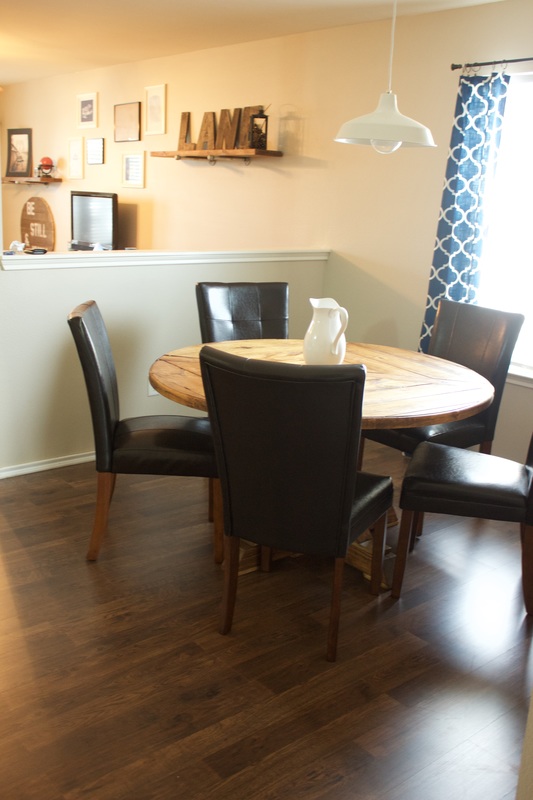
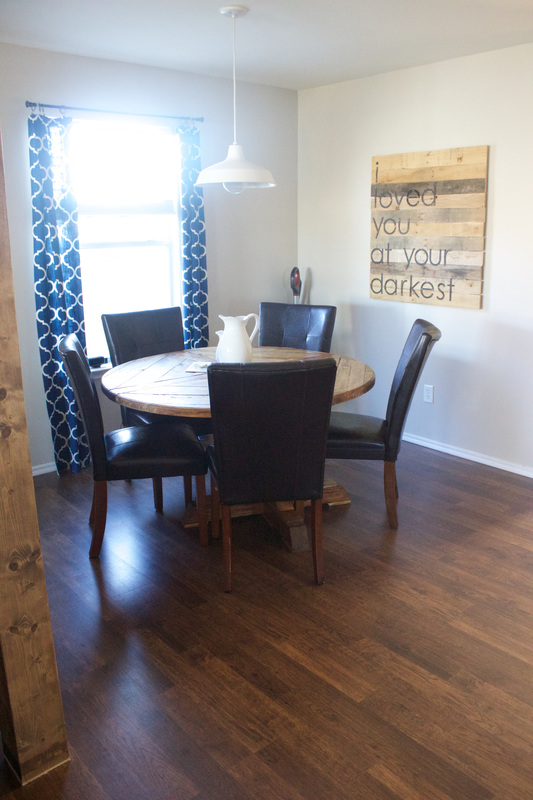
Laminate Floors are kind of a big deal.
Our carpet in our dining room needed to be burned. One day my husband and I looked down at the carpet in our dining room and noticed a GIANT stain. The next day, the stain had grown. It had gotten bigger, I know it did. Which is why we decided to lay laminate floors. We started tearing up the carpet right then. Keep in mind, this was our Texas foreclosure. So what was that growing stain? Mold. It was MOLD under the carpet. This house had been left vacant in a humid environment and sure enough, mold had formed. Disgusting.
We ripped up that carpet faster than you can imagine. With gloves and bleach in tow, we took the carpet to the dump and began deep cleaning the concrete with bleach. I was SO thankful there was concrete underneath and not a sub-floor like most Colorado homes. We cleaned our butts off. These are the things you should expect in a foreclosure. Expect the worst, hope for the best type of thing. Let me tell you, I was not prepared for mold. BUT now I am always prepared for mold. And it’s not as scary as it once was. It’s still as gross, though.

Demo
We pulled up the carpet, the underlayment, the wooden nail strips, swept, bleached, and pulled up the baseboards. This part is the most taxing. You need to be sure the surface is smooth when you are finished pulling everything up so the laminate floors lay flat. This means no dirt, debris, staples, glue, or any of it. You can also do rooms or sections at a time with laminate which is why I found it fairly easy. It’s a simple project but it is labor intensive so we found it easier to break it up by rooms. When doing this, you will just want to cut the carpet at the room divide and lay down a temporary transition if needed. A piece of cardboard works perfectly.

Mid-Project
When you lay laminate and wood floors, you need an underlayment. This will protect the floors, help with noise reduction, and give you that needed moisture barrier. We got an underlayment that had the moisture barrier and a sound barrier all in one. You can buy them separately and lay they on top of each other but this option costs another $5 a square foot. The image below shows me rolling out and straightening the underlayment.

Laying the Laminate Floors
We started laying the floors and it was so quick and easy that I almost forgot to take pictures! We did a click and lock floor so you match the pieces together with the tongue and groove and then use the soft mallet to make sure they click and lock. Our floors were from Home Depot but I think you can get them on Amazon now too! Here is a similar flooring.

When we started laying the floors, we found the longest and straightest wall in the area we were putting the floors in. This is the starting point of allllllll the floors you lay. If you begin crooked, all of your floors will be also be crooked.
Remember though – almost every house has crooked walls from settling.
Typically though, the longest back wall and the longest front wall will be parallel. This is a great place to start.
Once you get going, you will use your rubber mallet to tap in the end pieces that butt up against the walls. These tend to give us a little grief so be patient when maneuvering it in.
Also be sure you read the instructions on the box of laminate you purchase. There are many varieties of laminate flooring. Not all brands have the exact same install. This will also tell you which way to face your laminate with the tongue and groove. This will save you a lot of trouble in the long run.
One more tip after laying your new flooring:
Since you already have the baseboards removed, unless you are planning on replacing them, take them to the garage and give them a top coat of paint. It really freshens them up. When you reinstall the baseboards, you will also want to be sure the old nails are removed. Use a nail gun to put them back up and then fill the holes and add a bead of caulk to the top.


If you would like to see what this house looked like before we bought it, click here. Let me warn you though, these pictures are not pretty.


Comments
Comments are closed.