I can’t believe it’s already been FOUR years! This is a post update from when I originally gel stained our kitchen cabinets on Meredith Lane.
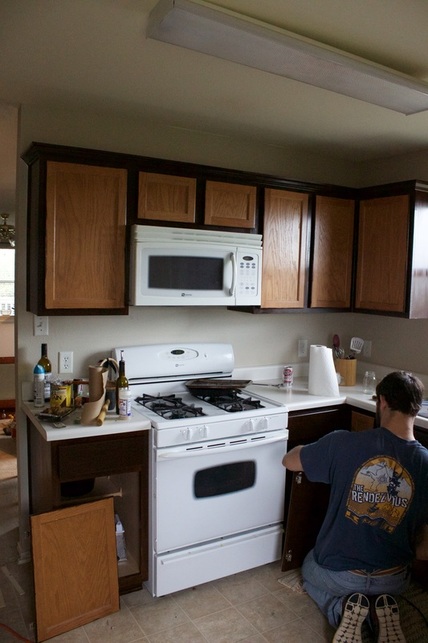
When we moved into our house the first thing I wanted to update was the kitchen. We were not interested in spending a ton of money immediately upon moving in so I knew gel stain would be my best friend. Our cabinets were the builder’s grade oak with a nice crown moulding on the top. I was thrilled about the crown moulding since that was something we didn’t have in our last house. This house is also 15 years newer than our previous house is Castle Rock. If you want to see Meredith Lane before we bought it – click here!


It’s a pretty small kitchen so I was ready to get going on this project immediately! We also knew that babies were in the near future so we wanted to get all of the stain and non baby/pregnancy safe projects in the house done as soon as possible.
Items Needed:
- Gel Stain
- Paintbrushes
- Painter’s Tape
- Drill
- Rags
- Drying Space

The gel stain I used was Minwax Gel Stain in the color Hickory. I have used the Java color in the past and it was too dark. This one still shows brown if you accidentally over-stain. You can get it on Amazon here. I only needed 1 quart on my entire kitchen. My kitchen was very small though. If you have anymore than a 10×10 kitchen, I’d grab 2-3 quarts so you don’t have to lug around a gallon.
I started out by taking off all the doors and hinges. Strip it down to bare bones!! I taped off the walls surrounding the cabinets, the inside framing, and the areas surrounding the shelves. I did the outside frame first. The gel stain is pretty sticky so you have to move fast. I was trying to swipe up, swipe down, and move on.
Move quickly, this stuff is sticky!
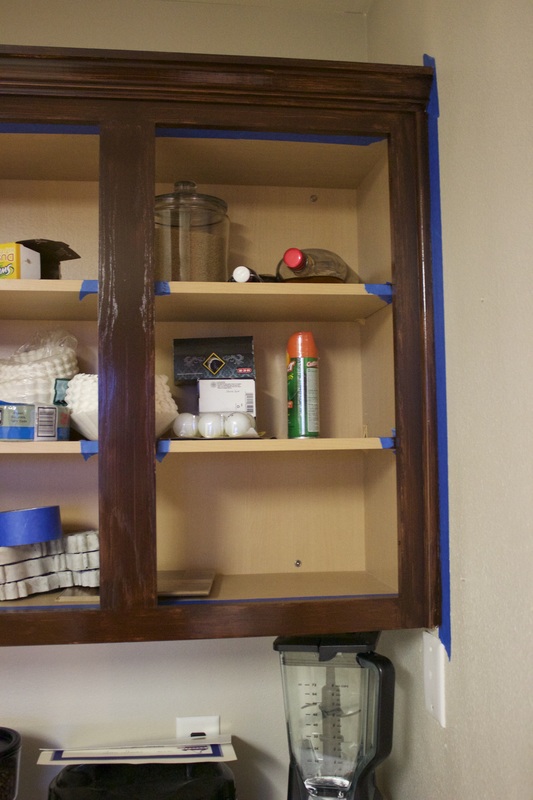

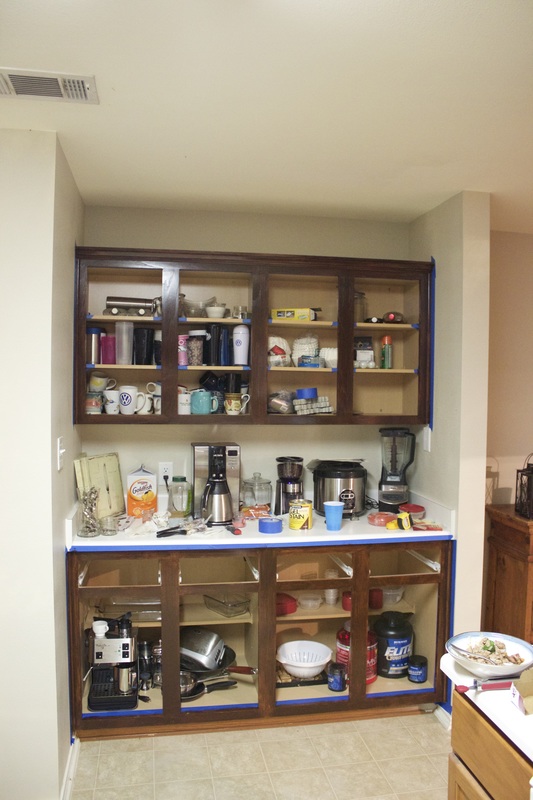
As you can see I didn’t even empty the cabinets. We actually used them over the week that I gel stained! Yes – it takes close to a week to finish the whole process. You paint, dry for about 2 days, do touch ups, and then let them dry for a couple more days.
After a little trial and error, I realized that despite what the instructions say, I have had the most success with doing THICK coats. I try to do the first coat pretty thick and then when it dries, I do touch ups .
DON’T DO WHAT I DID
The only pictures I got of the cabinet doors were of the first set I completed. I did the faces first and THEN the backs. I DON’T RECOMMEND THIS.
With the cabinet doors, I found that it was most efficient to gel stain the back and sides of the cabinet doors, LET THEM DRY and then hang the doors with the hardware on the back of them and lastly, gel stain the faces while they are hung.
I repeat:
Do the backs first and then hang them and paint the faces.
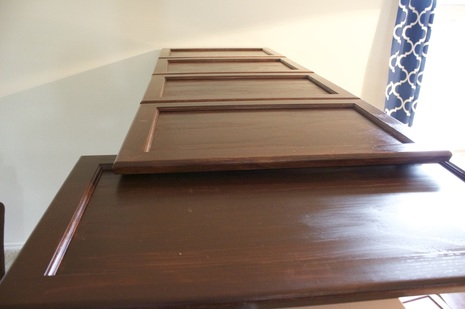
This is the most efficient route. For drying that first coat, I had them sitting around the house for about two days. In the picture above, I had them sitting on a half wall on top of Tupperware – ha! Do what we gotta do, right? I knew I didn’t want them in the garage because like any paint project, anything that collects in the wet surface while it is drying will stay on that surface.
Paint the back first, dry and hang, and then paint the front
When we put the cabinet doors up I put a small piece of paper towel on the little cushion that softens the slam of the doors to prevent the gel stain from sticking and peeling up the stain on the frame and door.
Drawers
For the drawers, I needed a place for them to dry so I taped the walls and leaned them up against it to dry. I angled them in a way that as little of the drawer was touching the wall as possible. Becuase of this, I was able to do one thick coat and no touch-ups were needed! YAY!


It’s not hard but it is exhausting
Repainting or refinishing cabinets isn’t difficult, but it does take a lot of time. If you decide to redo yours, give yourself some time and ensure you have the space to let them dry. I can hardly stand the idea of seeing what is hidden in my cabinets but it was well worth the chaos. In the middle of this project our dishwasher went out so we were washing dishes by hand. God bless modern day technology. I’m anxious to replace the rest of the appliances but this should hold me over for awhile!