Our littlest guy’s nursery has been my LAST priority until recently. We had moved into a new build home in Colorado just a week before he was born. I hadn’t even thought of a nursery considering he’s our third kid. He’ll be fiiiiine.
Sorry bro.
When he was 4 months old, we moved back to Texas. I think he slept in a pack n play for at least a month here. I didn’t even have a crib for him! HA!
Fast forward 5 months later and he’s 9 months old and I am finally making his room look cute.
I wanted to be careful with what I did in here because I expect when he is between 1.5 and 2 years old, he and JJ (middle bro) will share a room while Scarlette gets her own room. She’s the only girl and the oldest so she will be starting kindergarten in about a year and a half!
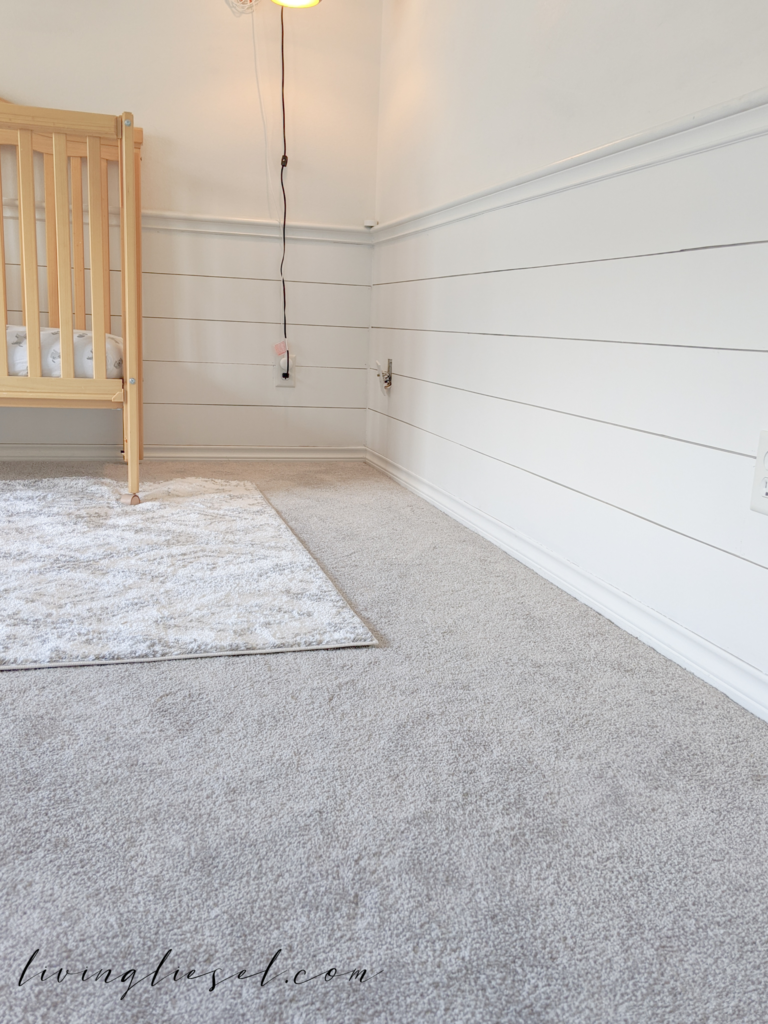
Back to the Shiplap DIY.
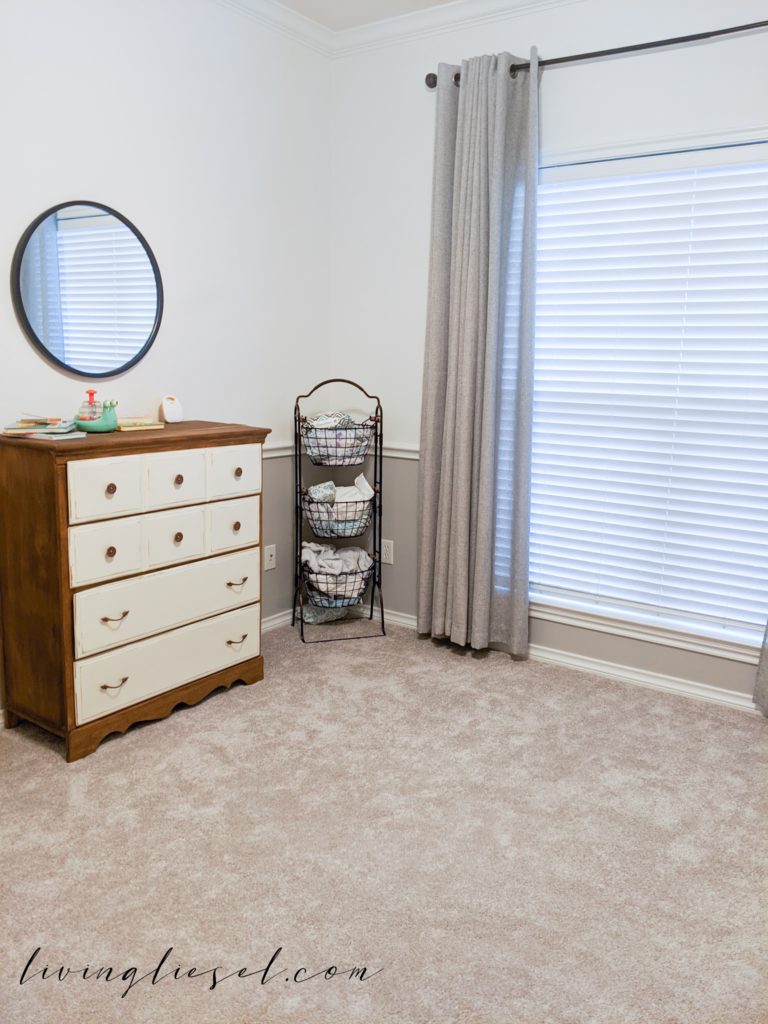
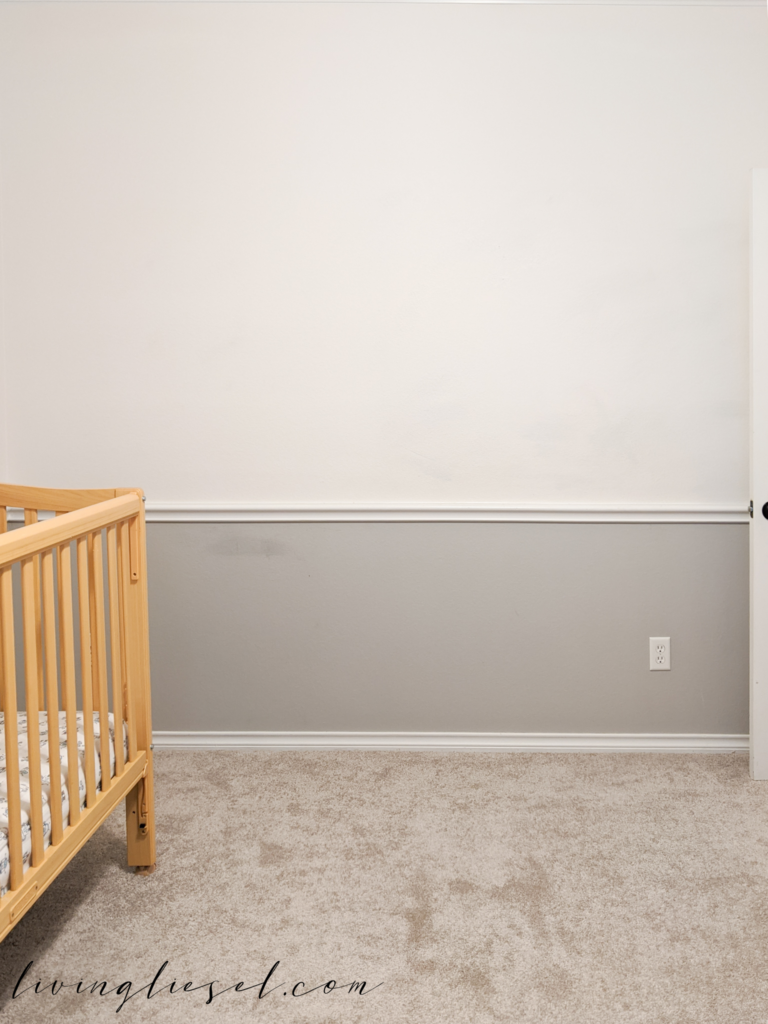
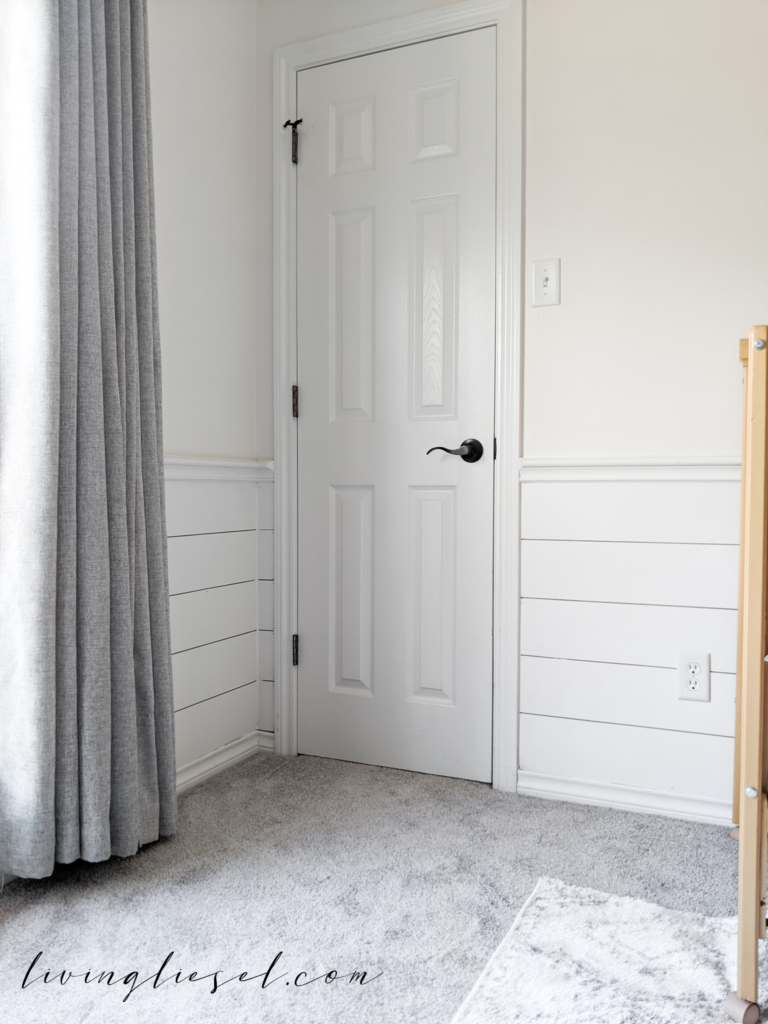
His room already had a trim halfway up the wall. Almost as if wainscoting was started but not fully finished? Or maybe that’s a real style. It didn’t look bad but it wasn’t what I wanted. I don’t care much for two tone rooms to begin with though.
We considered pulling the trim off and just painting or doing one entire accent wall with shiplap but in order to do that, we were going to have to likely sheetrock/patch and retexture.
Retexturing never really looks the same unless you are a pro. We… are not pro’s.
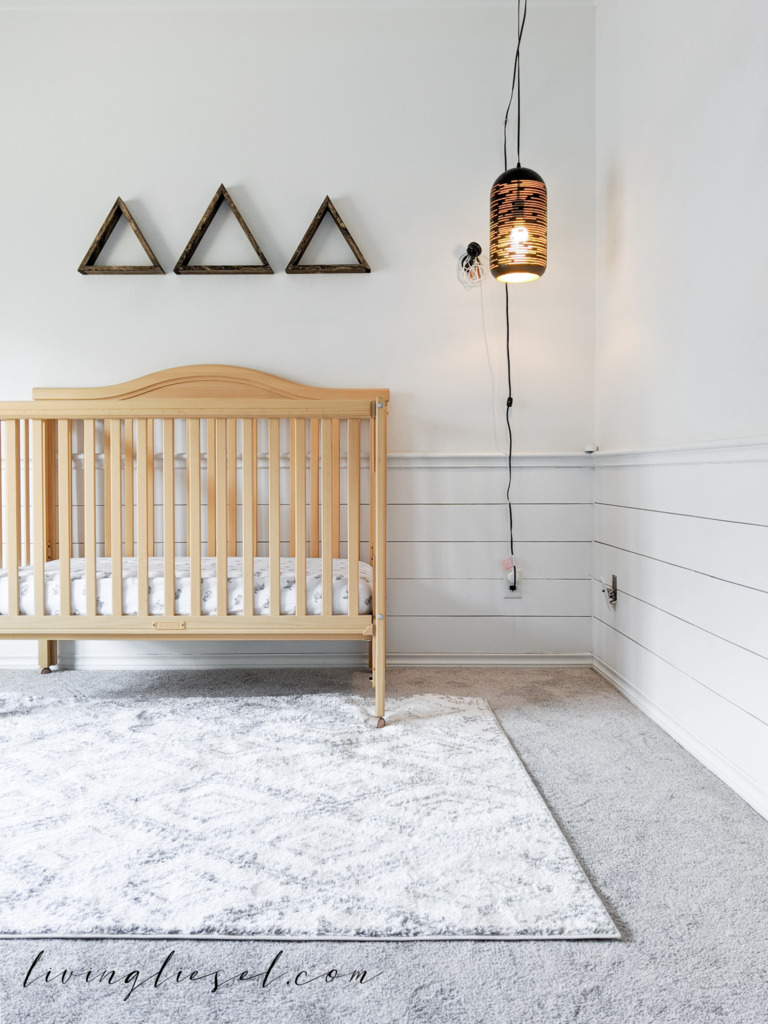
Because of that, I decided we would do a shiplap wainscoting.
It would give the room a little cozy feel to it and make it neutral enough so when we move Scarlette in there, I can add some floral wallpaper or something to make it girly.
How to shiplap.
We bought 5 sheets of ¼ inch plywood and cut it with a table saw in 5 inch strips. We did ¼ inch ply because true shiplap is heavy and more expensive. Each sheet of plywood cost about $14 a sheet if I recall.
I should have only bought 3 sheets max. I have a lot of extra.
Sand.
Next, I used a Rigid Orbital Sander to sand the frays off of the edges. I didn’t need to sand the face plywood. It was already very smooth on the surface.
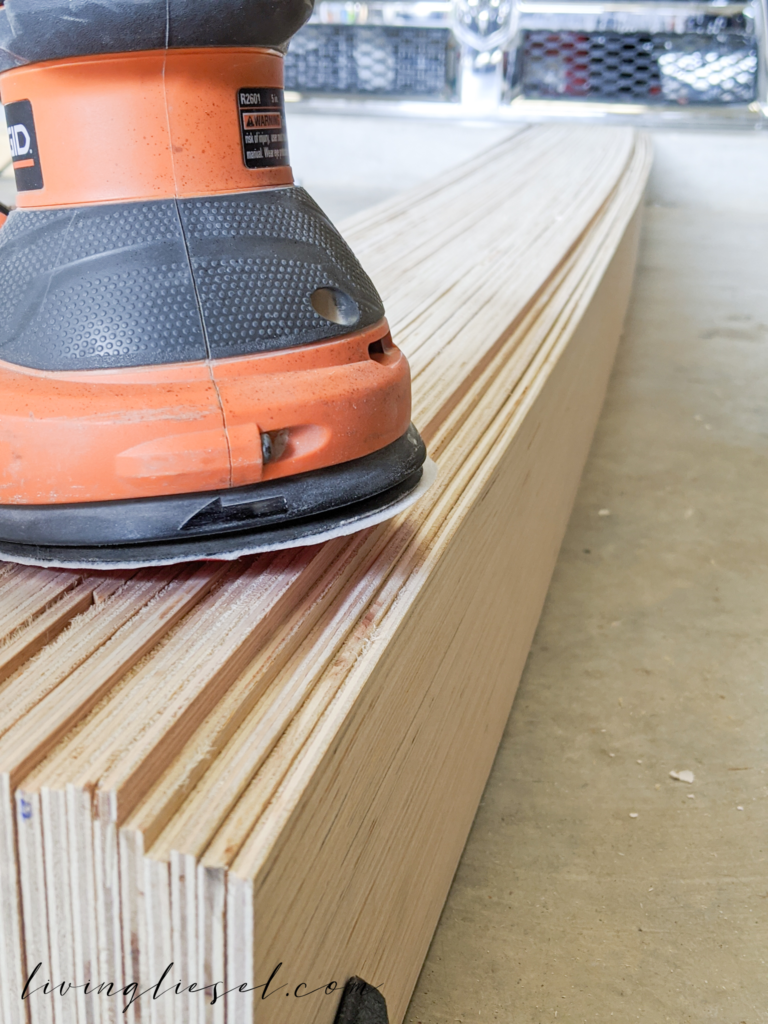
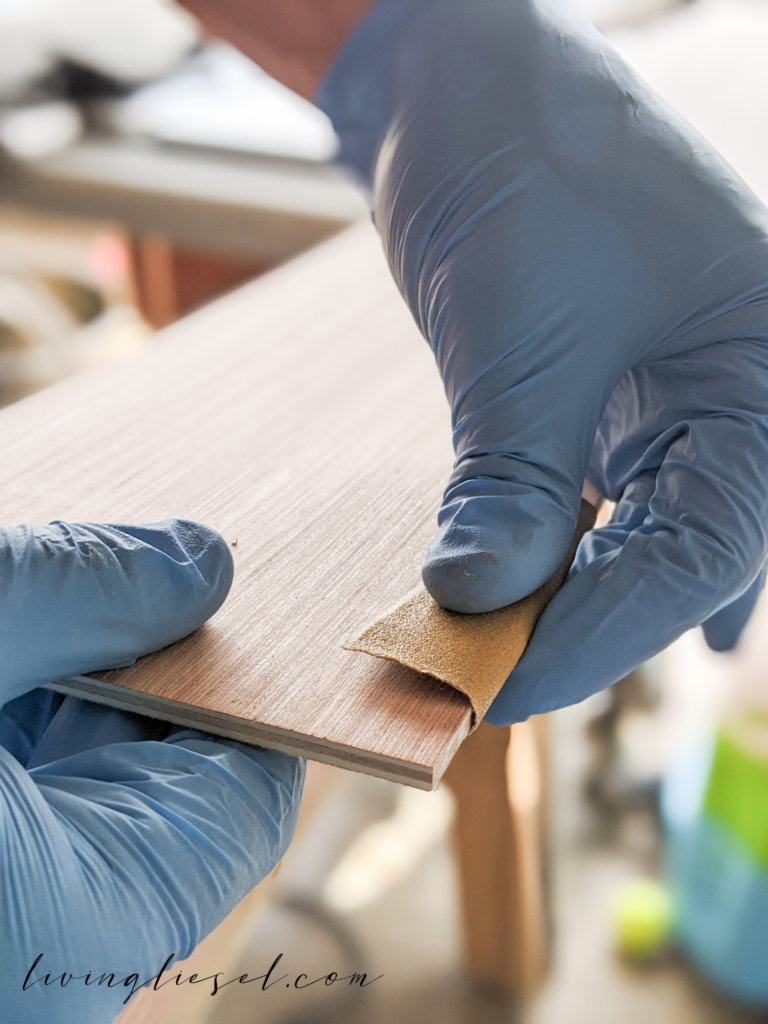
The sander did a little of the work but I ended up having to take a piece of sand paper and quickly run it down the sides by hand.
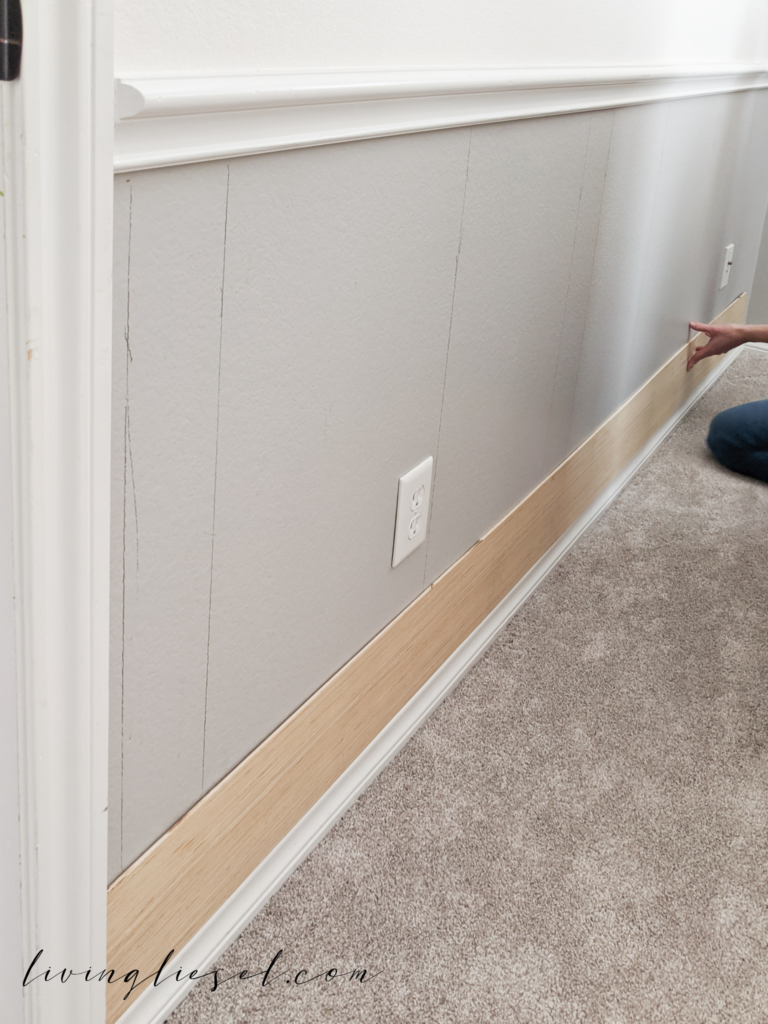
Mark your studs.
Next, I found and marked all of the studs on the walls. I drew a vertical line on each stud so I knew where to nail the shiplap.

WHEN YOU ARE MARKING STUDS AROUND THE OUTLETS, BE SURE YOU MARK ABOUT ½ AN INCH AWAY FROM THE OUTLET ON THE FOUND STUD.
The last thing you want to do is hit electrical wires while nailing your shiplap!
I admit, every time I nailed near the outlet, I would close my eyes and say a little prayer.
Nailer.
Then, I would bring in the shiplap pieces to be cut and nailed to the wall.
I would mark the shiplap on a stud so that each piece began and ended on a stud.
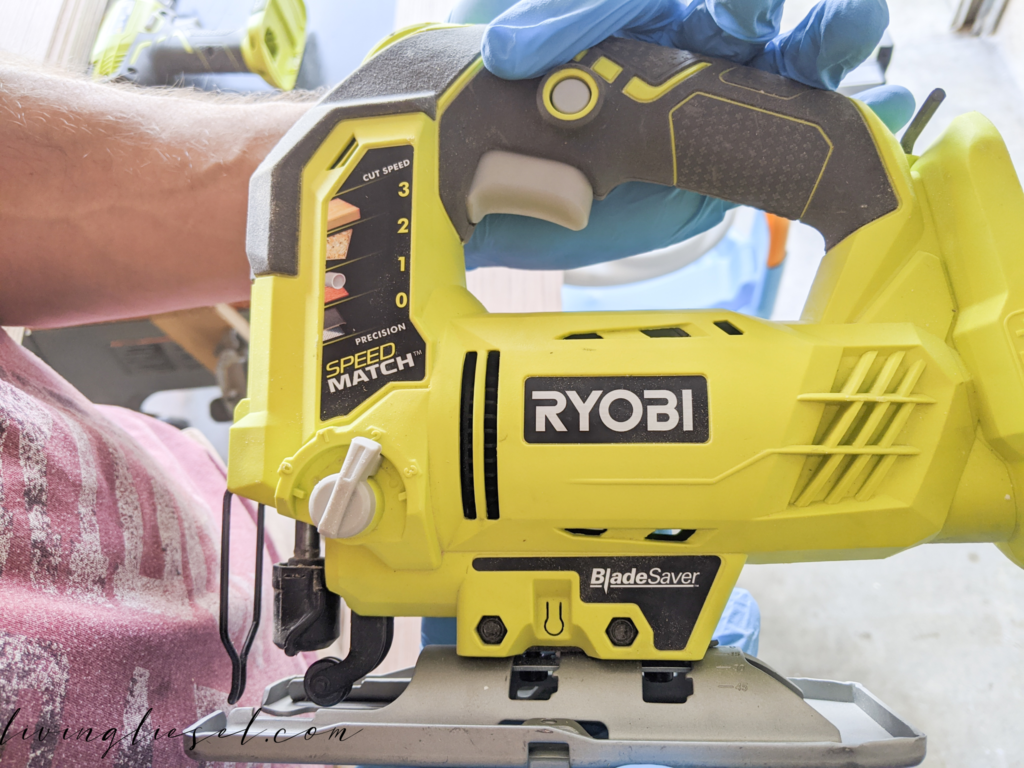
The hardest part in all of this was really just making sure the outlets were properly measured and cut around. In order to cut them, I used a Ryobi jigsaw. It’s solid, cuts well, and will last a lifetime!
I used an air compressor and a nail gun to quickly pop through and nail the pieces to the studs. I only nailed on the studs and in the corners.
You can use an airless nailer to make it a little less of a hassle. I love Ryobi products and recommend this one.
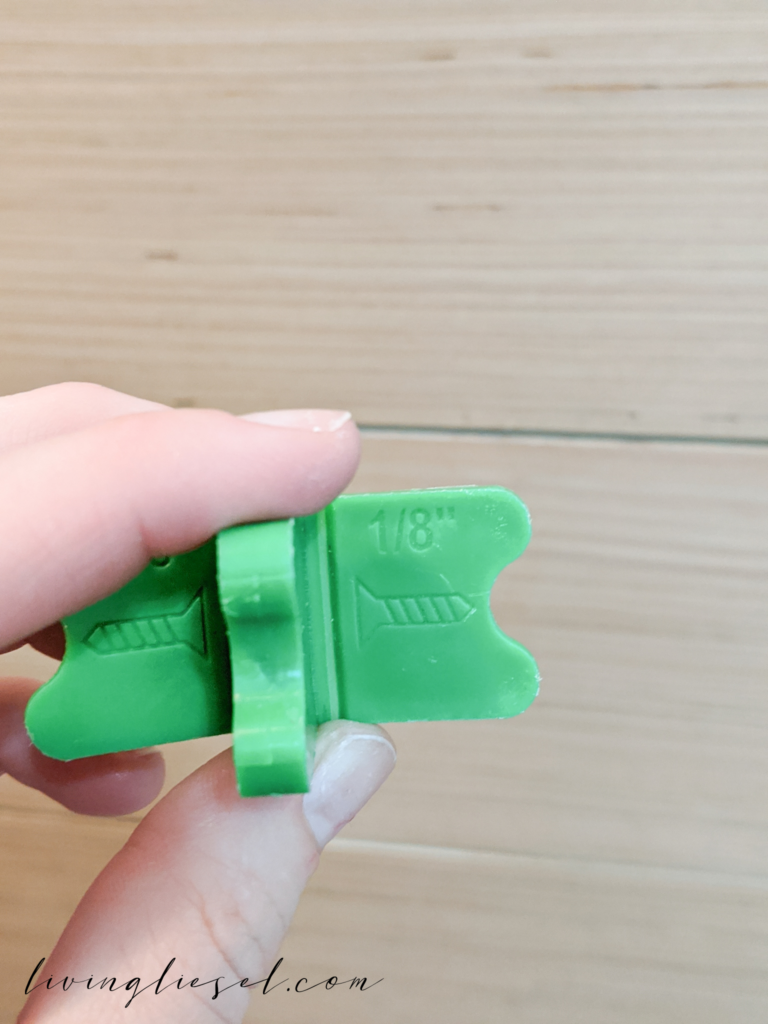
Spacers.
In order to make sure the shiplap was properly spaced, I had two little 1/8 inch spacers I would put between the two boards. I would pop through with the nail gun and nail the shiplap and then move the spacers down to the next section I was nailing.
The longer pieces are more difficult to do this with so I would recommend having an extra set of hands with you. I had my kids on one end of the board holding it up while I nailed on the other end.
I do what I’ve gotta do.

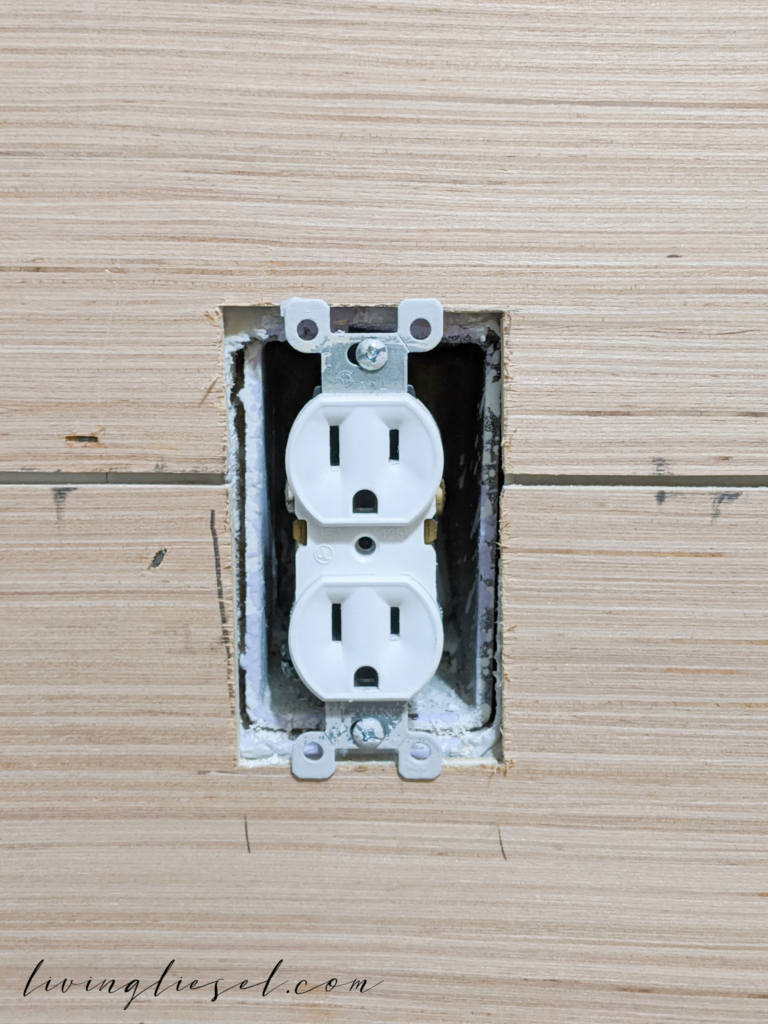
Don’t forget to pull out your outlets.
What I mean by this is be sure to pull the metal bracing on the outlets out so they can be installed later over top of the shiplap. I learned this the hard way and the bracing behind the shiplap on some and it made it so the cover to the outlet was flimsy.
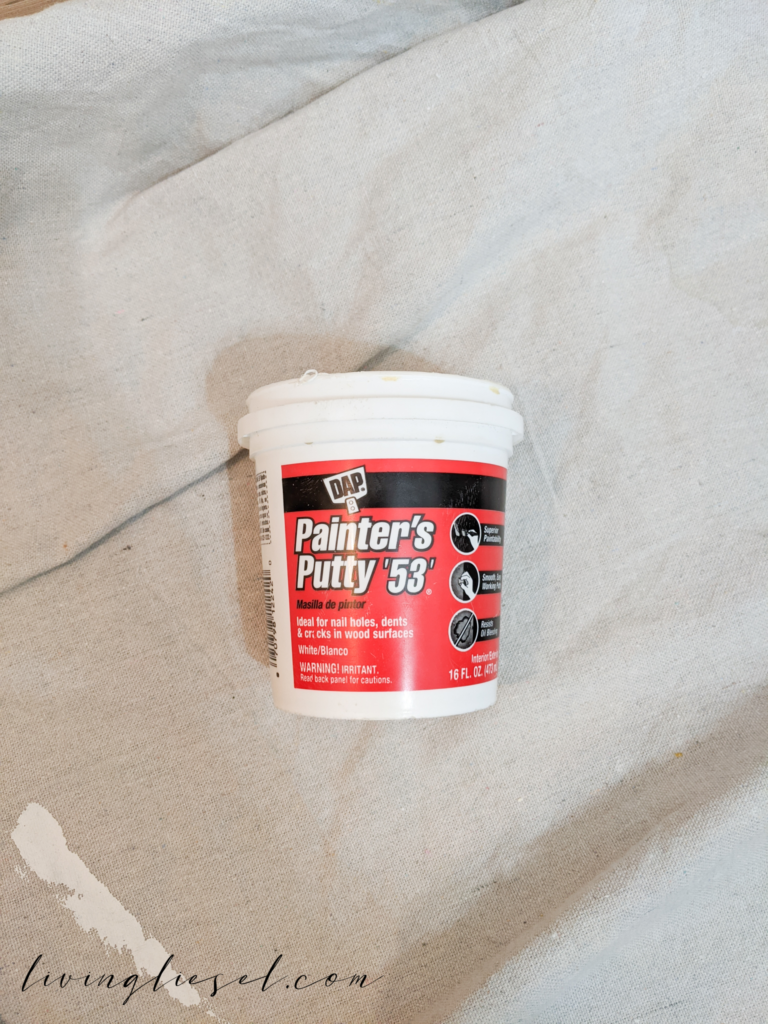
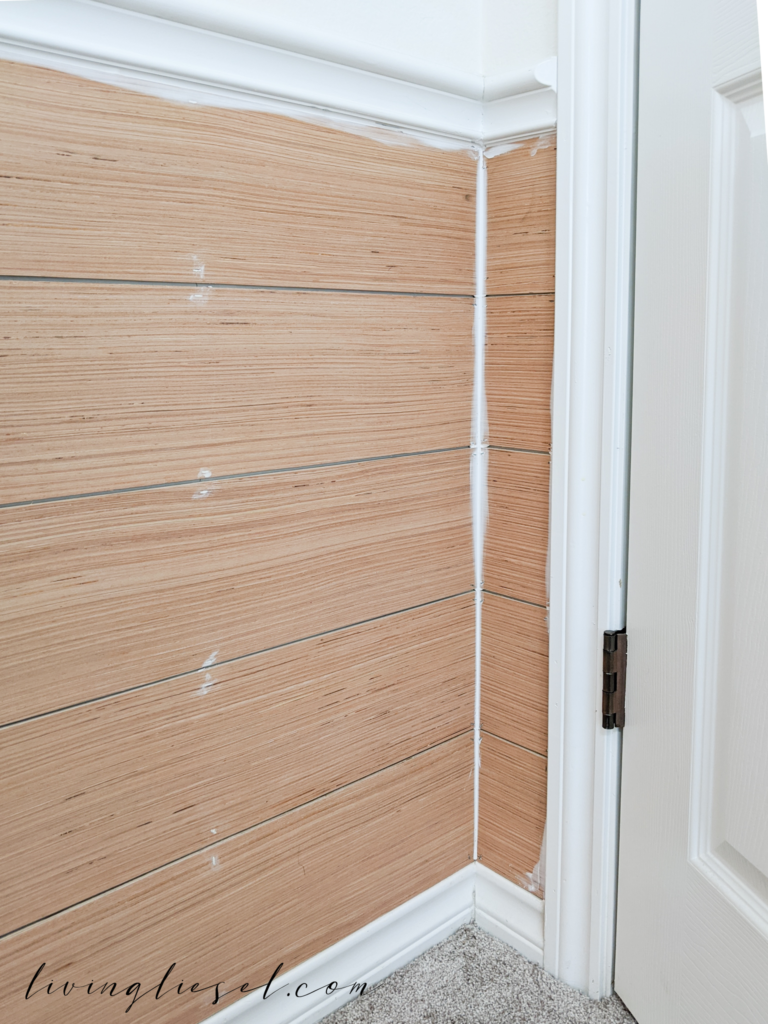
Fill your gaps.
Some places I went too quickly and left a gap unintentionally. Before I painted, I used painter’s putty and filled any gaps I didn’t want visible and I filled all of the nail holes.
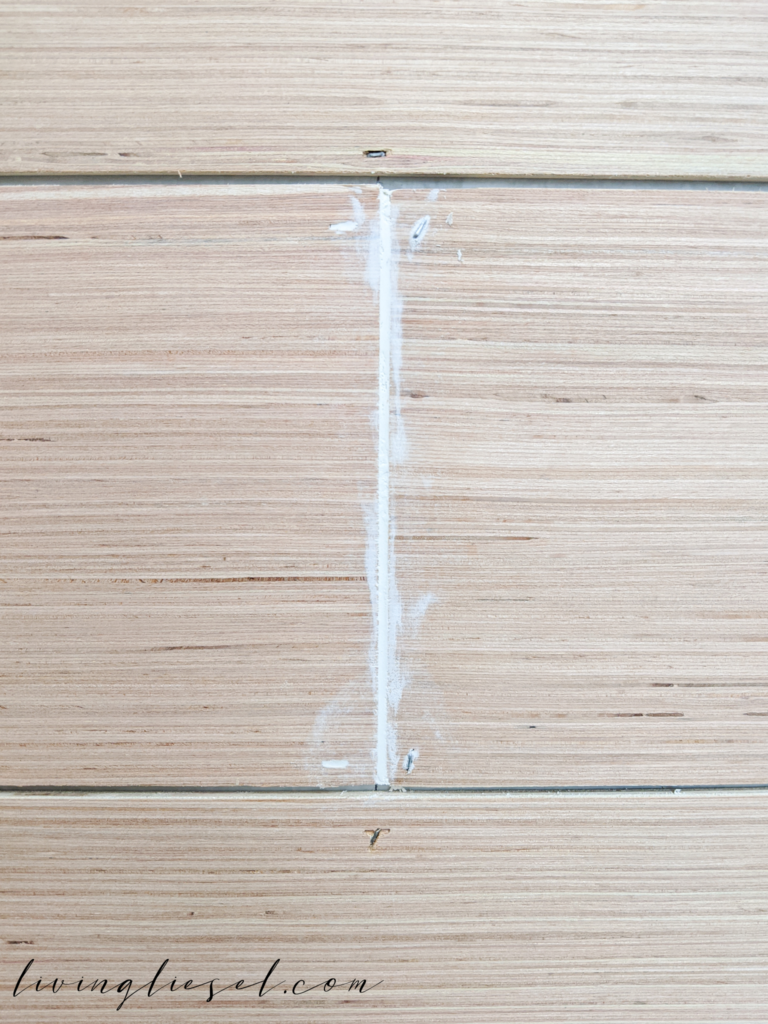
Caulk.
Before painting, you will also want to caulk your corners and any other large spaces you may have. I did NOT caulk between my boards. I wanted the lines between the boards visible. That’s what makes it shiplap, right?
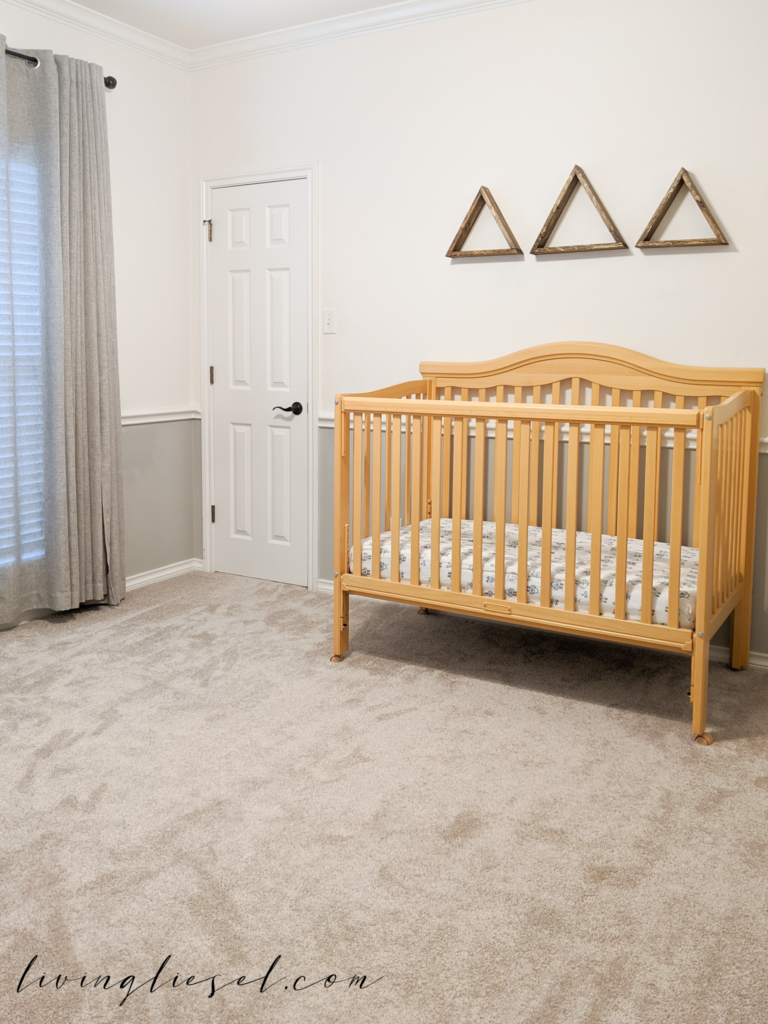
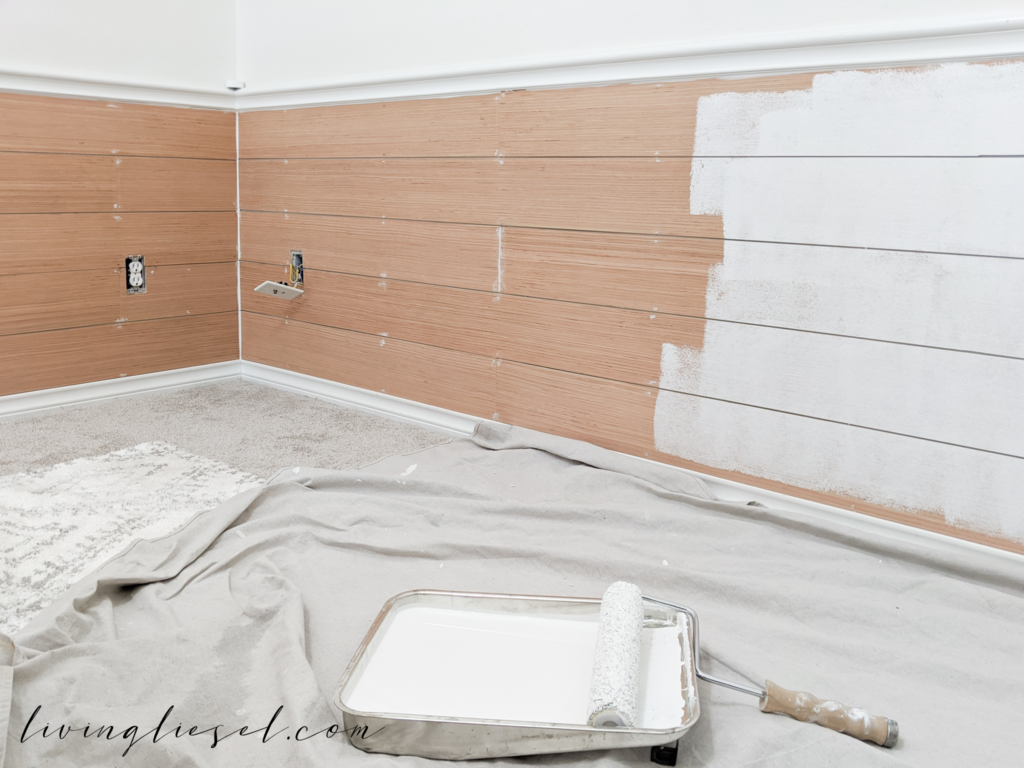
Paint.
I used our regular Sherwin Williams Pure White – as always. It took about 3 or 4 coats but went pretty quickly.

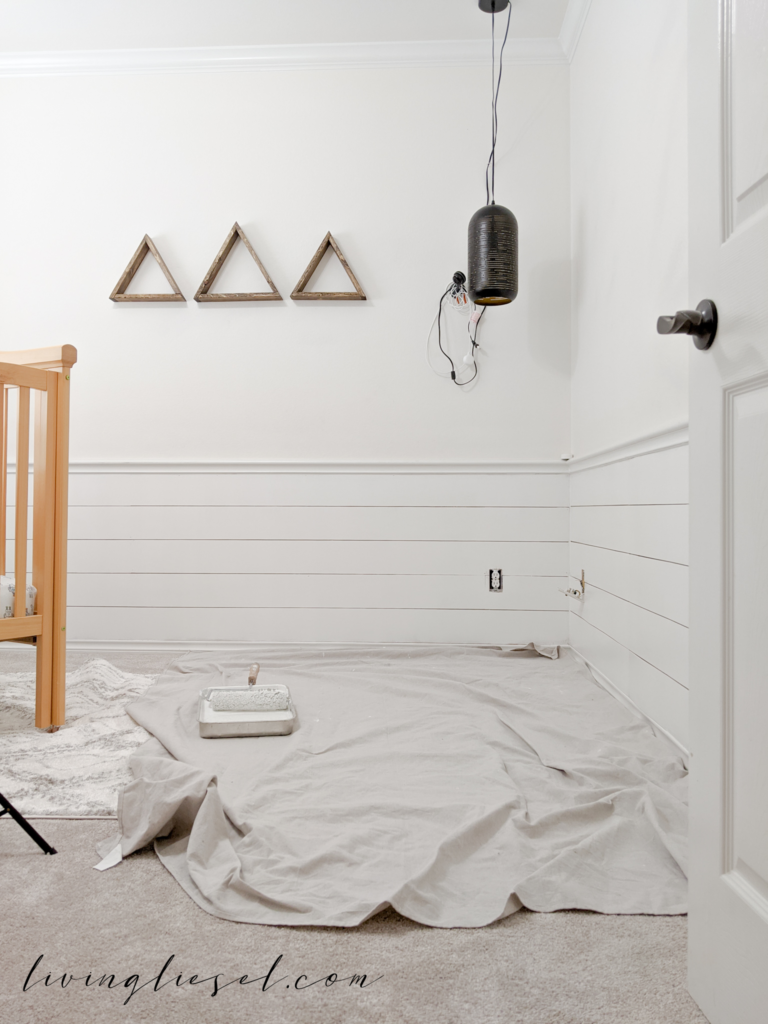
What do you think!? I LOVE IT!!!
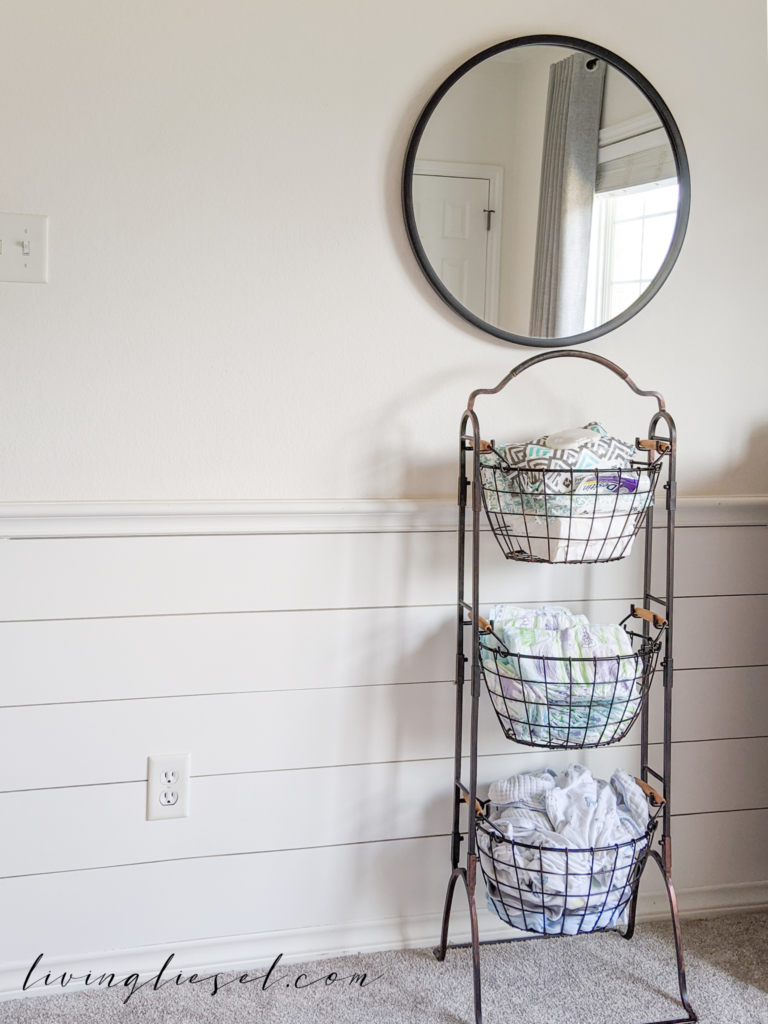

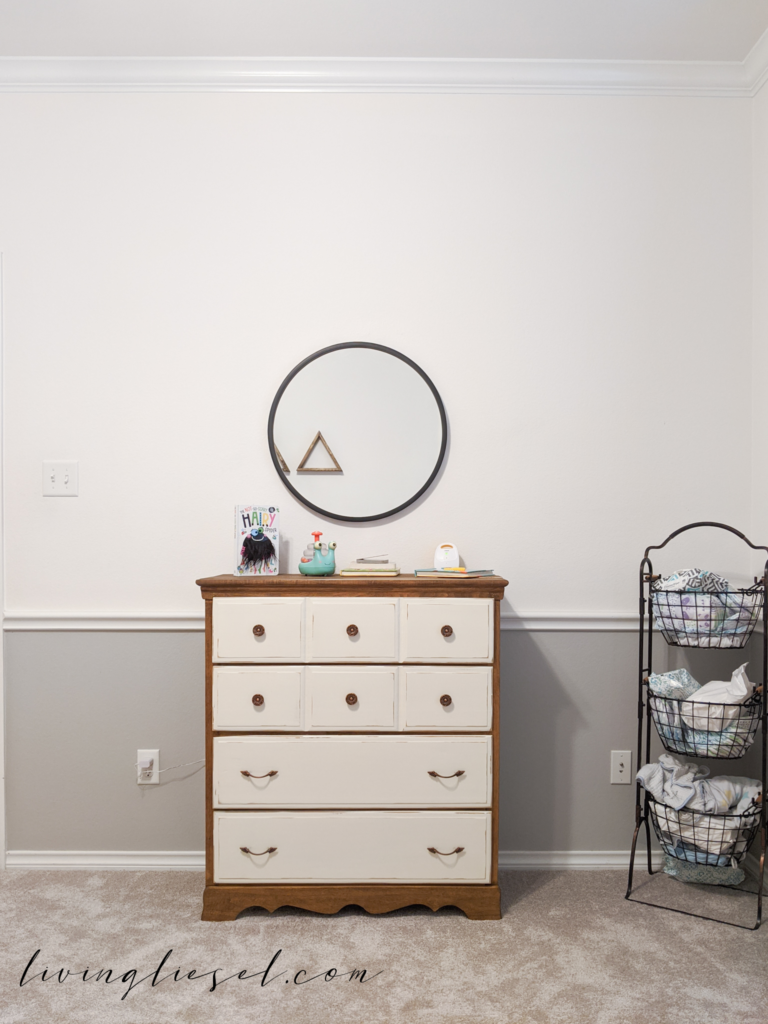
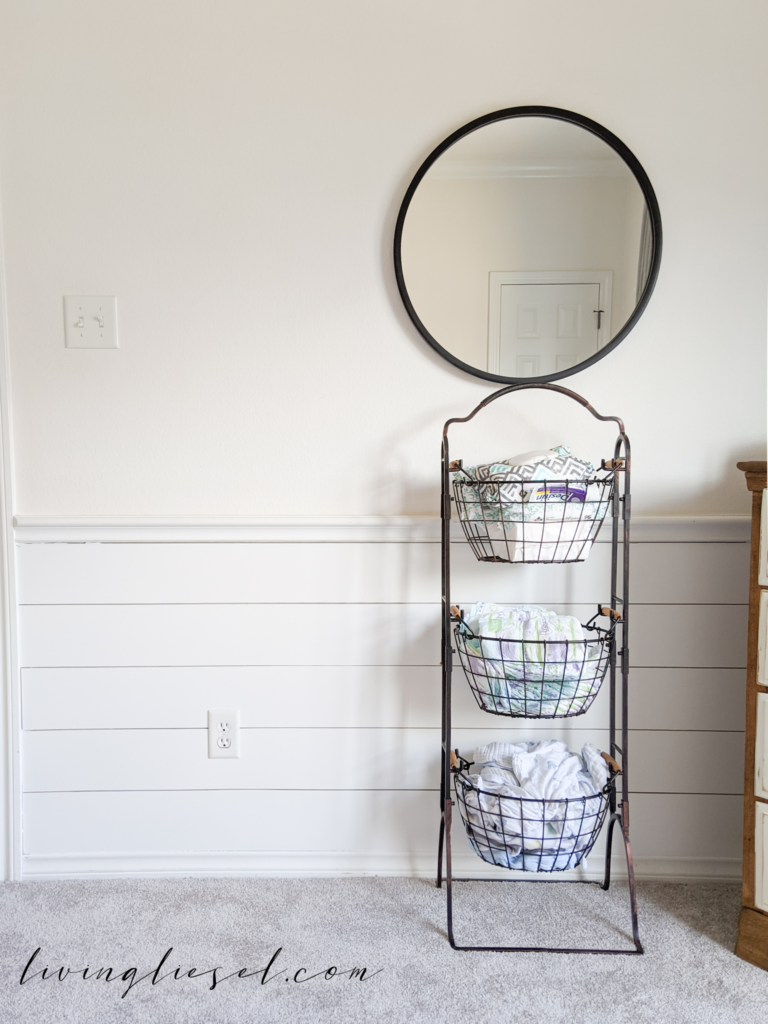
THESE BASKETS ARE MY FAVORITE.
These have been one of my favorite baby accessories since having kids. I use the standing baskets as a diaper caddy. It holds diapers, wipes, sleep sacks, burp cloths, etc.
I had one in my room when baby was newborn, and one also in our living room where we spent most of our time and I changed diapers on the floor.
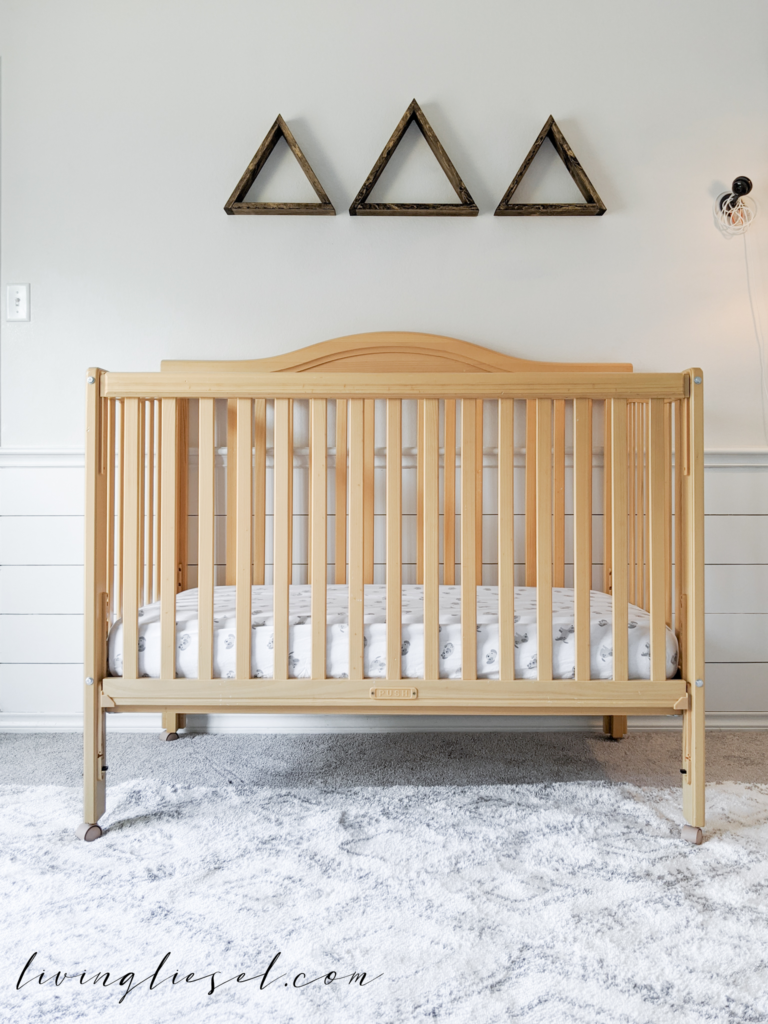
I’m thrilled. It transformed the room more than I thought! It made it very cozy and very gender neutral. I think I will paint the top half of the room Sherwin Williams Pure white as well, but I am also toying with the idea of painting it a very light grey. I’m undecided…