One of my favorite things about our Ravenstone house when we bought it was the fact that the fireplace was not a brick fireplace.
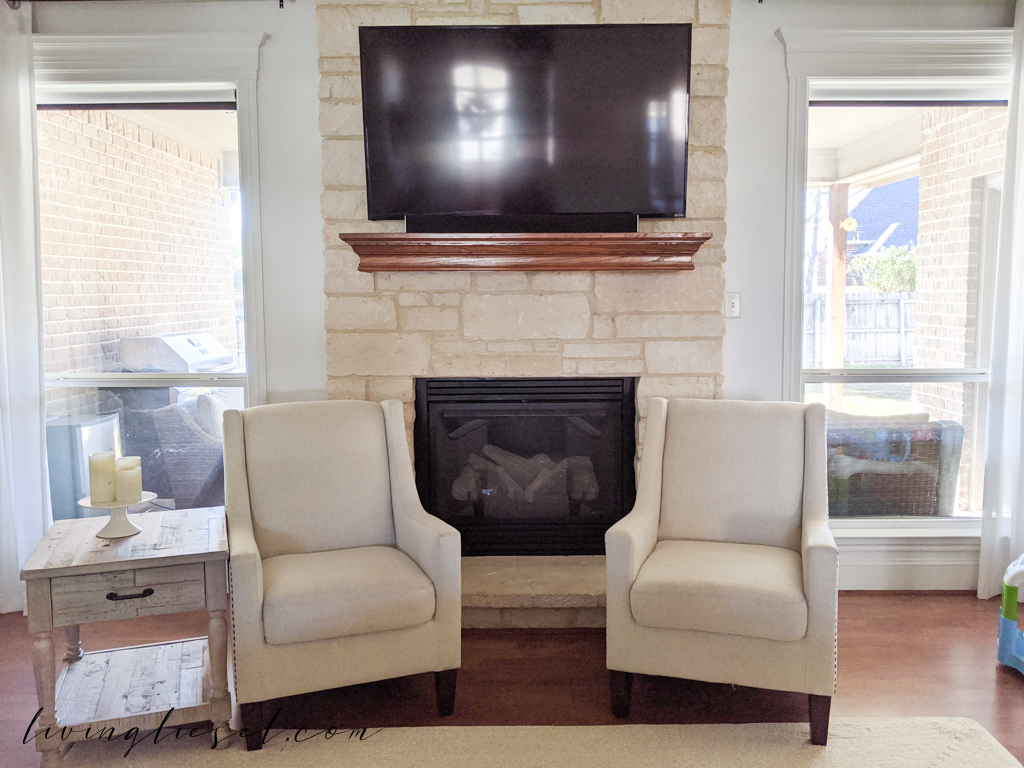
Living in Colorado all these years, all the fireplaces are a cheap tile. UGLY. I was pretty thrilled to have the beautiful limestone that is so popular down here in Texas!
As we started making changes to the house though, I quickly realized the color was not going to work.
We have been painting all the walls a bright white (Sherwin Williams Pure White if you’re interested) and it made the fireplace look a bit… grunge-y.
I love the limestone and did not want to paint it, though.
I really do love limestone. I don’t love the look of thick painted stone. It hides all of the natural beauty and pores in the stone!
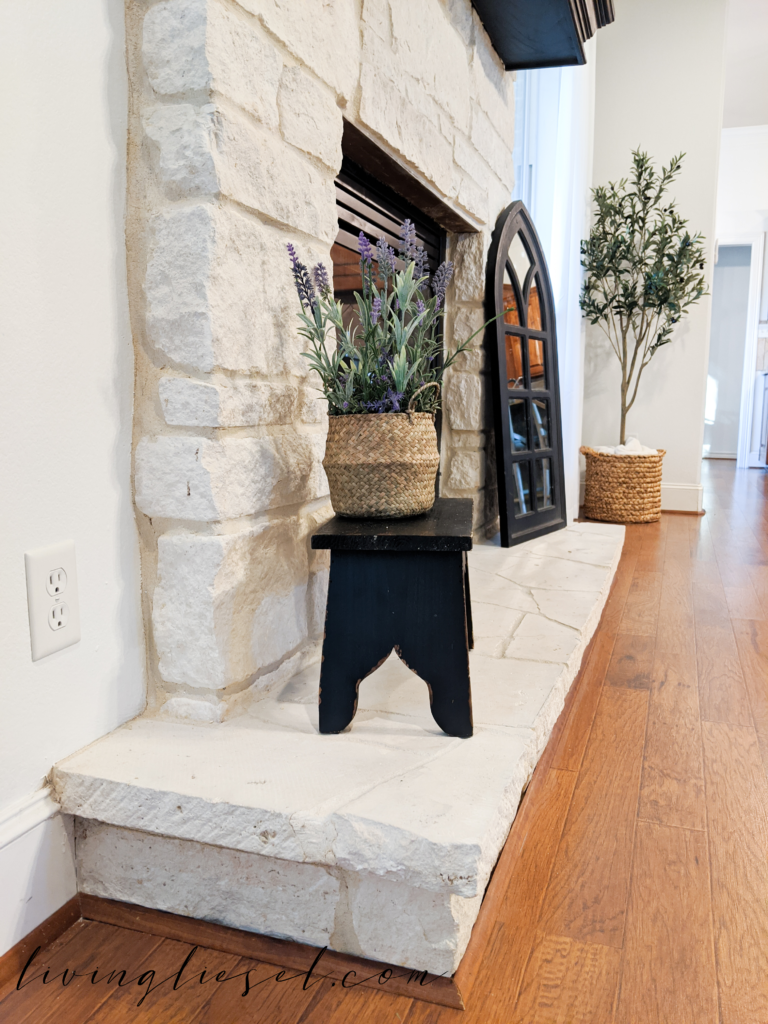
I got to thinking and decided it just needed a little brightening up – especially the grout. Take a peek at the grout… it was almost a sand color.
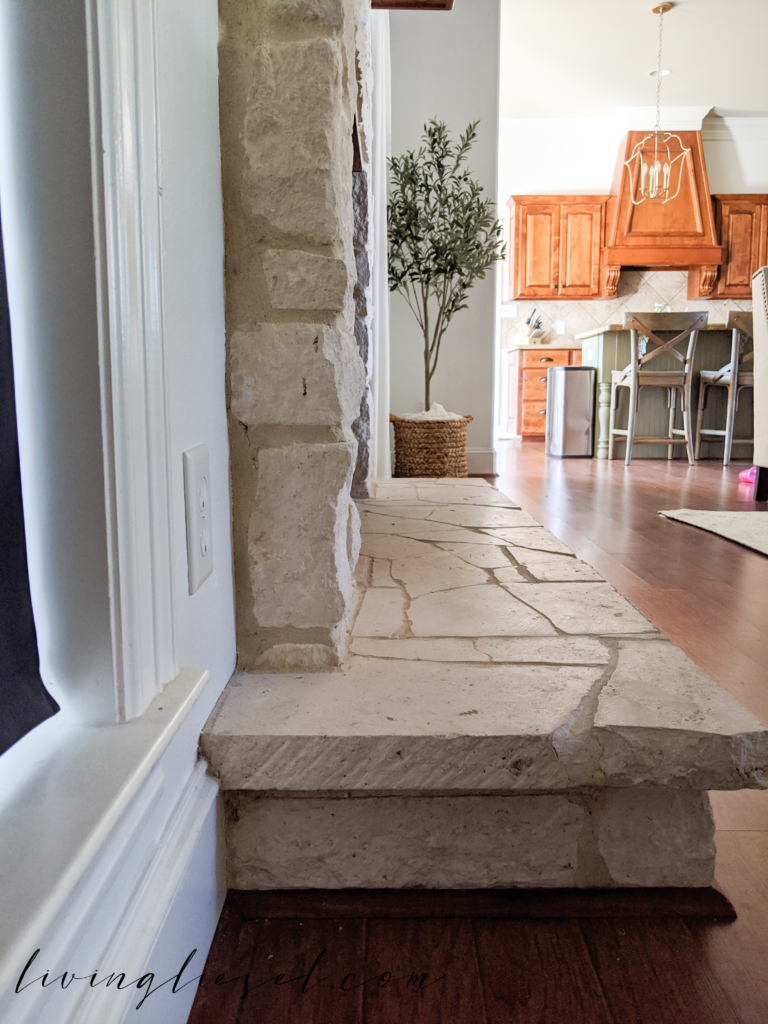
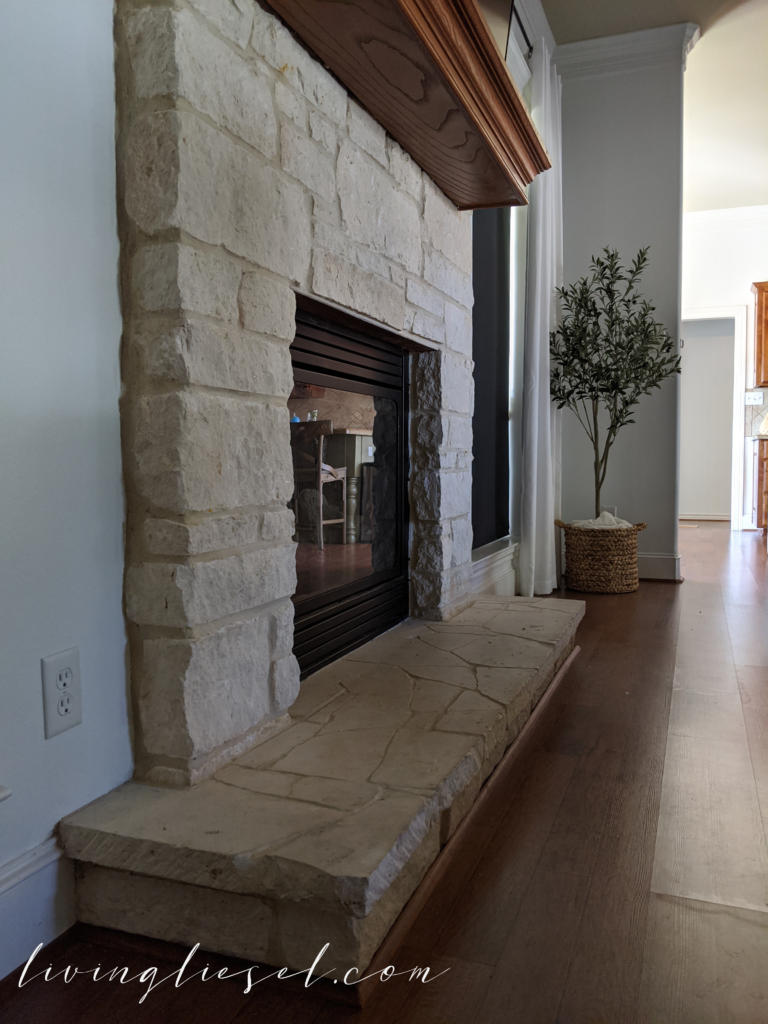
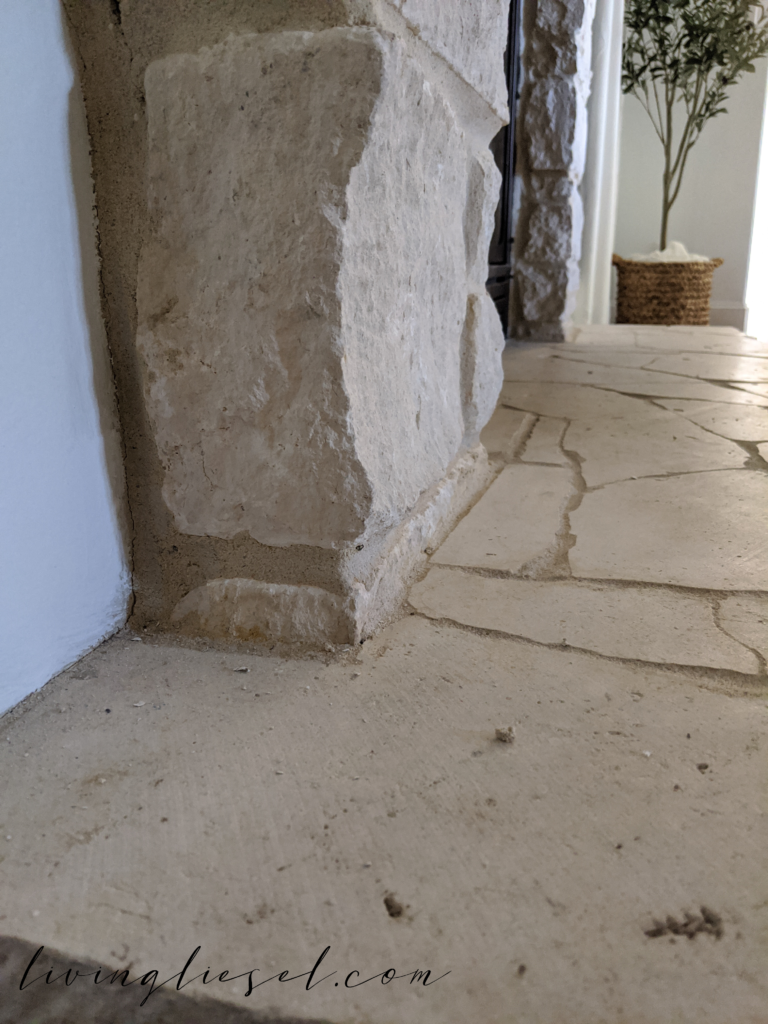
In order to achieve a brighter fireplace, all I needed to do was whitewash the fireplace!
My husband was not excited. He loved the stone too and was terrified I would ruin it. After giving him my best pitch, he agreed, it needed to be done.
So how did I do it?
Whitewashing is a bit of paint and a bit of water. That’s it. Usually the correct whitewashing recipe is:
50% water
50% white paint
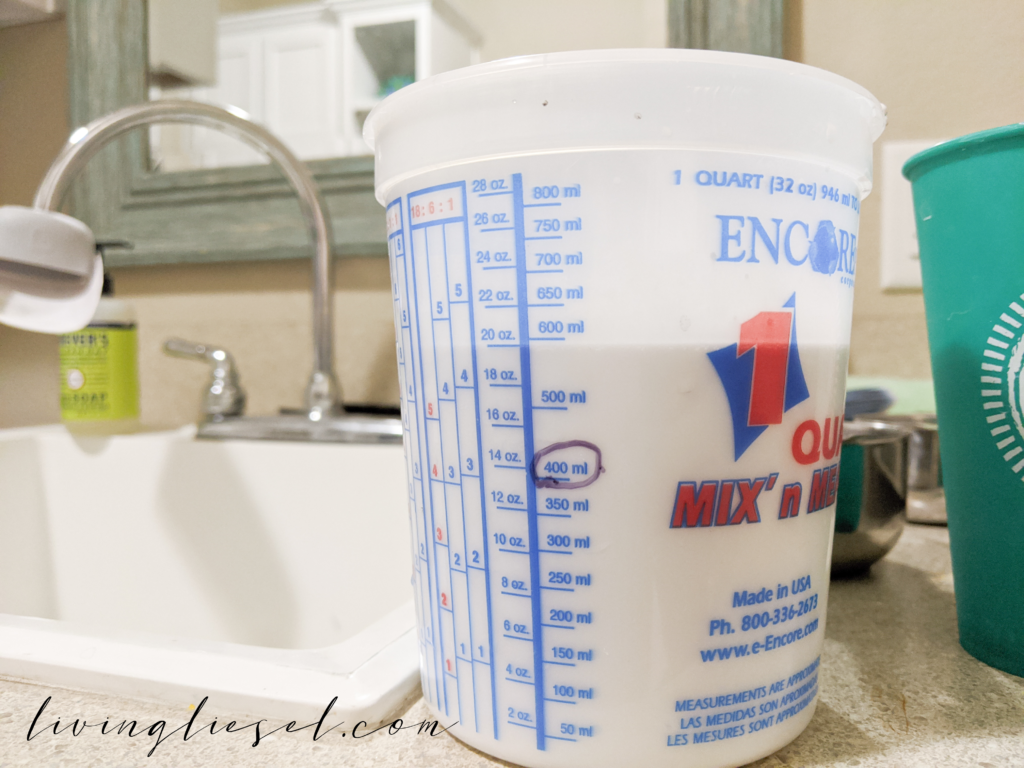
My fireplace was already fairly light in color and because I didn’t want to over do it, I decided to go even lighter in the paint ratio: I did 30% paint – 70% water.
That circle on the cup was ALL water. The rest was paint.
SHOP THIS POST
I used my same SW Pure White paint and mixed with water. Because my walls were already white, I didn’t even tape the walls before starting. You can get Sherwin Williams paint colors at Lowes or Home Depot. I say just have the color made with the cheapest interior paint in a semi gloss finish.
You can find the paint I recommend for this project here.
You may want to tape your walls if your walls are NOT the same color you are white washing.
I did add a drop cloth. White washing is very messy. And I’m known to be a messy painter.
Now to apply the whitewash.
All I did was use a rag and a paint brush and quickly painted it on the fireplace with the brush and came back through with the rag on each stone. The rag was more for keeping the watery paint contained and not dripping all over the place.
Side Note: we use this TV Mount for hanging our TV above the fireplace. We had to drill with a masonry bit through the stone but it was WORTH IT.
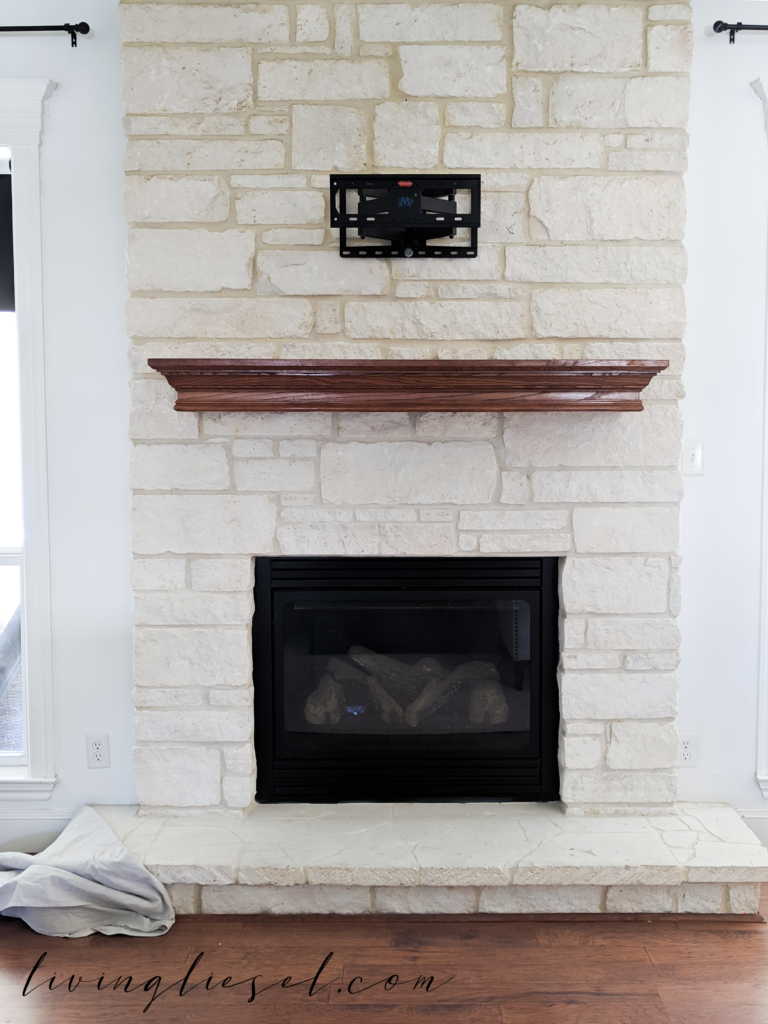
The stone was VERY porous and looked very painted at first. I won’t lie, I was a little terrified and was talking myself into accepting the fact that I will have the thick painted fireplace.
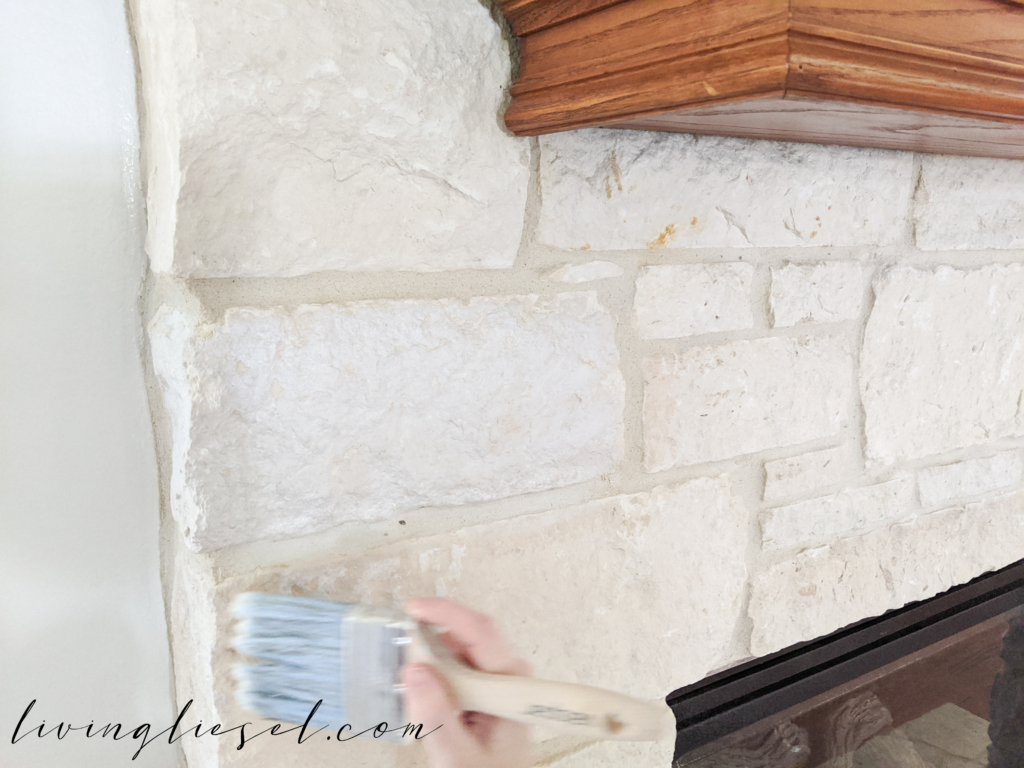
BUT as the paint dried – which it did pretty quickly, the stone absorbed a lot of the paint and left a beautiful light layer of smooth color. Whitewash WIN!
It was such a small change but for me – the person who has to see the fireplace EVERY SINGLE DAY, it was 100% necessary.
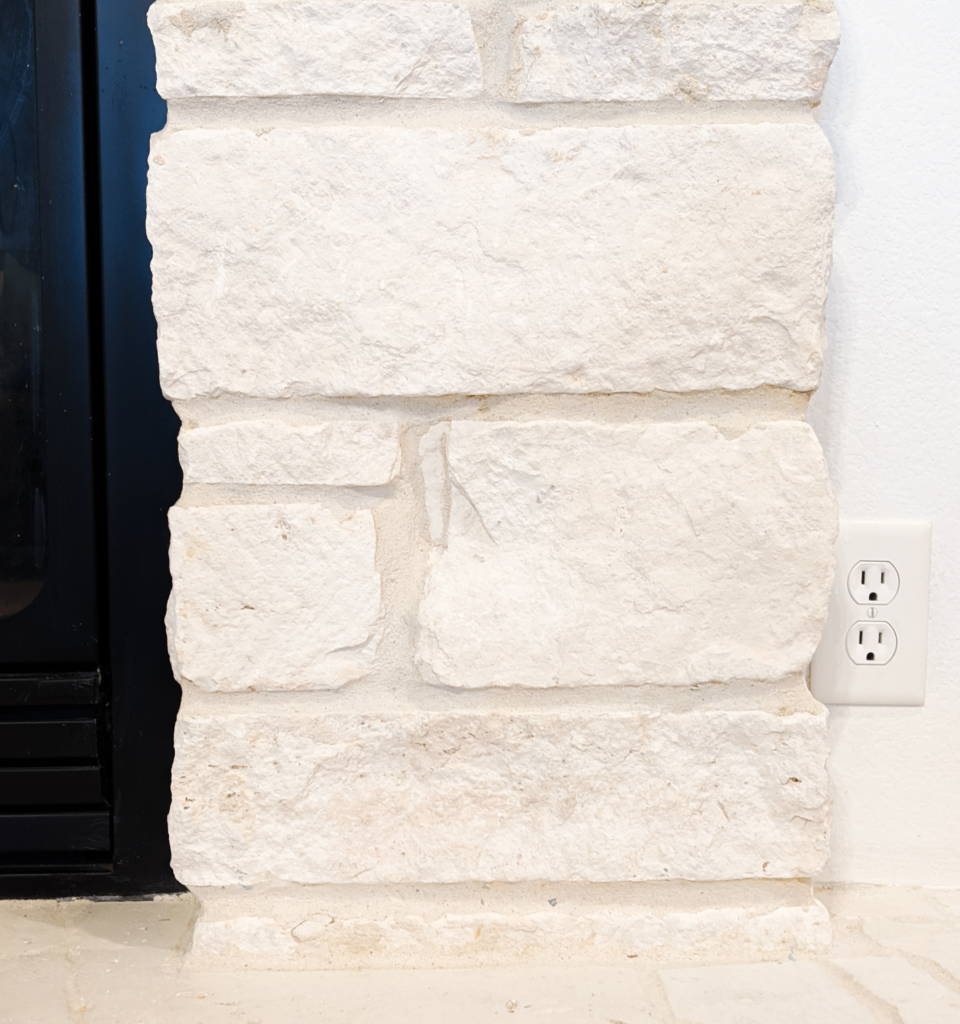
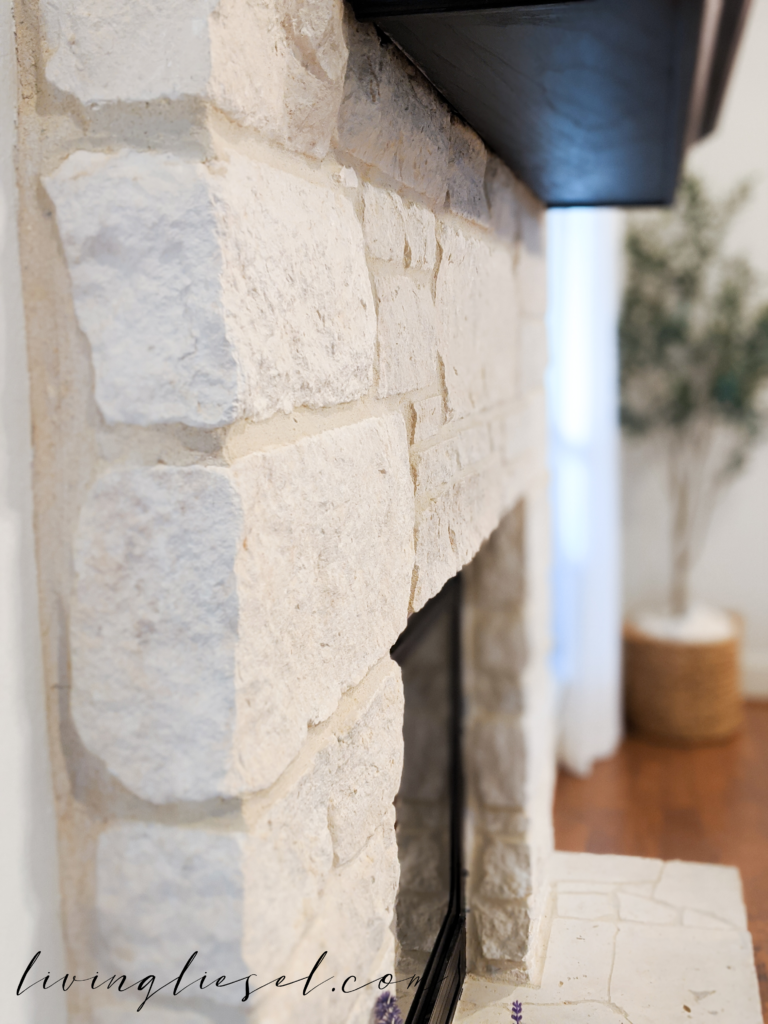
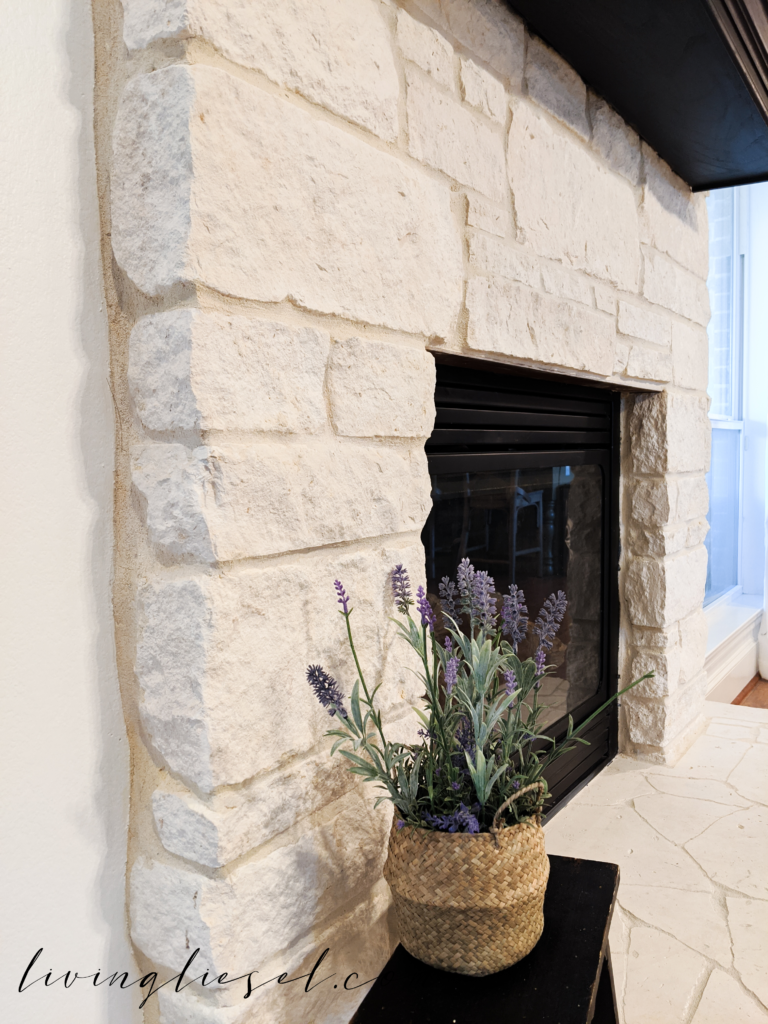
I AM THRILLED!
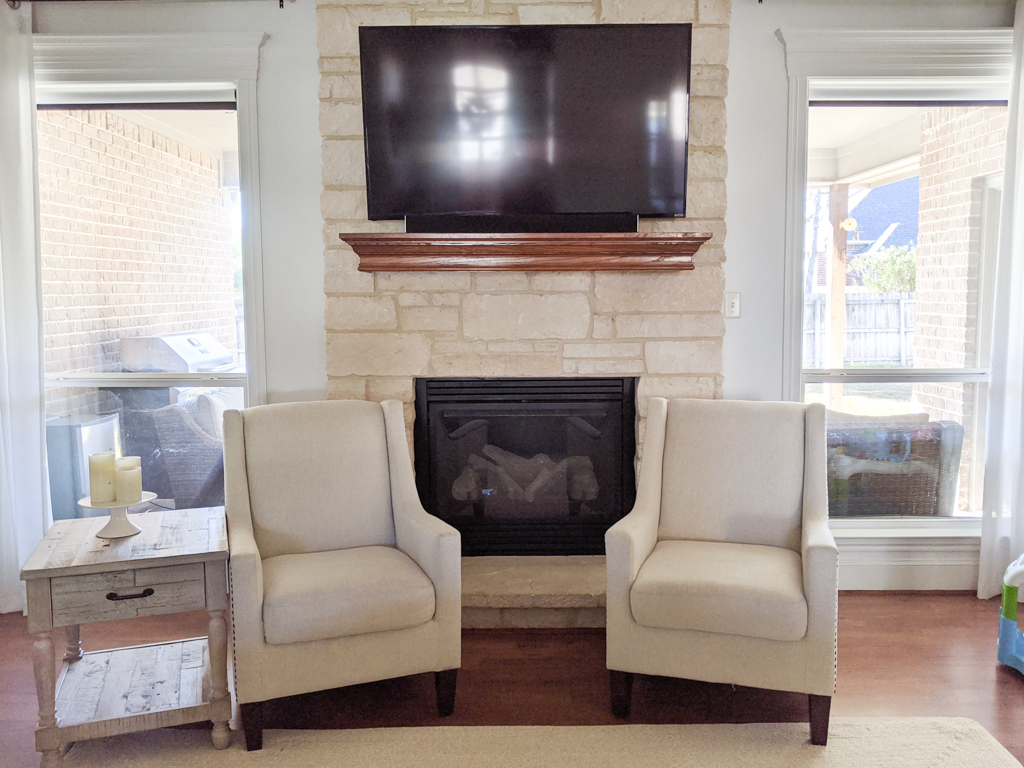
Look at the difference in the top half above the mantle, and the bottom half. Like I said – SO subtle but very necessary.
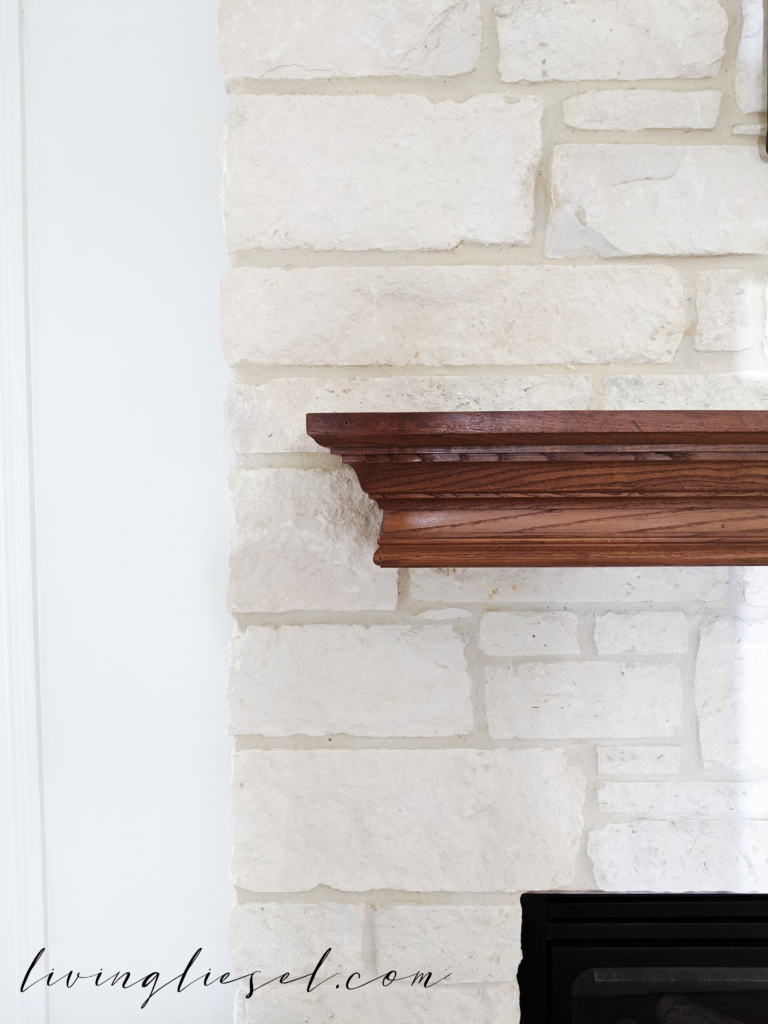
Now do you see what I am talking about with the grout being sandy and grunge-y looking!?
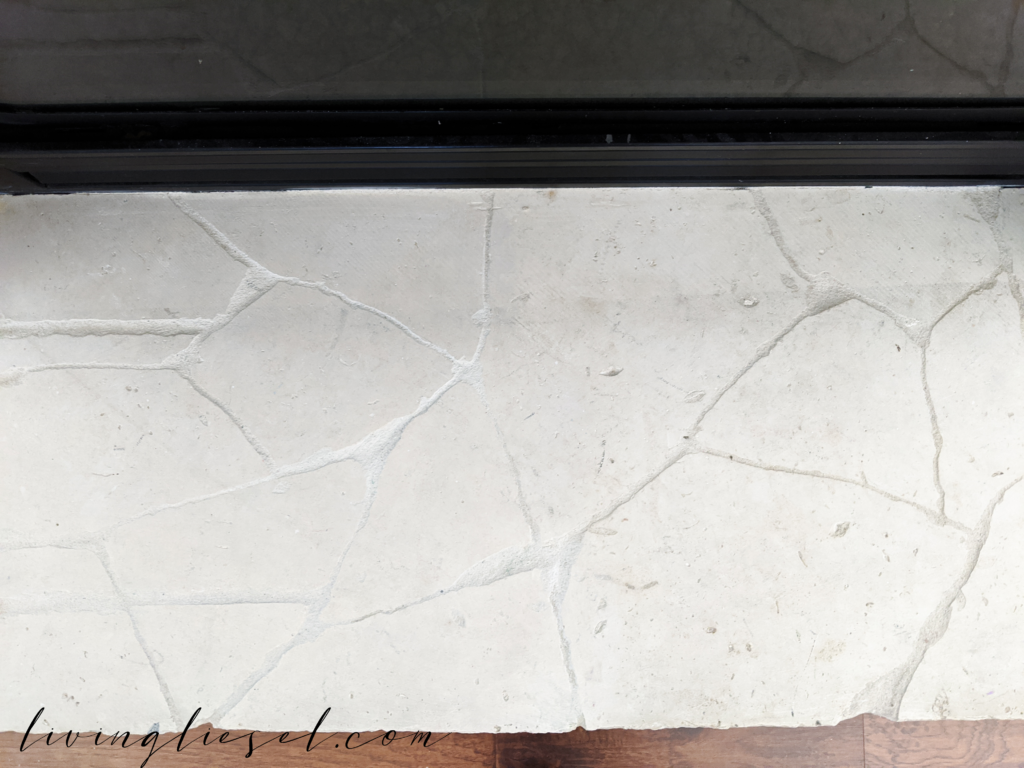
After I whitewashed, I actually took an IG Poll…
Once I finished the whitewashing, I took a poll on Instagram about my mantle. Yeah, I like to live life on the edge.
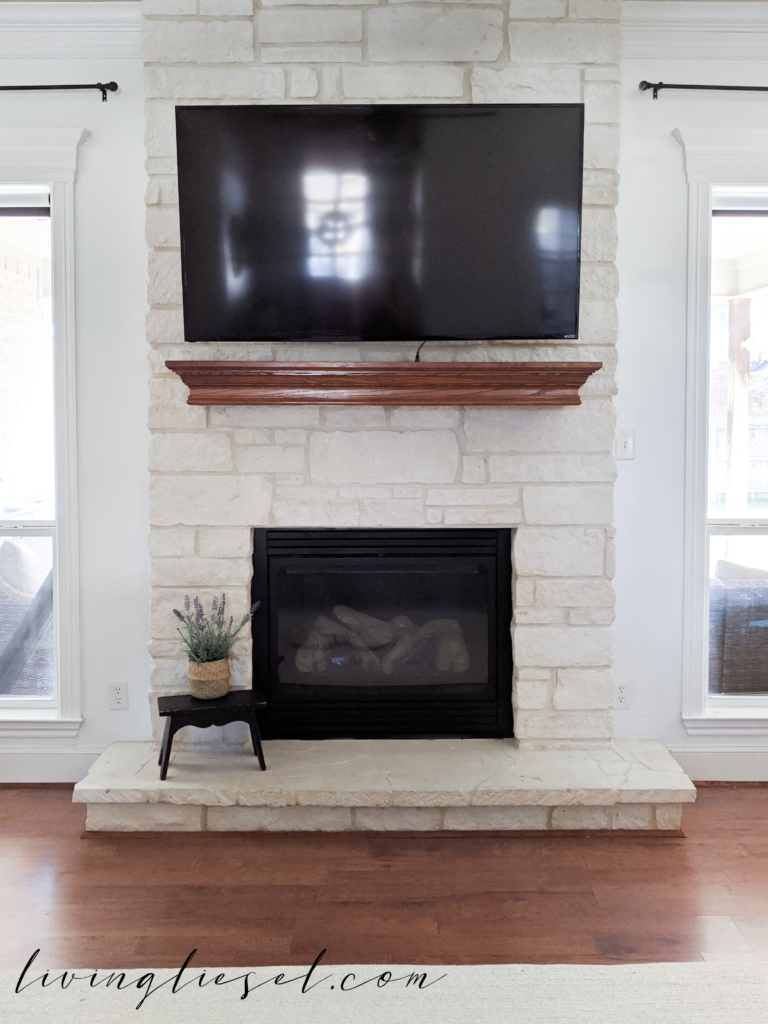
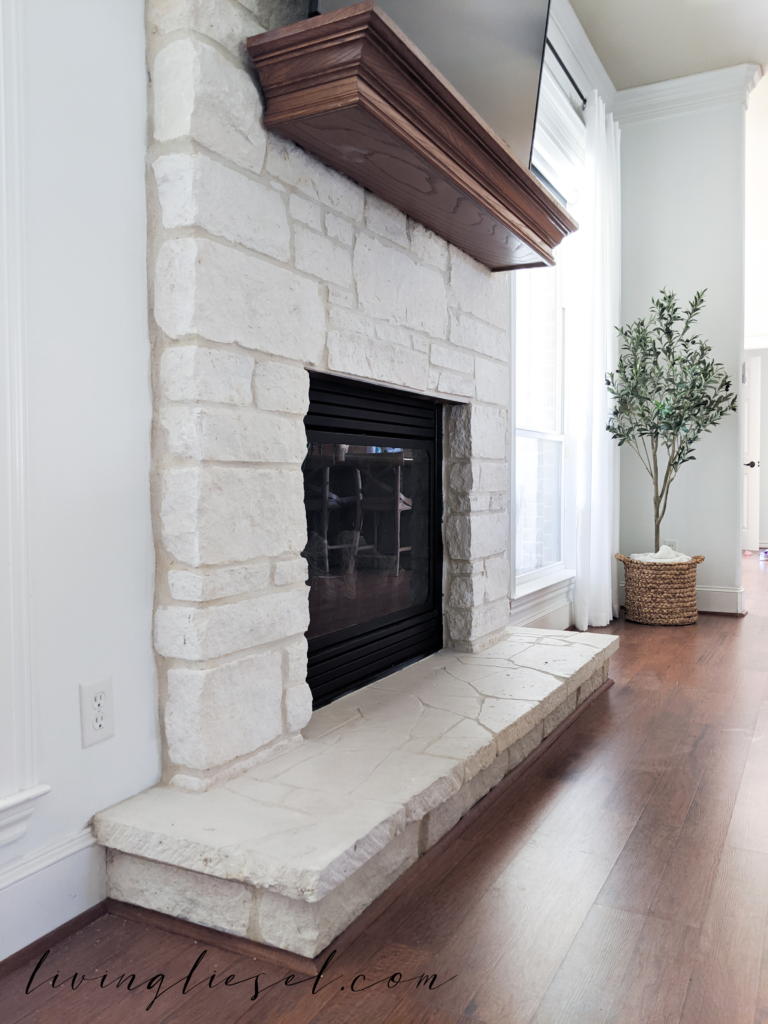
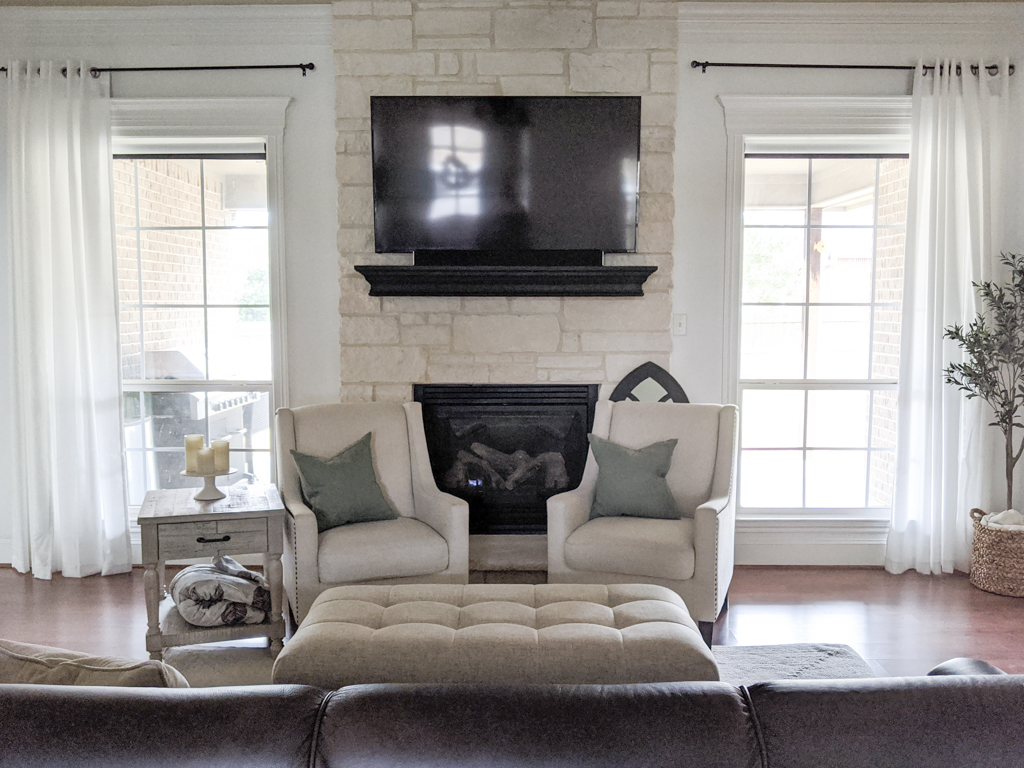
Our mantle will eventually be replaced, along with our floors. But for the time being, I decided to do a quick little chalk paint update on it.
I used my go to chalk paint recipe (you can find that here) and spent about 30 minutes doing 2 coats.
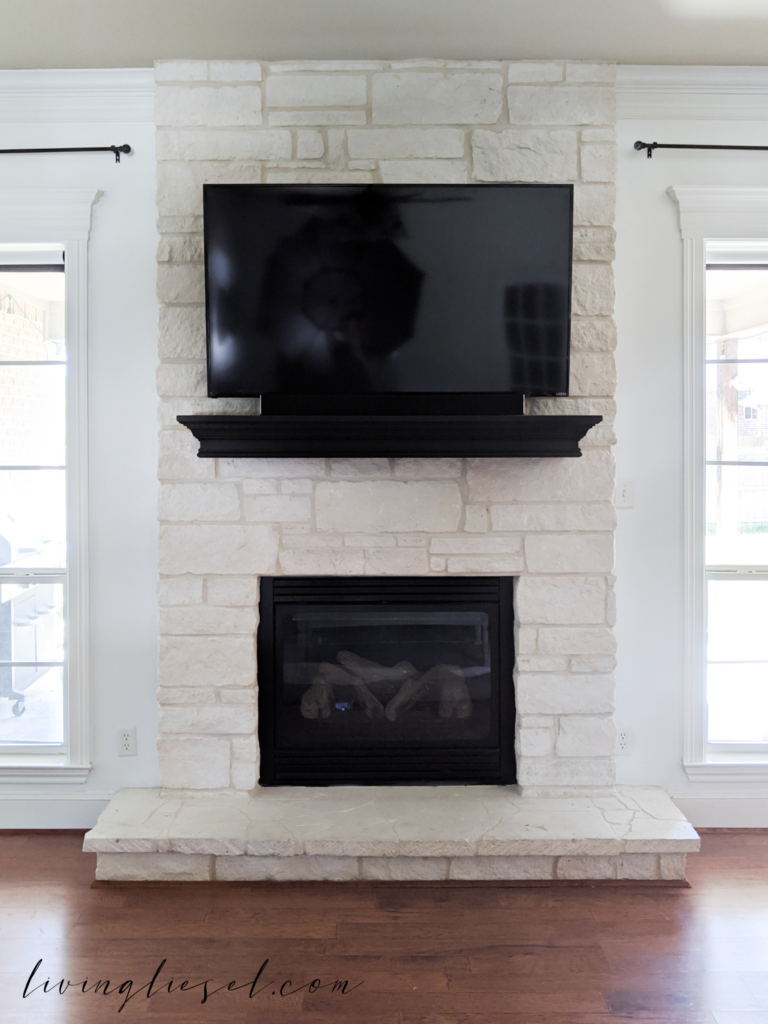
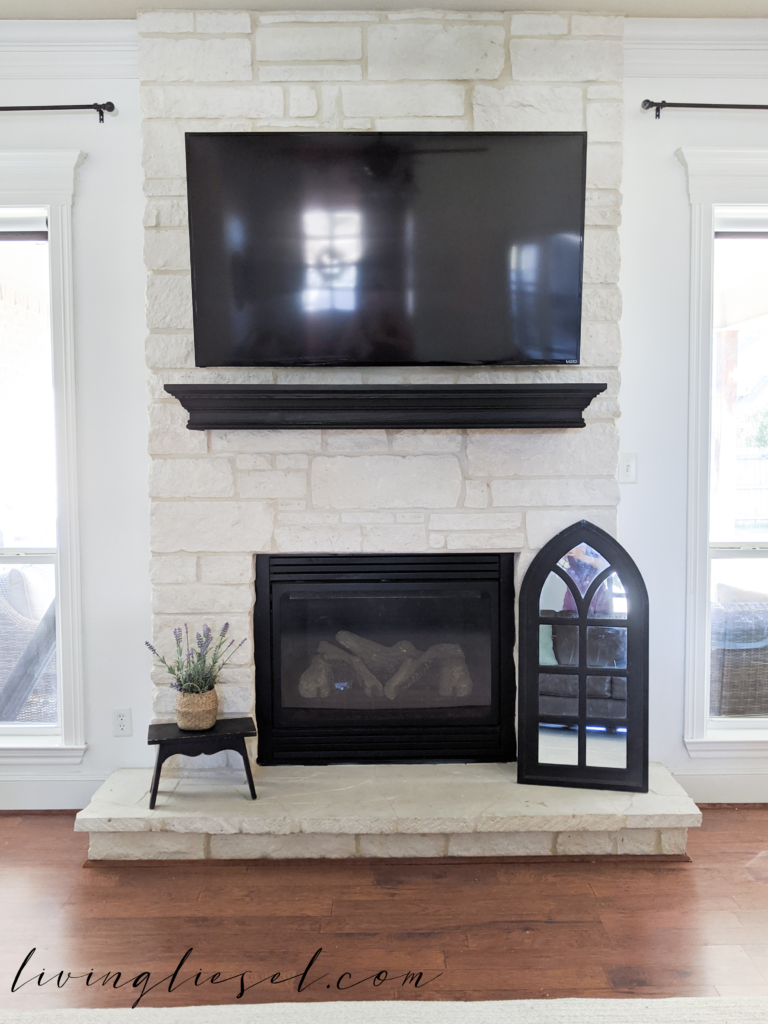
Here are some side by sides so you can see the subtle difference:
TALK ABOUT AN EASY UPDATE.
Would you ever whitewash your fireplace? Would you rather PAINT your fireplace altogether? Comment and tell me!



Hi, are you promoting your business with Social Media Marketing?? There’s a non-exploited market on Social Media that most people don’t take advantage of. If you’d like to learn how to promote on Instagram effectively, we’re giving a Limited time offer now due to COVID19 for our course, it used to be $297, you can get it now for only $7! Here’s the link to the course: https://www.digistore24.com/redir/319134/larrosamarcelo/
Hi, I think I’m going to try this on our fireplace. Quick question though, did you also paint the grout?
Yes I did!
I have a similar fireplace but I think my limestone is even browner. I have to convince my hubby but I want to do this SOOOO BADLY!! You wouldn’t by chance be able to show a video of the process would you? The actual painting it on and what you did next? Did you do the same process on the grout then or paint it white.
I have NO regrets doing this!! GO FOR IT!! My hubby was against it and then when I finished he was in awe!! I don’t have a video but it’s soooo easy. Just paint it all, including the grout! If yours is darker, I would do 50/50 paint and water! My walls are the same paint color so I wanted to be cautious. Good luck!!
Asp did you do just one coat? I’m so excited to have found this. Now to persuade hubby….hmmm.
I did two coats! YAY!!!! I hope you can convince him!!
Thank you for responding!!
Thank you taking the time to post this! I’m so happy to find it. I have a 2 story limestone fireplace. We definitely need to change the color after remodeling and needing to lighten it up. Love all your pictures and steps. Thanks again!
You are so welcome! It was a really easy project to complete and made a HUGE difference (although it looks subtle in the pictures!)!