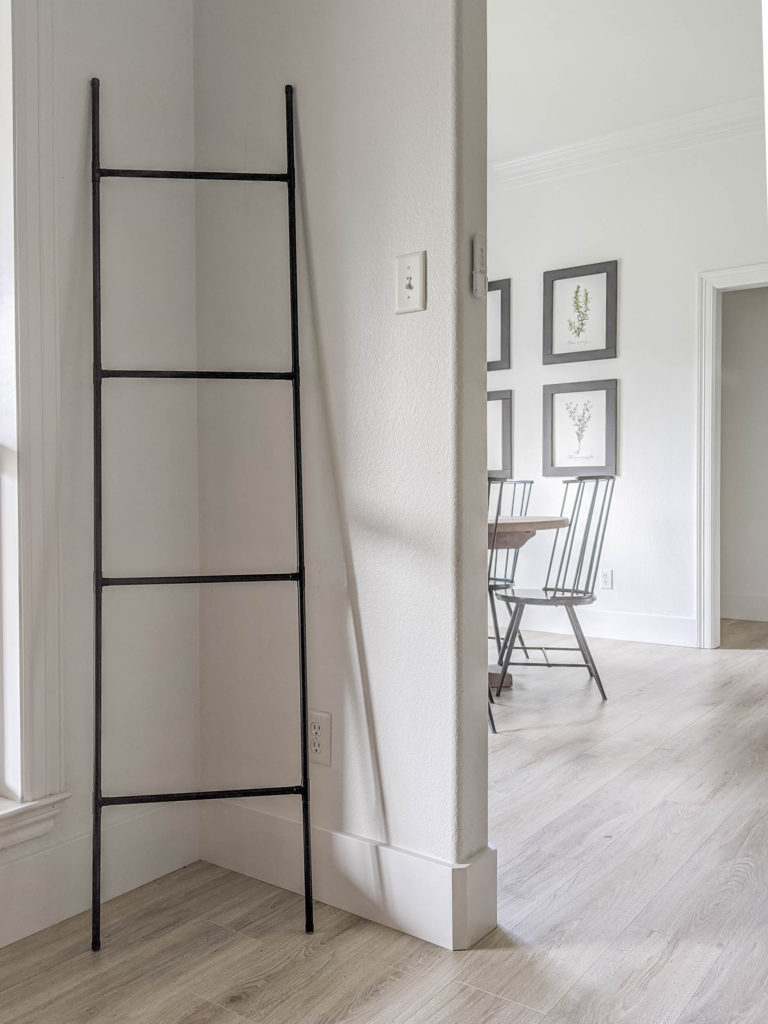
Let me start by saying this entire Metal Blanket Ladder Knock-off DIY was one I actually didn’t intend to do.
I took a girls trip with a dear friend over to Waco this week and we went to Magnolia Market.
Hello WACO!
I have nothing but good things to say about that adorable place! And the fact that I am only an hour or so from there… why is this my first time going?!
Anyway, while I was there, I only bought a couple things. A candle, some greenery, and a vase.
As I was videoing to show the IG world what Magnolia Market was all about, I stumbled across this PERFECT black metal ladder.
It was about 6 ft tall, thin, and minimalistically perfect! Is that a word?
Probably not. Whatevs.
I saw it and considered buying it because it was reasonably priced but I thought about lugging it around as we wandered.
I decided not to buy it and I would just buy it online if it stayed on my heart any longer.
BIGGEST MISTAKE EVER.
I got home and later that night I hopped online and sure enough, all of the metal blanket ladders were out of stock online.
I scoured the internet trying to find a look alike.
I found several mediocre metal blanket ladders but they were all over $100! WHAT!? No thanks.
I even called Magnolia Market when they opened the next day (10 am CT if you’re curious!)
They checked the warehouse and they said they didn’t have access to the in-store inventory and they were out of stock in the warehouse. Booooo.
So what were my options? I decided to DIY it – go figure.
I hopped on good ole Pinterest and got the wheels turning for my DIY.
Most people I saw used wooden dowels. I was skeptical of the dowels structural integrity so I decided to go a different route.
All in, I spent about $40! I already had a pipe cutter from cutting DIY curtain rods! See that post here!
Here’s my DIY:
What you’ll need:
2 – ½ inch 10ft copper pipe
6 – ½ inch copper T’s
4 – ½ inch copper caps
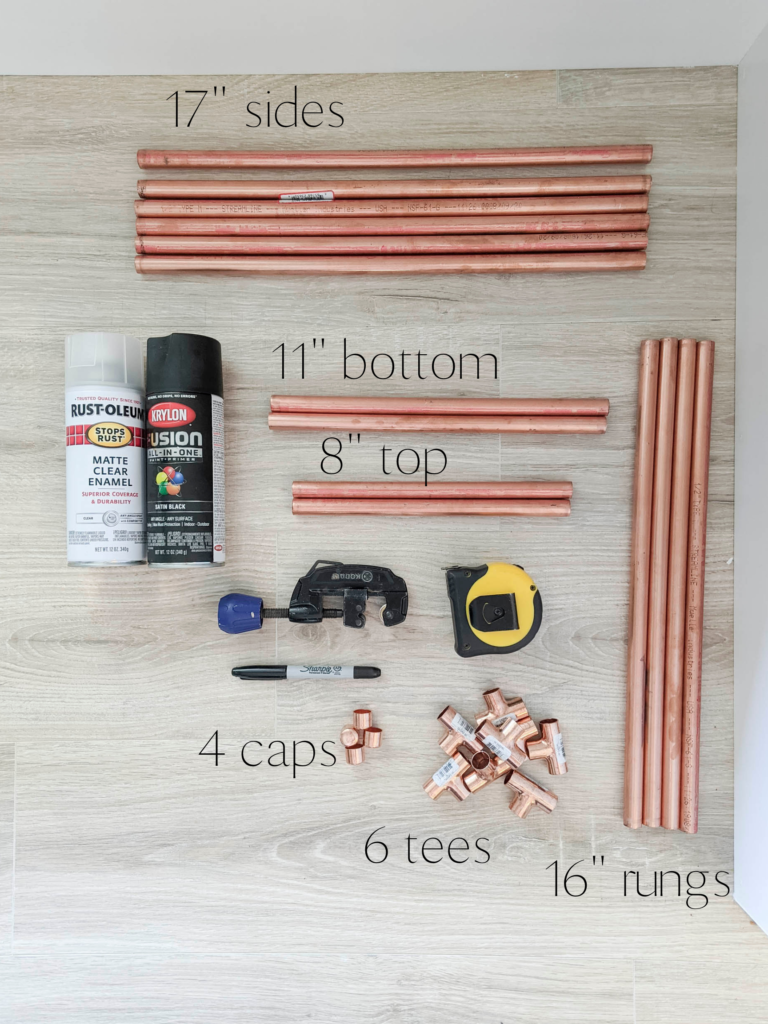
Directions:
Measure and cut the following:
6 – 17” pieces (for the sides)
4 – 16” pieces (for the rungs)
2 – 8” pieces (top)
2 – 11” pieces (bottom)
After your pieces are cut, put your blanket ladder together by connecting an 11” piece with a copper T, then a 17” piece, and another copper T.
Each side should be (bottom up): 11”, T, 17”, T, 17”, T, 17”, T, 8”.
You should have two identical sides like above, and then you connect them with the 16” rungs! Once you are connected, put your caps on the tops and the bottoms.
Here is mine before I painted it. The copper was actually really pretty. If I had ANY copper in my home I would have left it!
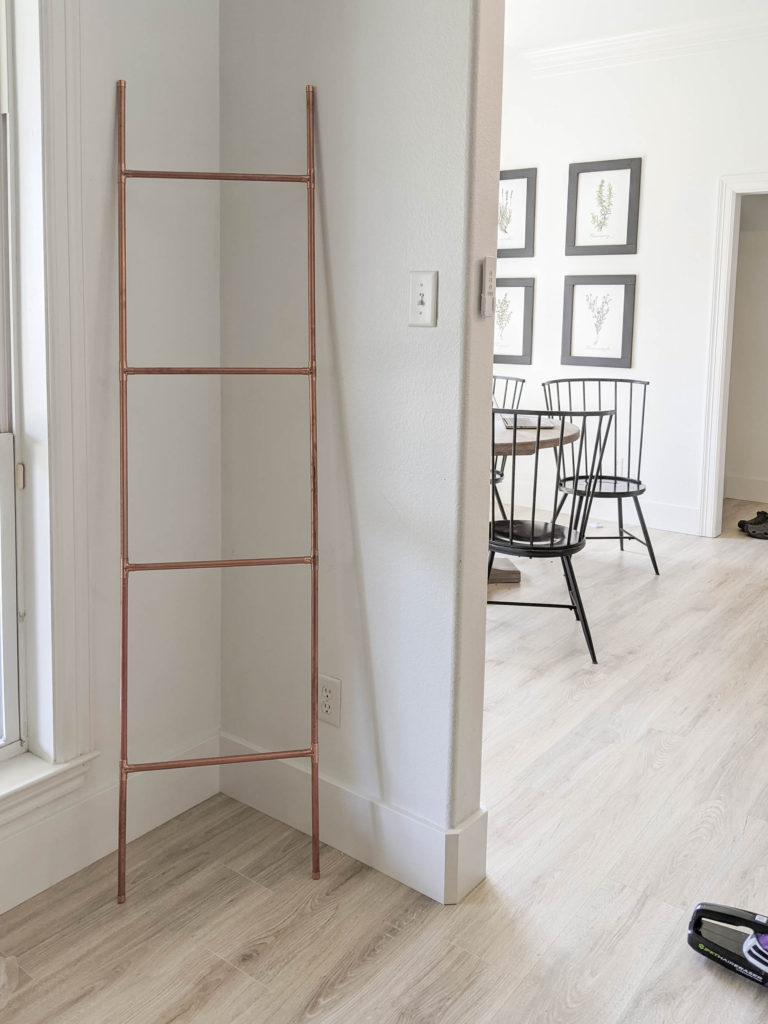
I did NOT use any glue. My fit was nice and snug, especially when it was leaned against the wall.
It did try to turn a little when I first picked it up but I am not worried since it’s purpose is to lean against the wall.
I then spray painted with a black paint/primer spray paint.
I did not sand before spray painting although my husband said (after I started spraying) it may have been a better idea to do a quick sand.
Once it had dried for a couple hours, I came through with a matte clear coat.
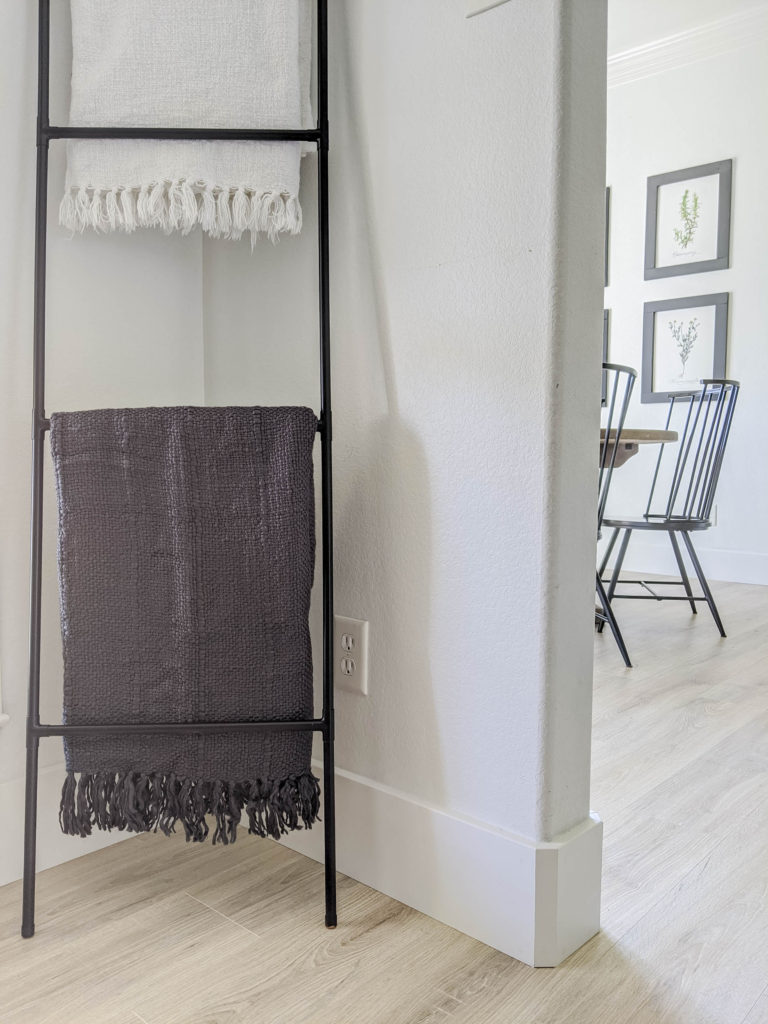
Ta-Da!
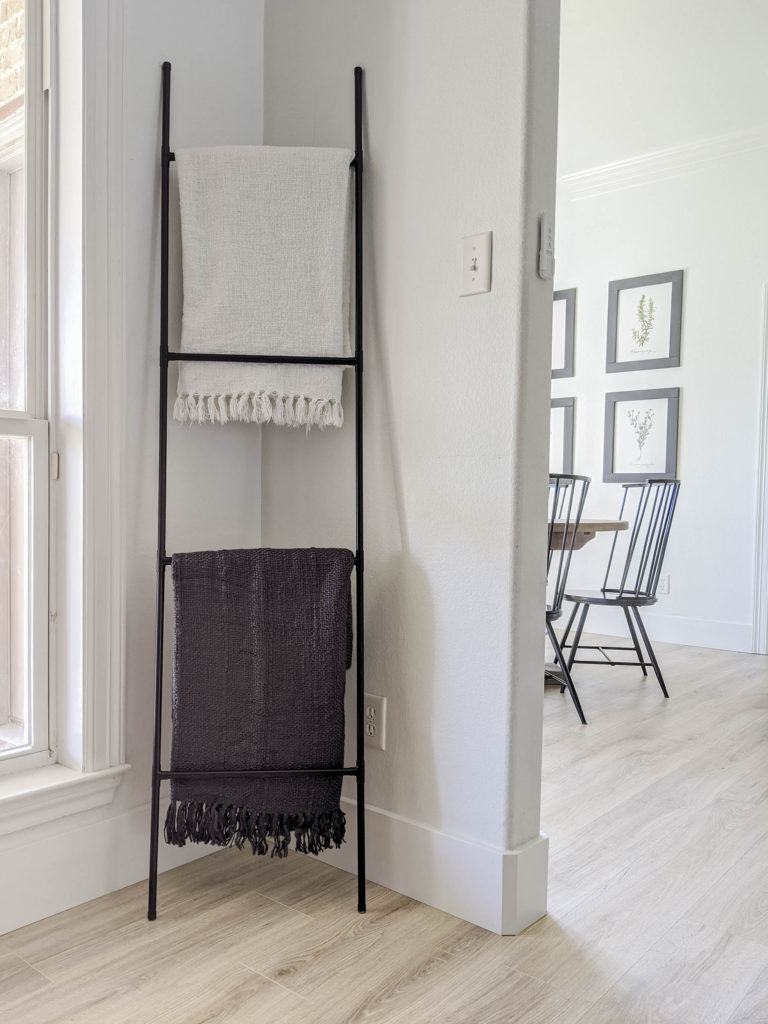
Easiest DIY Blanket Ladder EVER!
And it looks pretty darn close to the Magnolia Market one!
You could probably do conduit or a cheaper metal but I figured it was all cheaper than buying a Magnolia Ladder in the first place so why not do copper?
If you want to buy one instead, this is the one I was CLOSE to buying online when I realized the Magnolia one was out of stock!
What do you think?!
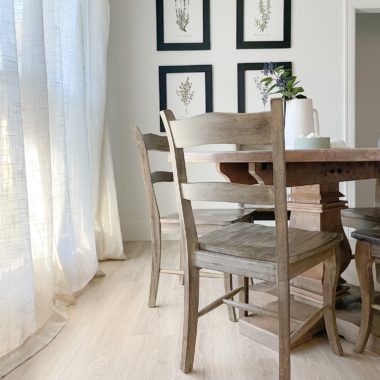
Also – do you see those beauties hanging in the background?
You can download them FREE if you subscribe to me email list! Simple as that!
Subscribe Below!