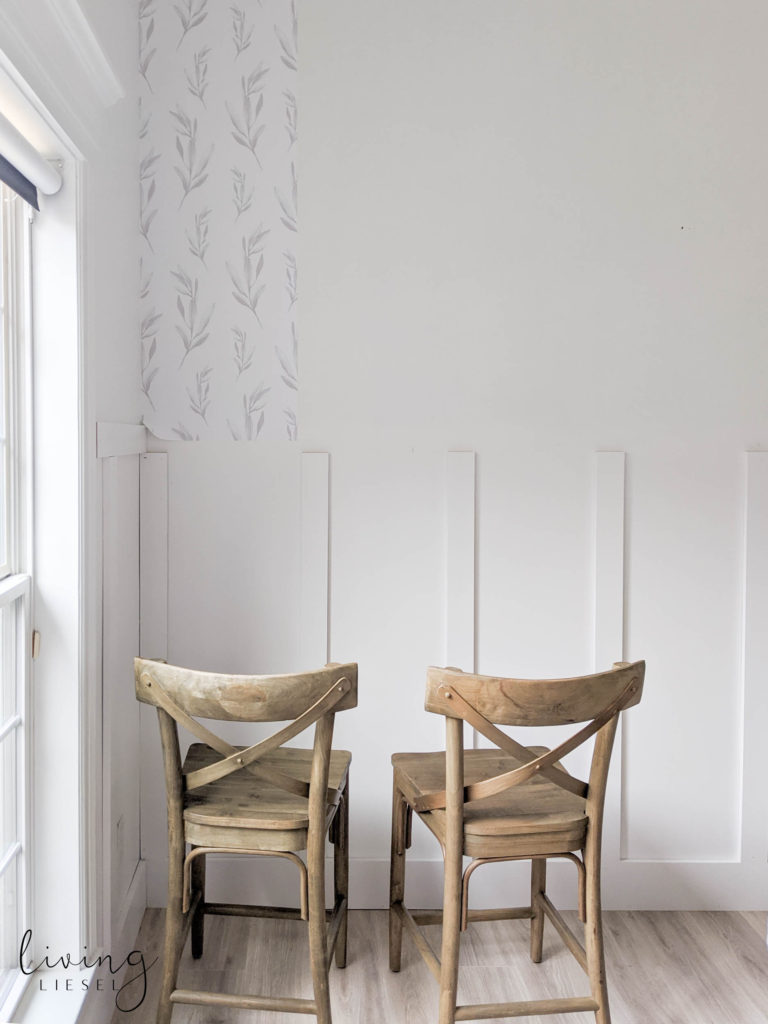
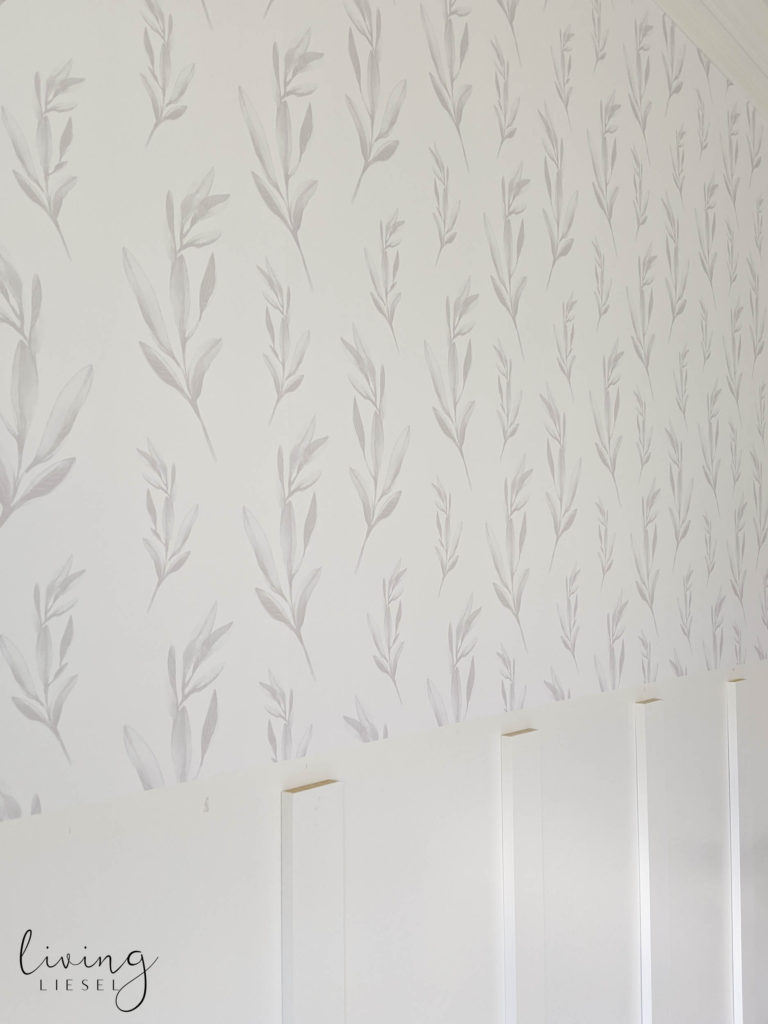
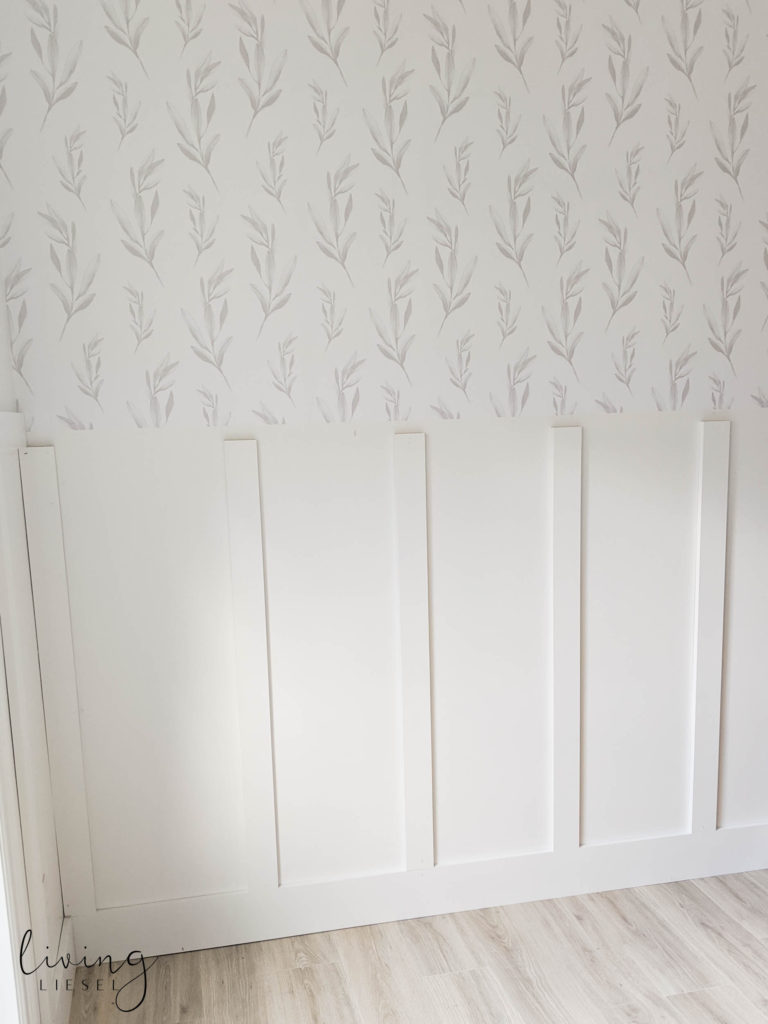
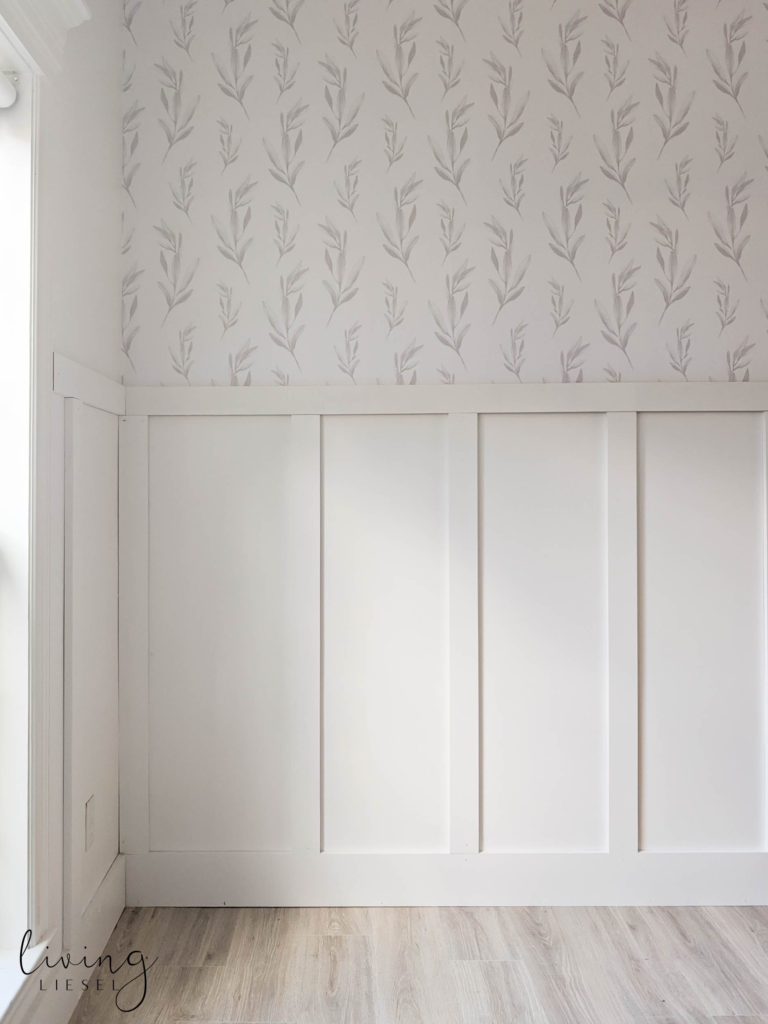
My original plans for this playroom/guestroom combo were a dark grey painted shiplap accent wall. When it got closer to the time to start that project, I realized it wasn’t going to work without a lot of effort so we decided to do wallpaper and board and batten!
If you saw my original playroom before post, you would see there was a trim piece all the way around the room. It was supposed to be a wainscoting type of piece but instead, I guess it was a cheap alternative.
Great in theory, but if it ever needed to be removed, it needed to be covered up, or retextured.
I don’t know about y’all, but retexturing to actually MATCH the current texture is hard for any NORMAL person. We decided to cover it up. But the low trim piece was very dated.
I browsed Pinterest as usual, looking for inspiration and fell in love with Board & Batten. Seriously GORGEOUS. I’ll have a DIY on that in the next couple weeks.
We love it so much we will be adding it to our entry way too!
Back to the room – I have been doing white walls everywhere. I love bright white. But I didn’t want it to look stark and boring in the playroom. Because the playroom doubles as a guest room, I wanted it to have a pretty accent.
Cue the wallpaper!
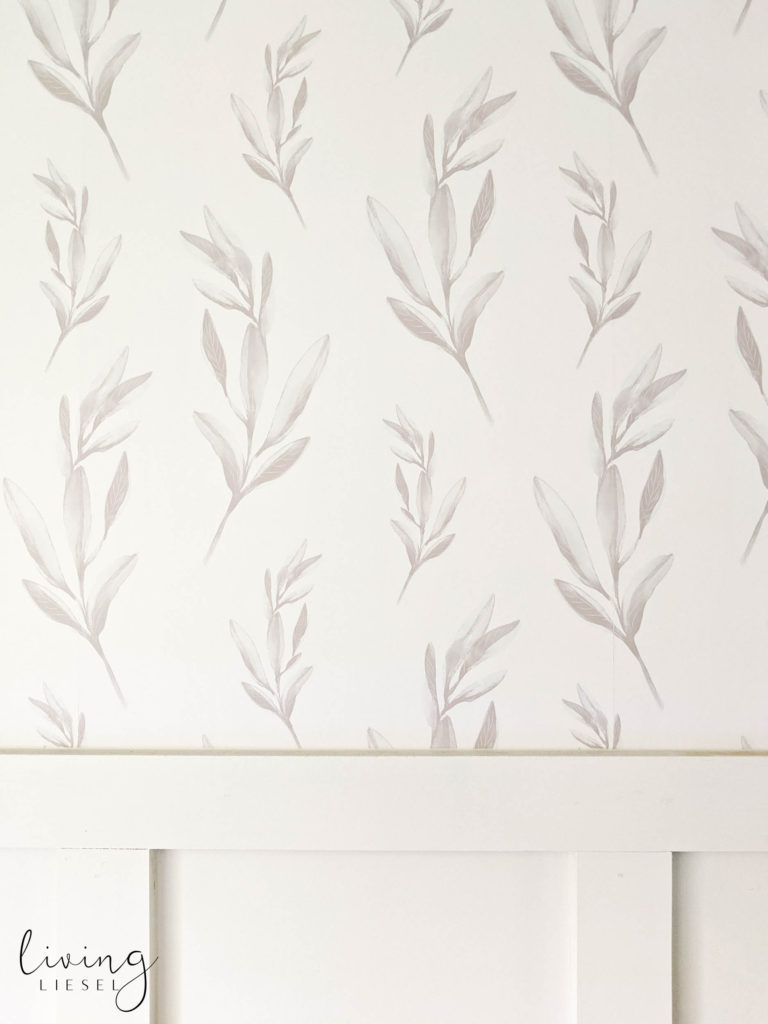
I searched high and low for a wallpaper I loved. Anything flowy and somewhat watercolor-ish has a special place in my heart!
I stumbled across Livette’s Wallpaper and I couldn’t get over how STUNNING every design was!
Here are some of my favorites they have on Etsy:

You can find an even better selection directly from their website! Also, if you shop directly on their website,
You can get a 10% discount by using the coupon code: WALLPAPERLOVE
I landed on a grey foliage removable wallpaper. The perfect combo of elegant and fun.
Let me tell you why I did removable.
- It’s removable. What if I want to change it?
- EASY install.
- Again, it’s removable. What if I messed up during install? I can pull it and try again.
Installing it is SO incredibly easy.
I was nervous but it turned out to be much easier than I thought. I would say it’s a two man job though, so be prepared for that.
How to install.
Tools
- Chair or ladder
- Rag
- Credit card or smoothing tool
- Level
- Exacto knife or box cutter
- Painter’s tape (we didn’t use this but it could be helpful)
Prep
- Make sure you wall is clean and an even texture. We applied directly over textured wall. We did not smooth or skim coat the wall before applying wallpaper.
- Remove any outlet or light switch covers.
- Read the instructions provided by Livette’s. They are incredibly informative.
- Lay your panels on the floor to ensure they will align accordingly. They should straight from Livette’s but I always like to check these things to make sure I am using my time efficiently.
Application
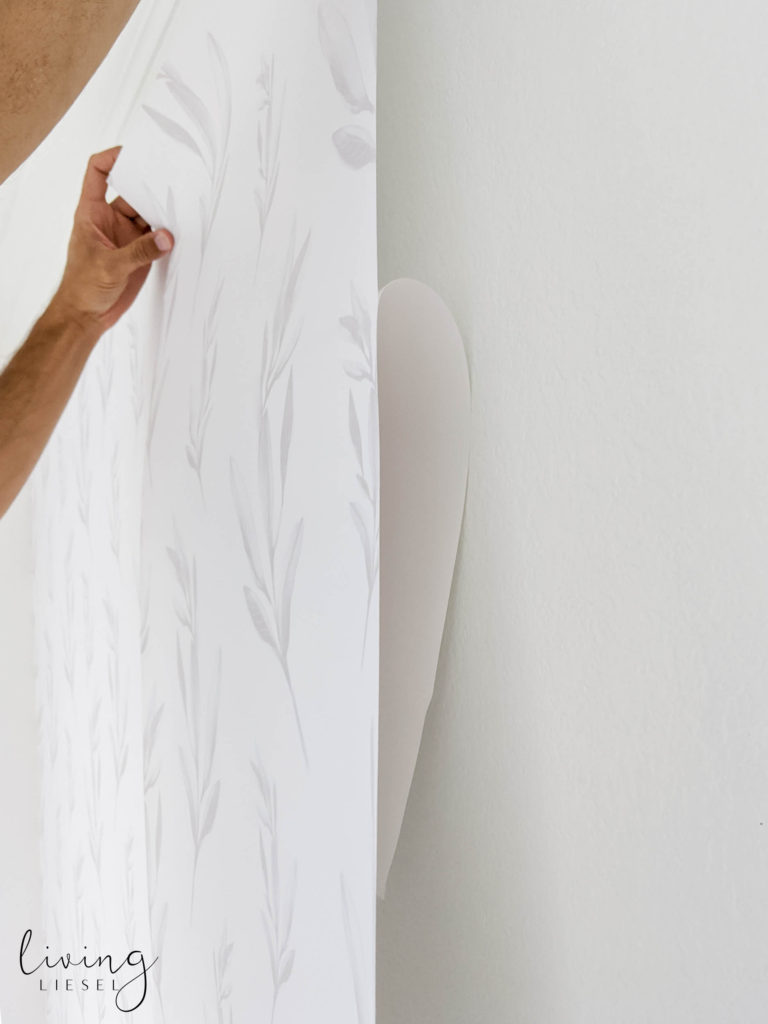
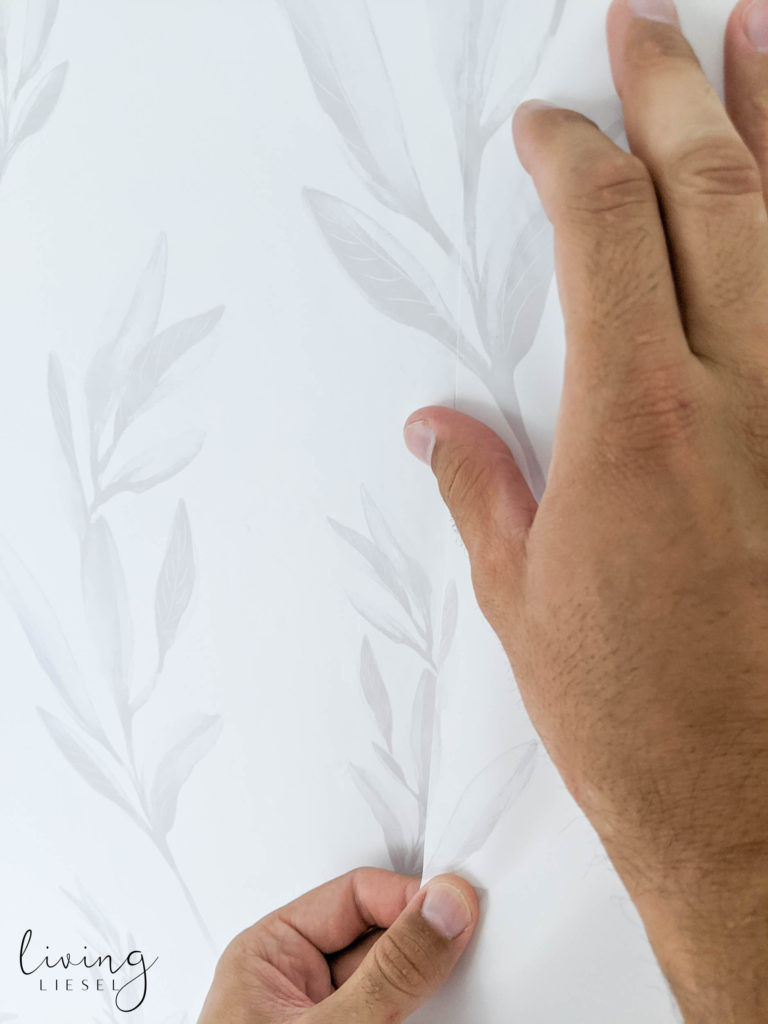
Removable wallpaper is basically a giant sticker. You want to be sure you don’t ever let the sticky side touch itself otherwise it will remain stuck to itself.
- Assume your wall are not straight.
- Pell about 8 inches of backing off the wallpaper.
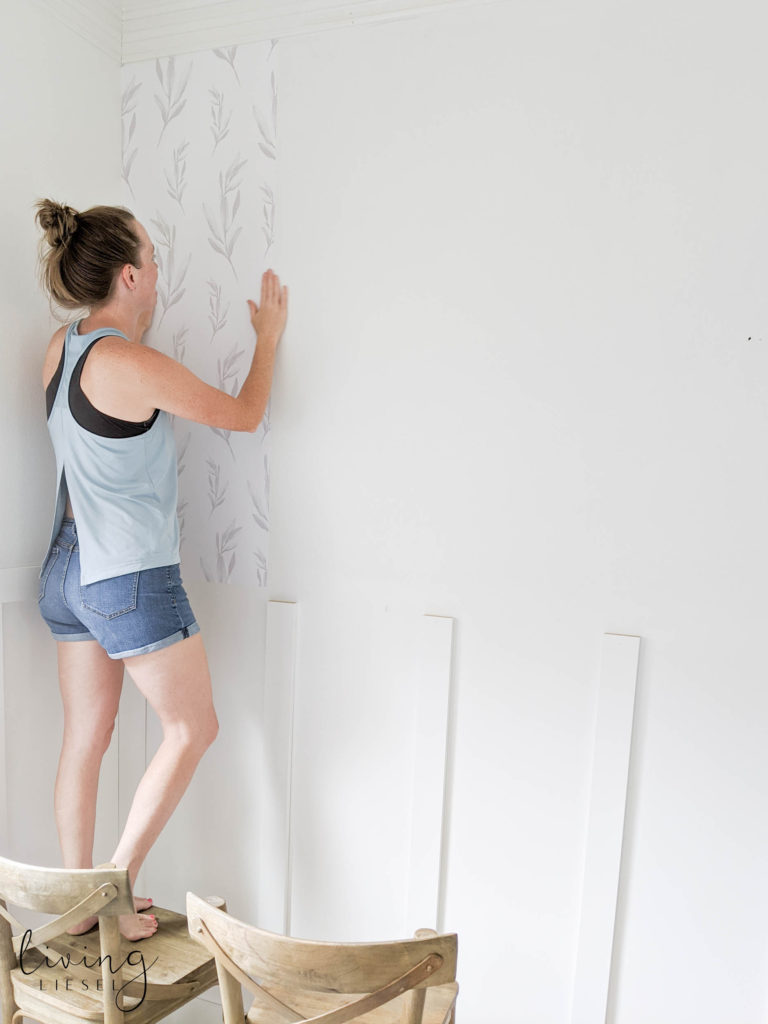
- Start from the left edge. Align your corner with the top left piece of the wallpaper. Ensure the top right piece aligns as well. The first piece is the hardest part in my opinion.
- Once the top and upper left section are aligned and adhered, have your second man pull of about another 2 feet of backing. Slowly adhere it by pressing it to the wall smoothly.
- As you work your way down, remove more backing.
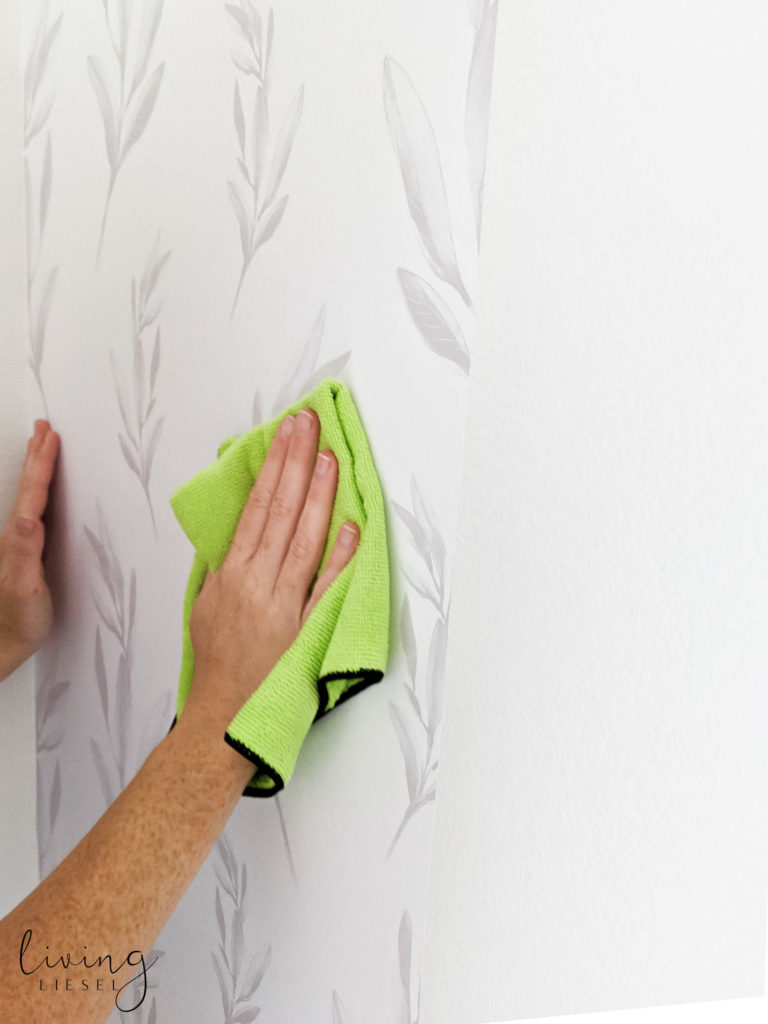
- Between sections, be sure you are using your smoothing tool or rag to remove any bubbles. If there are any stubborn sections, you may have to pull up the piece and realign from the top. This is why you want to ensure there are no bubbles while applying it, not after applying it.
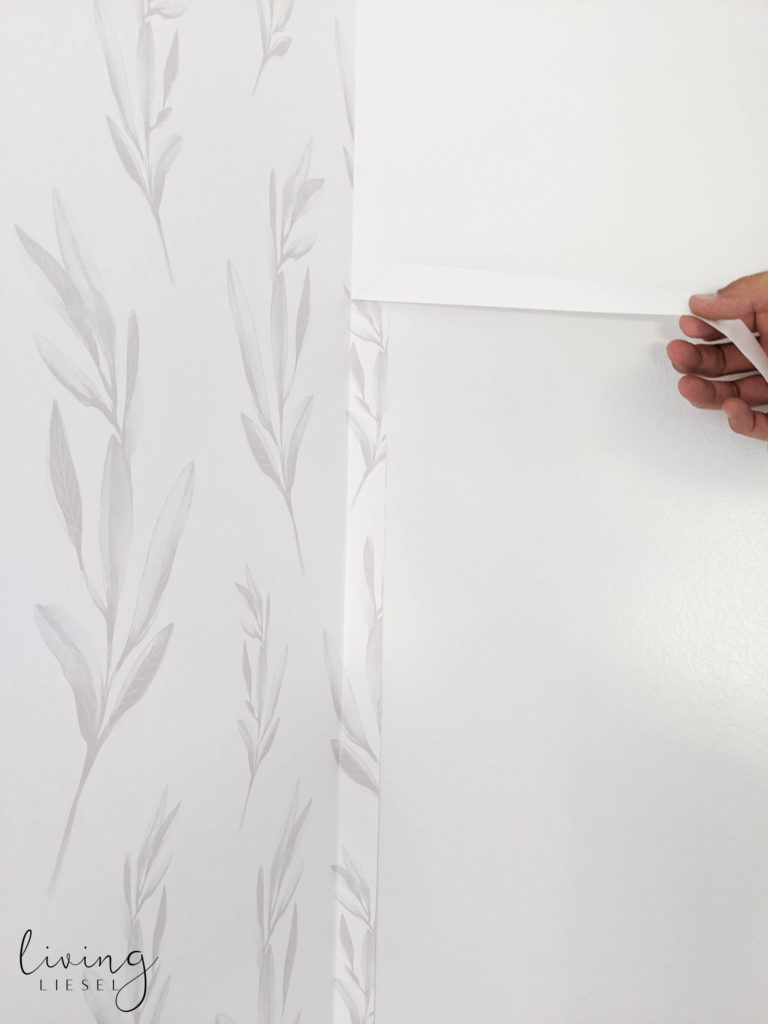
- Move on to the next strip, repeating the steps.
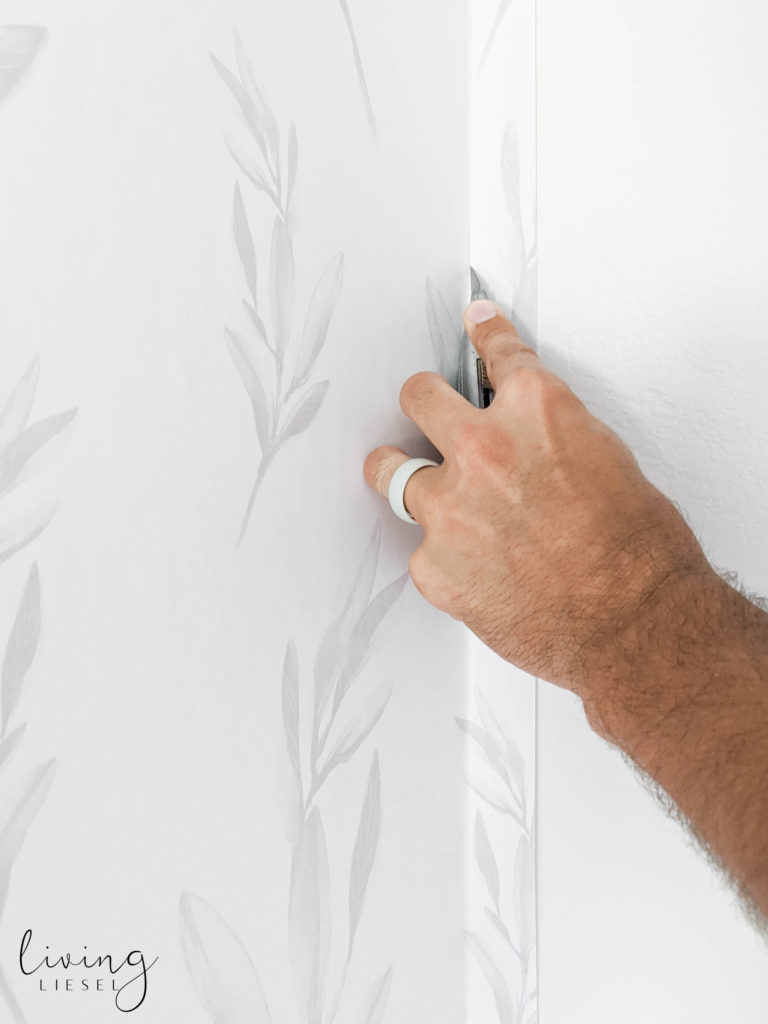
- When adhering the sections together, be sure they are completely aligned with no gaps between them. You can’t just scoot wallpaper over if it isn’t aligned.
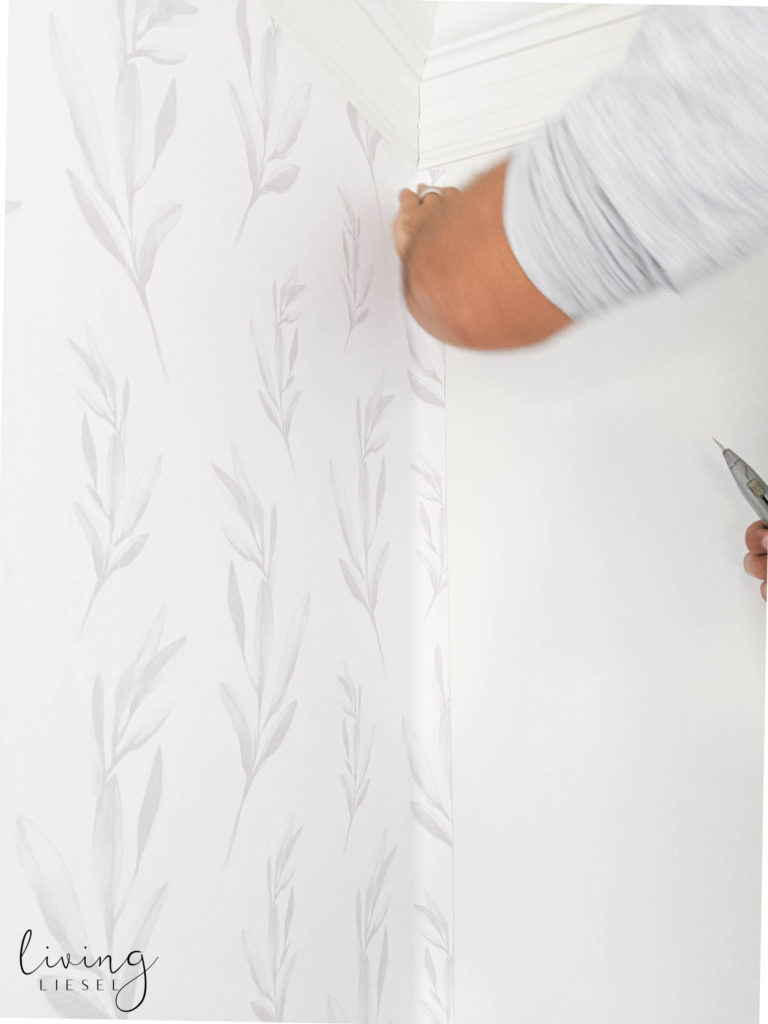
- After all panels are applied, use the box cutter or exacto knife to cut the corner and any outlet areas of excess.
- After 24 hours, go back and use a rag to press out any extra air bubbles and encourage the best adhering.
Here are pictures of the application/install process:

Overall, it was a HUGE transformation with about an hour’s worth of efforts. It was incredibly easy, Livette’s wallpaper is very affordable, and they have an incredible selection of designs.
Tips
Don’t remove and reapply the wallpaper too many times. It is a textile based self adhesive wallpaper and it can get stretched out making the fit loose.
Don’t start at the bottom. Let gravity work WITH you and start at the top.
Don’t try to do it alone. It will be MUCH easier with a 2nd person.